
Quick Photo Fixes for On-the-Go Editing
Master a rapid five-step mobile editing workflow that handles the most common photo improvements in under two minutes.
Lesson context before the long read
Review the result preview above, then scan the learning objectives below before reading the full lesson. Updated 2026-05-17.
Example visual uses an existing public asset: /content-images/mobile-quick-edits-on-the-go-academy.webp.
Learning Objectives
- 1Execute a consistent five-step mobile editing sequence: straighten and crop, exposure, color, cleanup, and sharpen
- 2Use AI auto-enhance as a starting point and refine manually only where needed
- 3Develop the judgment to know when a quick edit is sufficient versus when deeper editing is worthwhile
Quick fixes for common photo problems
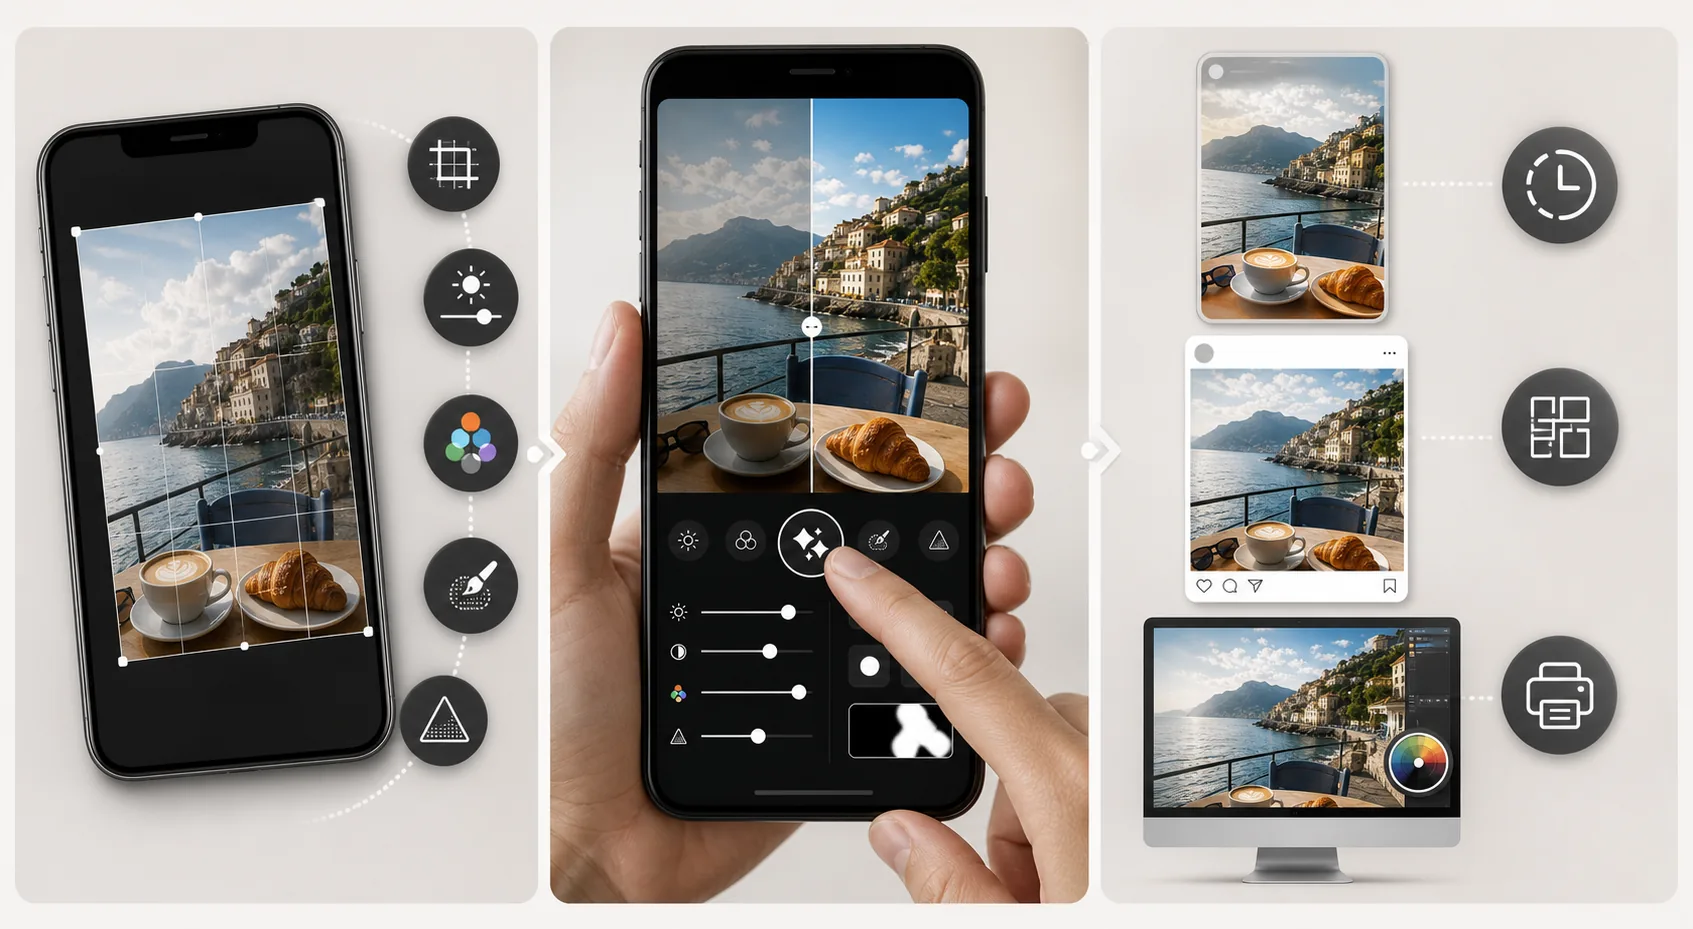
A fast, consistent editing workflow prevents you from spending ten minutes tweaking a photo that needed two minutes of attention. The five-step sequence works for the vast majority of casual and social media photos: first straighten and crop to fix the horizon and improve composition, then adjust exposure to correct brightness, then tweak color for accurate or stylistic tone, then clean up any distracting elements, and finally sharpen if the image will be viewed at full resolution. This sequence is ordered deliberately because each step builds on the previous one.
Removing distractions between shoots
AI auto-enhance is your biggest time-saver on mobile. A single tap analyzes the image and applies optimized exposure, contrast, color, and sharpening adjustments. For roughly 70% of photos, the AI result is good enough to use directly or needs only minor manual refinement. For the other 30%, auto-enhance gives you a better starting point than the original capture, and you can fine-tune the specific areas where the AI did not match your preference. Use auto-enhance first, evaluate the result, and only spend time on manual adjustments where you see a specific problem.
Editing and publishing in the same session
Knowing when to stop editing is just as important as knowing how to edit. For social media stories that disappear after 24 hours, the quick five-step workflow or even just auto-enhance is more than sufficient. For feed posts that represent your portfolio or brand, invest the extra time to perfect skin tones, remove distracting background elements, and apply a consistent color grade. For images destined for print, desktop editing with a calibrated monitor is worth the extra effort. Matching your editing investment to the final use of the image keeps you productive instead of perfecting photos that only need to be good enough.
Key Takeaways
- ✓Follow a consistent five-step sequence: straighten/crop, exposure, color, cleanup, sharpen
- ✓Use AI auto-enhance as the starting point and manually refine only the specific areas that need it
- ✓Match editing effort to the final destination: minimal for stories, moderate for posts, thorough for print