Удаление объектов с фотографий: пошаговое руководство
Удаляйте нежелательные объекты с любых фотографий с помощью Magic Eraser. Пошаговые инструкции по удалению людей, проводов, текста, вывесок и мусора.
Product Team
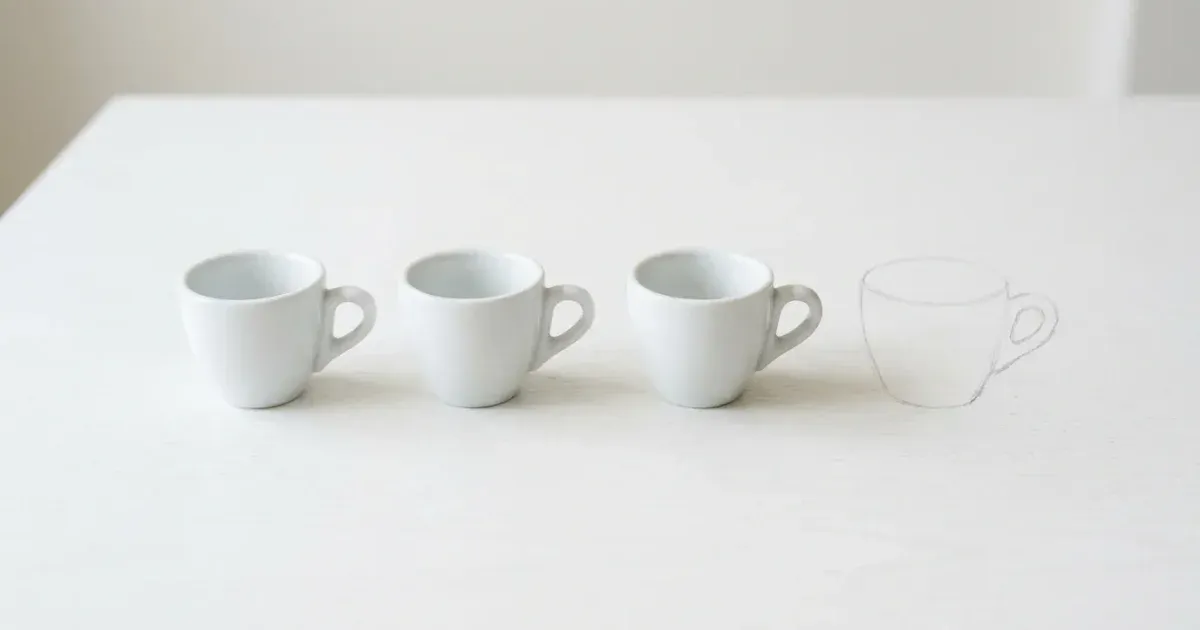
Каждый фотограф знает эту досаду: вы делаете идеальный снимок, но замечаете случайную линию электропередачи, пересекающую небо, незнакомца, проходящего на заднем плане, или кусочек мусора на нетронутом пляже. Раньше удаление таких помех требовало кропотливой работы в Photoshop, тщательного клонирования и восстановления пикселей, пока нежелательный элемент не исчезал. Сегодня AI-инструменты, такие как Magic Eraser, делают удаление объектов таким же простым, как закрашивание того, что вы хотите убрать.
Удаление объектов — одна из самых распространенных задач при редактировании фотографий, будь то очистка снимков недвижимости, подготовка изображений товаров, обработка туристических фотографий или ретушь портретов. Техника работает путем анализа окружающих пикселей и интеллектуального заполнения оставшейся пустоты, восстанавливая текстуры, узоры и освещение так, чтобы правка выглядела естественно. Современный AI делает это гораздо точнее, чем старые методы штампа, особенно на сложных фонах, таких как листва, кирпичные стены или многолюдные сцены.
Это руководство проведет вас через полный процесс удаления объектов с фотографий с помощью Magic Eraser. Мы рассмотрим технику работы с кистью, разберем разные типы объектов — от тонких проводов до крупных людей, поделимся советами по работе со сложными фонами и объясним, когда переключаться на AI Fill для более масштабного удаления. К концу вы получите навыки, чтобы очистить практически любую фотографию за секунды.
- Удаляйте людей, провода, текст, вывески, мусор и другие отвлекающие элементы с любых фотографий.
- AI анализирует окружающие пиксели, чтобы естественно заполнить пустоту, сопоставляя текстуры и освещение.
- Работает на iOS, Android и в вебе без необходимости в опыте дизайна.
- Инструмент «Кисть» дает вам точный контроль над тем, что именно будет удалено.
- Переключайтесь на AI Fill для удаления больших областей, где генеративная реконструкция улучшает результаты.
- Большинство операций по удалению объектов занимают менее 30 секунд от загрузки до скачивания.
Понимание работы инструмента «Кисть» и принципов удаления объектов
Основой удаления объектов в Magic Eraser является инструмент «Кисть». Вы закрашиваете объект, который хотите удалить, а AI делает все остальное. Кисть работает как маркер: вам не нужно быть хирургически точным, но нужно покрыть весь объект, который вы хотите убрать. AI использует закрашенную область как маску, затем анализирует окружающий контекст, чтобы определить, что должно заменить удаленные пиксели.
Внутри AI изучает текстуру, цвет, направление освещения и узоры вокруг маскированной области. Если вы удаляете человека, стоящего на траве, AI восстанавливает травяной узор, сопоставляя направление травинок, цветовые градиенты и тени. Если вы стираете вывеску с кирпичной стены, AI продолжает кирпичный узор, линии раствора и поверхностную текстуру. Это контекстно-зависимое заполнение и делает современное AI-удаление естественным, а не смазанным или размытым.
Размер кисти имеет значение. Для тонких объектов, таких как линии электропередачи или антенны, используйте меньшую кисть, которая лишь немного шире линии. Для крупных объектов, таких как люди или транспортные средства, используйте кисть побольше и закрашивайте весь объект широкими мазками. Вам не нужно обводить точный контур. На самом деле, небольшой выход за края объекта часто дает более чистый результат, поскольку дает AI больше контекста о границе между объектом и фоном.
Если после первого прохода остается слабая тень или артефакт, просто закрасьте остаточную область и запустите удаление снова. Многослойные проходы — это легитимная техника, особенно для объектов, отбрасывающих сильные тени или оставляющих отражения на ближайших поверхностях.
- Закрашивайте весь нежелательный объект кистью, чтобы создать маску удаления.
- Используйте меньшую кисть для тонких объектов, таких как провода, и большую кисть для людей или транспортных средств.
- Небольшой выход за края объекта дает AI лучший контекст границы.
- Сделайте второй проход по оставшимся теням или артефактам для более чистого результата.
- AI восстанавливает текстуры, узоры и освещение, чтобы естественно заполнить пустоту.
Удаление разных типов объектов
Разные объекты создают разные сложности, и понимание этого помогает добиться наилучших результатов. Тонкие линейные объекты, такие как линии электропередачи, кабели и проволочные ограждения, одни из самых простых в удалении. Один взмах узкой кистью часто устраняет их полностью, потому что AI нужно заполнить лишь тонкую полоску пикселей. Ключ в том, чтобы провести кистью по всей длине провода одним движением, когда это возможно, а не тыкать по маленьким участкам, что может привести к разрывам.
Люди и крупные объекты требуют большего, потому что AI должен восстановить большую область. При удалении человека из сцены обязательно закрасьте все его тело, включая тени и отражения. Если кто-то стоит на мокром асфальте, его отражение тоже должно исчезнуть, иначе правка будет выглядеть явно поддельной. Для людей, частично скрытых другими объектами, удаляйте только видимые части, и AI смешает результат с перекрывающими элементами.
Текст и вывески на поверхностях, таких как стены, стекло или одежда, требуют тщательного закрашивания всех букв. AI особенно хорошо справляется с этим, потому что текст обычно находится на довольно однородной поверхности, что делает реконструкцию простой. Для текста на сложных текстурах, таких как морщинистая ткань или шероховатый камень, используйте кисть чуть большего размера, чтобы дать AI больше данных об окружающей текстуре.
Мусор, мелкие предметы и другие нежелательные объекты, разбросанные по сцене, лучше удалять по одному, а не выделять все сразу. Это дает AI более простую задачу реконструкции для каждого удаления. Работайте от наименее сложных удалений к наиболее сложным, так как каждая успешная правка упрощает фон для последующих удалений.
- Провода и кабели: используйте узкую кисть и проводите по всей длине одним движением.
- Люди: закрашивайте все тело, включая отбрасываемые тени и отражения на поверхностях.
- Текст и вывески: закрашивайте все буквы, используя кисть чуть большего размера на текстурированных поверхностях.
- Мусор: удаляйте предметы по одному, работая от самых простых к самым сложным.
- Транспортные средства и крупные объекты: используйте широкие мазки и рассмотрите AI Fill для очень больших областей.
- Частично скрытые объекты: удаляйте только видимые части и позволяйте AI смешивать с перекрывающими элементами.
Советы по работе со сложными фонами и непростыми правками
Сложность фона напрямую влияет на то, насколько чисто будет выглядеть удаление. Простые однородные фоны, такие как чистое небо, сплошные стены или спокойная вода, дают наилучшие результаты, потому что AI имеет простой узор для продолжения. Сложные фоны с множеством перекрывающихся элементов, такие как многолюдный рынок или густой лес, требуют большей осторожности.
При работе со сложными фонами увеличьте масштаб и используйте кисть такого размера, чтобы она была достаточно большой для покрытия объекта, но не захватывала слишком много окружающих деталей. Чем меньше фона вы включаете в маску, тем меньше AI нужно восстанавливать. Если вы удаляете человека из группового фото, аккуратно закрашивайте вокруг рядом стоящих людей, а не используйте размашистые движения, которые могут исказить их черты.
Для объектов рядом с границами, например мусорного бака у бордюра, где асфальт переходит в траву, AI должен сохранить эту линию границы. Закрашивайте точно вдоль границы, чтобы AI понял переход. Если результат размывает границу, отмените и попробуйте снова с более точным выделением или сделайте удаление в два прохода: один для части на асфальте, другой для части на траве.
Повторяющиеся узоры, такие как плиточные полы, кирпичные стены и заборы, на самом деле являются прощающими фонами для удаления объектов, потому что AI может надежно экстраполировать узор. Самые сложные фоны — это те, которые имеют уникальные неповторяющиеся детали, такие как картина или плотно заставленный книжный шкаф. AI должен изобрести правдоподобное содержимое. Для таких ситуаций рассмотрите использование AI Fill. Он использует генеративный AI для создания контекстно-уместного содержимого, а не просто клонирования соседних пикселей.
- Однородные фоны, такие как небо и стены, дают самые чистые результаты удаления.
- Увеличьте масштаб и используйте кисть точного размера, чтобы минимизировать область реконструкции на сложных фонах.
- Для объектов рядом с границами, такими как переход асфальта в траву, закрашивайте точно вдоль линии перехода.
- Повторяющиеся узоры, такие как кирпич и плитка, прощают ошибки, потому что AI может продолжить узор.
- Уникальные неповторяющиеся фоны выигрывают от использования генеративных возможностей AI Fill.
- Если результат выглядит неестественно, отмените и попробуйте снова с более точной кистью или кистью другого размера.
Когда использовать AI Fill вместо инструмента «Ластик»
Стандартный инструмент удаления Magic Eraser отлично работает для небольших и средних объектов, но есть ситуации, когда AI Fill дает гораздо лучшие результаты. AI Fill использует генеративный AI для создания полностью нового содержимого для удаленной области, а не полагается исключительно на клонирование из окружающих пикселей. Это различие имеет значение, когда область, которую нужно заполнить, велика или когда окружающий контекст не предоставляет достаточно информации для естественной реконструкции.
Рассмотрите возможность переключения на AI Fill при удалении очень крупных объектов, занимающих значительную часть кадра, таких как припаркованная машина на уличной сцене или большой предмет мебели на фотографии комнаты. Когда удаленная область больше, чем окружающий контекст, стандартный инструмент может создавать видимые артефакты повторения или размытие. AI Fill генерирует новое содержимое, которое естественно интегрируется в сцену.
AI Fill также превосходен, когда вы хотите творческого контроля над тем, что заменит удаленный объект. Вместо простого заполнения фоном вы можете направить AI на генерацию конкретного содержимого. Например, после удаления старой вывески с витрины магазина AI Fill может создать чистый участок стены, соответствующий архитектуре здания, или после удаления человека с парковой скамейки он может сгенерировать планки скамейки и фоновую листву, которые логически должны быть за ним.
Рабочий процесс AI Fill похож на ластик: выделите область, затем позвольте AI сгенерировать заполнение. Вы можете генерировать несколько раз, пока не получите результат, соответствующий вашему видению. Для лучших результатов предоставьте как можно больше контекста, включив в выделение некоторую окружающую область. Используйте функцию текстовой подсказки, когда она доступна, чтобы описать, что вы хотите видеть в заполненной области.
- Используйте AI Fill для крупных объектов, занимающих значительную часть изображения.
- AI Fill генерирует новое содержимое вместо клонирования, избегая артефактов повторения.
- Направляйте заполнение текстовыми подсказками, чтобы указать, что должно заменить удаленный объект.
- Генерируйте несколько раз, чтобы изучить разные варианты заполнения для творческих проектов.
- Комбинируйте оба инструмента: используйте ластик для мелких правок и AI Fill для крупных удалений в одном изображении.
- AI Fill особенно хорошо работает для архитектурных сцен, интерьеров и пейзажных фотографий.