
How to remove dark circles from a photo
Magic EraserでHow to remove dark circles from a photoする方法を学びましょう。無料のAIツールを使ったシンプルなステップバイステップガイド。Web、iOS、Androidで利用可能。
Last updated
今すぐ試す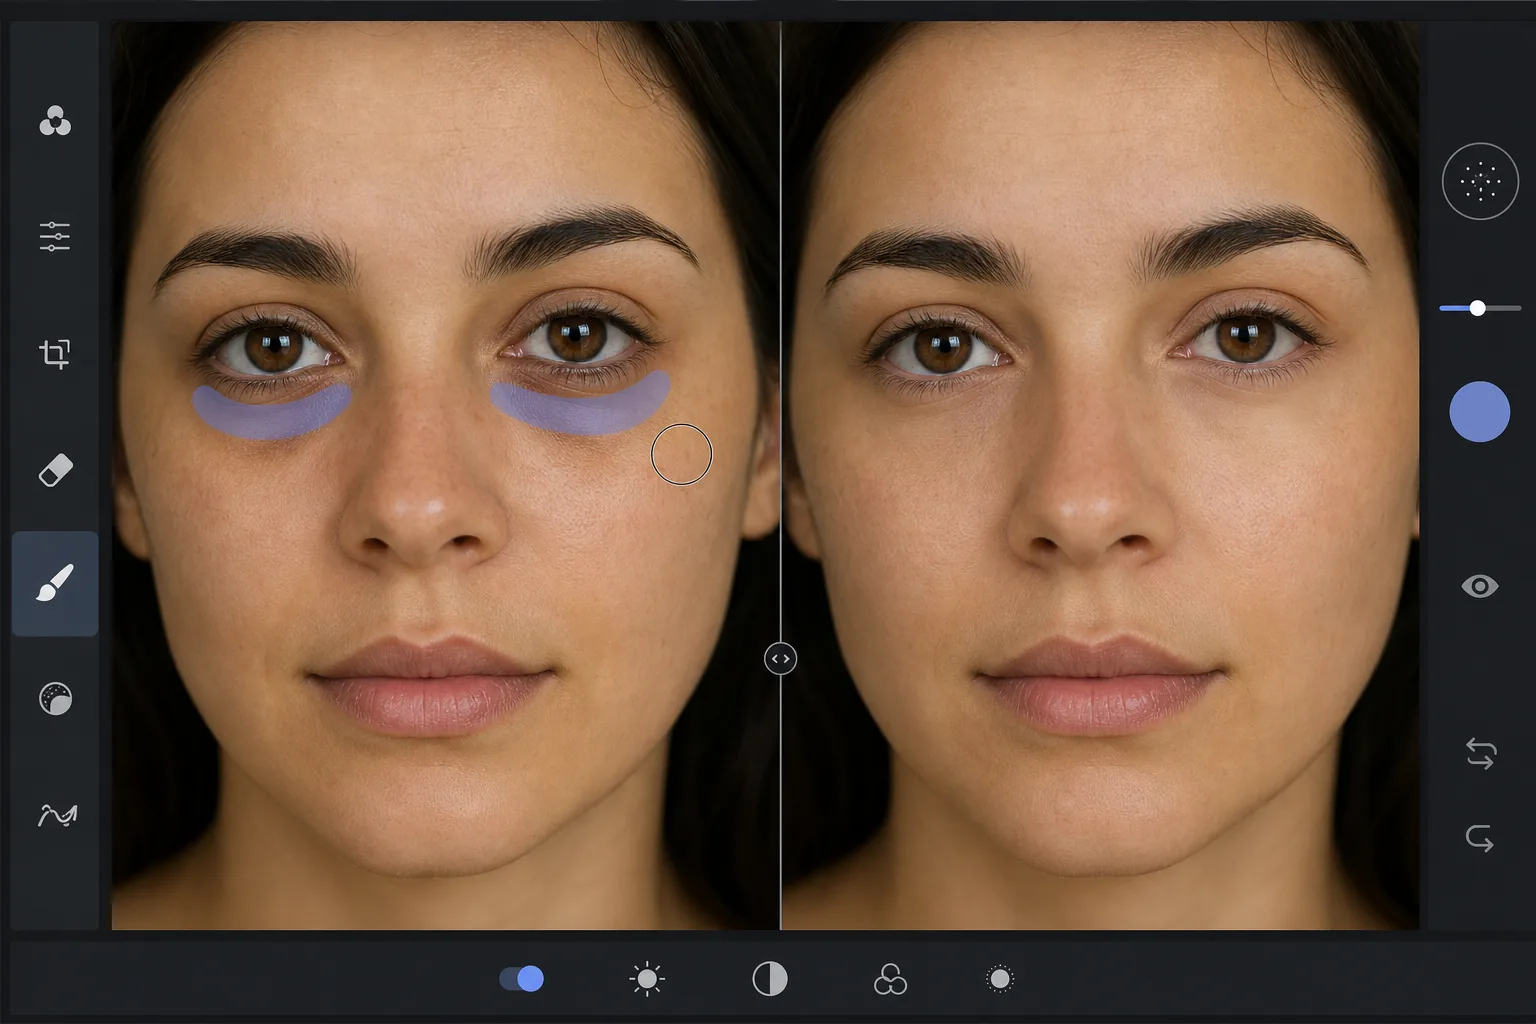
Why dark circles are tricky to retouch — Magic Eraser
Under-eye dark circles are not a single object you can cut out — they are a gradient of shadow and discoloration that blends into the surrounding skin. Heavy-handed editing (a brightness brush, a clone stamp) erases the natural shading that gives the face dimension, leaving a flat, obviously-retouched patch under the eye. The goal is to reduce the darkness while preserving skin texture, pores, and the subtle highlight-to-shadow transition that reads as real. Magic Eraser's AI treats the under-eye region as skin to reconstruct rather than a color to paint over: it lightens the area and rebuilds matching texture from the surrounding cheek and lower-lid skin, so the result looks like a well-rested version of the same face, not an airbrushed mask. This makes it useful for headshots, dating-profile photos, family portraits, and any shot where the subject looks more tired than they felt.
Before you start
ステップバイステップ手順
Start with 写真をアップロード. The result preview above and tips below use this guide's existing content; no separate before-and-after proof is assumed.
- 1
写真をアップロード
Web、iOS、またはAndroidでMagic Eraserを開きます。JPEG、PNG、HEIC、WebP形式の写真をドラッグ&ドロップ。アカウント不要で始められます。
- 2
ツールと範囲を選択
適切なツールを選択し、処理する範囲を指定します。AIが自動的に分析し、数秒で変更を適用します。
- 3
結果をダウンロード
結果をプレビューして、編集済みの写真をダウンロード。高品質のPNGまたはJPEGでエクスポートできます。
こんな方におすすめ
- Professional headshots where the subject looks tired despite good lighting
- Dating-profile and social photos that need a fresher, well-rested look
- Family and event portraits taken late in the day
- Quick retouching without learning frequency separation or dodge-and-burn
- Batch-cleaning a set of portraits to a consistent look
ベストな結果を得るコツ
Reduce, don't erase. Real faces have some shadow under the eye — removing it completely reads as fake. Aim to lighten dark circles to the point they no longer draw attention, not to a uniform flat tone. Brush each eye separately so the AI references the skin closest to each one. If the subject has both dark circles and under-eye bags, the discoloration and the puffiness-shadow are two issues: lighten the discoloration first, then assess whether the remaining shadow still needs a light pass. For a related cleanup, pair this with removing blemishes or skin shine in the same edit. And as always, the most natural result keeps pores and skin texture intact — Magic Eraser preserves them automatically, so avoid over-brushing into clear skin.
よくある質問
- How to remove dark circles from a photo機能は無料ですか?
- はい、Magic Eraserでは毎日の無料枠内でHow to remove dark circles from a photoが可能です。Pro にアップグレードすると無制限に処理でき、高解像度でエクスポートできます。
- How to remove dark circles from a photoにはどのくらい時間がかかりますか?
- ほんの数秒です。Magic EraserのAIは写真を高速処理し、ほとんどの場合アップロード直後に結果が得られます。
- スマートフォンでも使えますか?
- はい、Magic EraserはiOS、Android、およびすべてのWebブラウザで利用できます。デバイス間で自由に切り替え可能です。
- 画質は低下しますか?
- いいえ、Magic Eraserは元の写真の品質を維持します。AIがスマートに処理し、ディテールとシャープネスを保ちます。