
Before & After Slider
Show the impact of your work with perfectly aligned before and after comparison images. This template creates demonstration-ready pairs that maintain consistent framing, lighting balance, and dimensions — ideal for portfolios, case studies, social proof, and product marketing where visual transformation tells the story.
Try this template freeMarketing template preview
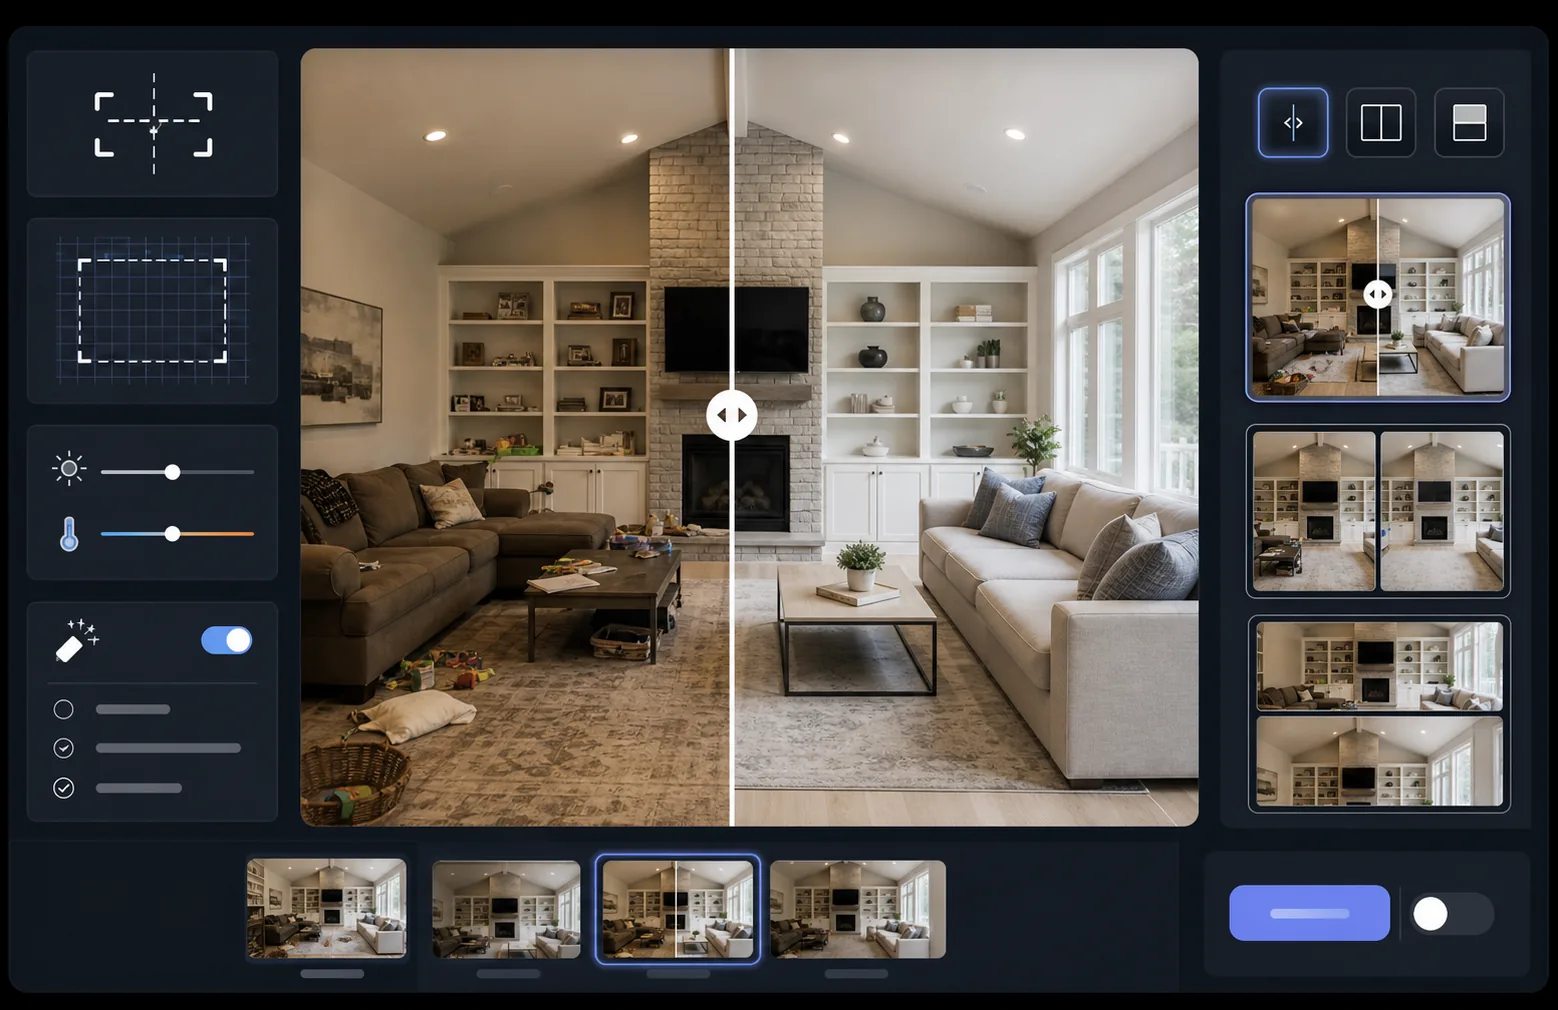
What this template does
Processes two images — a before and an after — into a perfectly aligned comparison pair ready for slider widgets, side-by-side layouts, or animated reveals. AI Enhance normalizes exposure and white balance between the two frames so the transformation is clearly visible without lighting differences muddying the comparison. Magic Eraser can clean up incidental distractions in either frame that are not part of the intended transformation.
Template settings
| Layout | Slider-ready pair, side-by-side, or stacked vertical (selectable) |
| Output size | 1600×1200px per frame (matched dimensions) |
| Alignment | Auto-registration — matches perspective and framing between shots |
| Lighting normalization | Balances exposure and white balance across the pair |
| Label overlay | Optional 'Before' / 'After' labels with customizable position |
| Border | 1px neutral gray divider or seamless edge (selectable) |
How to use this template
Upload your before image
Upload the original, unmodified photo that shows the starting state. This could be a room before renovation, a product before enhancement, skin before treatment, or any visual transformation you want to demonstrate.
Upload your after image
Upload the result photo showing the completed transformation. Try to photograph from the same angle and distance as the before shot. The template will auto-align minor differences in framing and perspective.
Normalize and align
The template automatically registers the two images so corresponding elements align pixel-for-pixel. Exposure and white balance are normalized so lighting differences between shooting sessions do not distract from the actual transformation.
Export the comparison
Choose your output format — matched pair for a slider widget, side-by-side composite for social media, or stacked vertical for email marketing. Add optional Before/After labels and export at web-optimized or print-quality resolution.
Pro tips for best results
- ✓Photograph before and after from the exact same position if possible — mark your tripod placement or stand in the same spot. The less the AI needs to correct alignment, the sharper the comparison.
- ✓Use the same focal length for both shots to avoid perspective distortion differences that make aligned comparisons feel subtly off.
- ✓Remove unrelated changes between the before and after using Magic Eraser — if a plant moved or a new object appeared, erase it so viewers focus on the intended transformation.
- ✓For web slider embeds, export both images at identical dimensions and use lossless PNG to prevent compression artifacts along the slider dividing line.
Common questions
What if the before and after photos were taken from slightly different angles?
+
The auto-registration system handles moderate differences in camera angle, distance, and framing. It identifies corresponding reference points in both images and transforms them to match. For best results, the angle difference should be under 15 degrees.
Can I use this for video thumbnails showing transformations?
+
Yes. The side-by-side composite output is ideal for YouTube and social media video thumbnails. The split-screen layout with labels immediately communicates a transformation story that drives clicks.
Does the lighting normalization change the actual results shown?
+
No. Lighting normalization only adjusts the overall exposure and white balance so both frames appear to have been shot under the same conditions. The actual transformation — the changes in the subject — is preserved exactly as photographed.
Show your results, side by side
Upload your before and after photos and get a perfectly aligned, professionally presented comparison image in seconds. Let the transformation speak for itself.
Try it free