
AI Filter style
AI Digital Art Photo Filter
Turn photos into polished digital illustrations with richer color and smooth stylization while keeping the subject recognizable. The filter suits portraits, pets, travel, lifestyle, and campaign concepts; review text, labels, and small details before using the result.

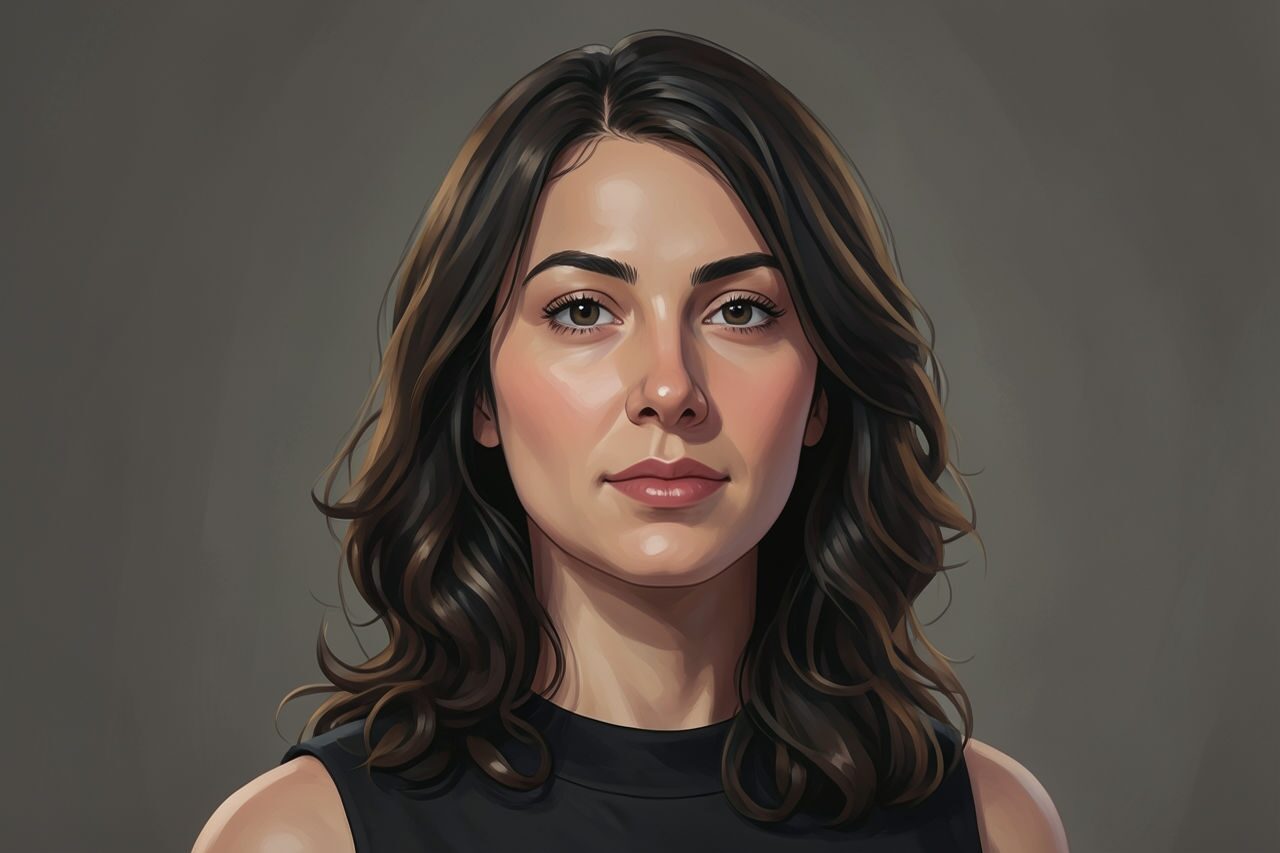
Use case
Creator portraits, social banners, and editorial profile images.
Use case
Pet, travel, and lifestyle photos that need a more finished illustrated mood.
Use case
Campaign concepts where the original photo should remain recognizable.
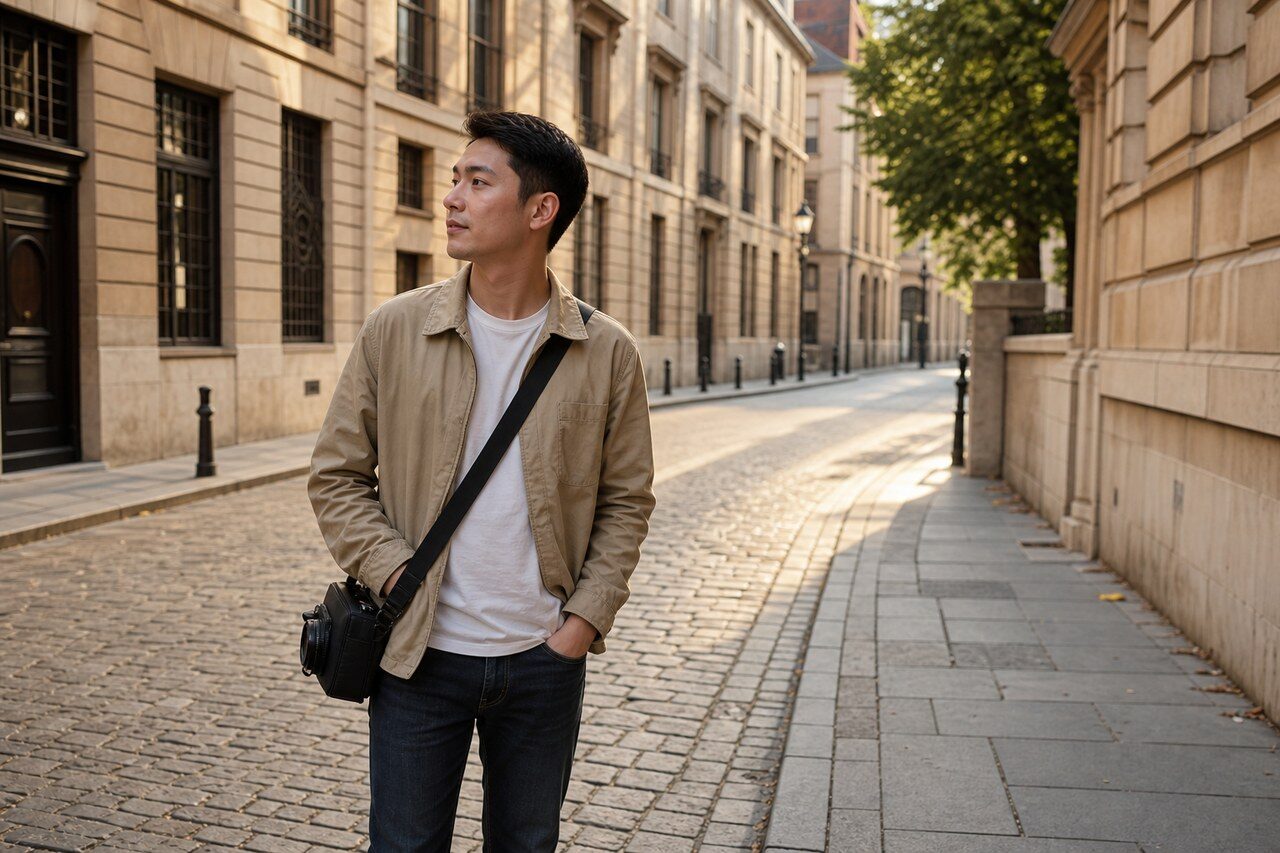
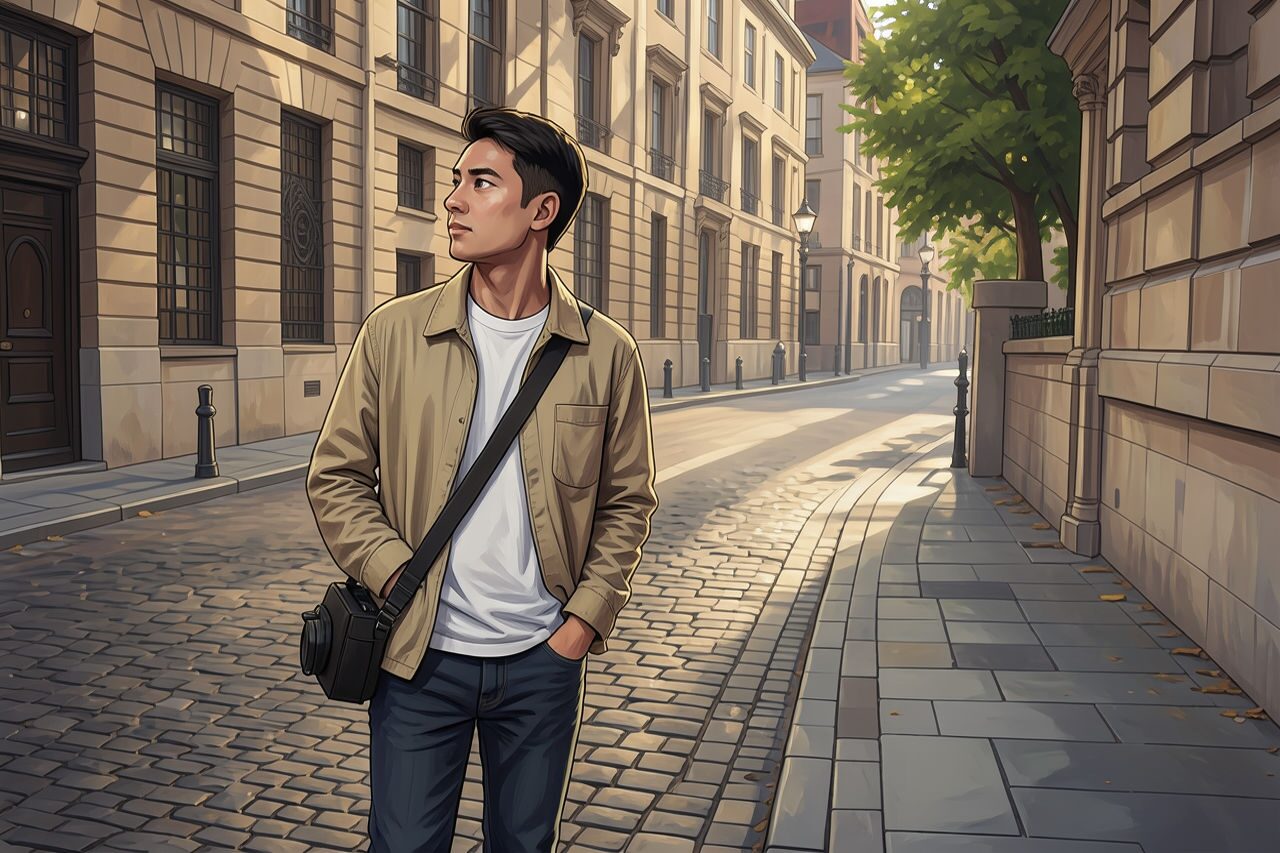
Filter preview
Compare the original photo with the digital art result
The example uses a generated source photo and the same filter API path as the app, so users can judge the visual treatment before uploading their own image.
More examples
Test the digital art filter on different photo types
Compare portrait, product, and pet examples before opening the filter. Each result uses the same filter API path as the Magic Eraser app.

Portrait
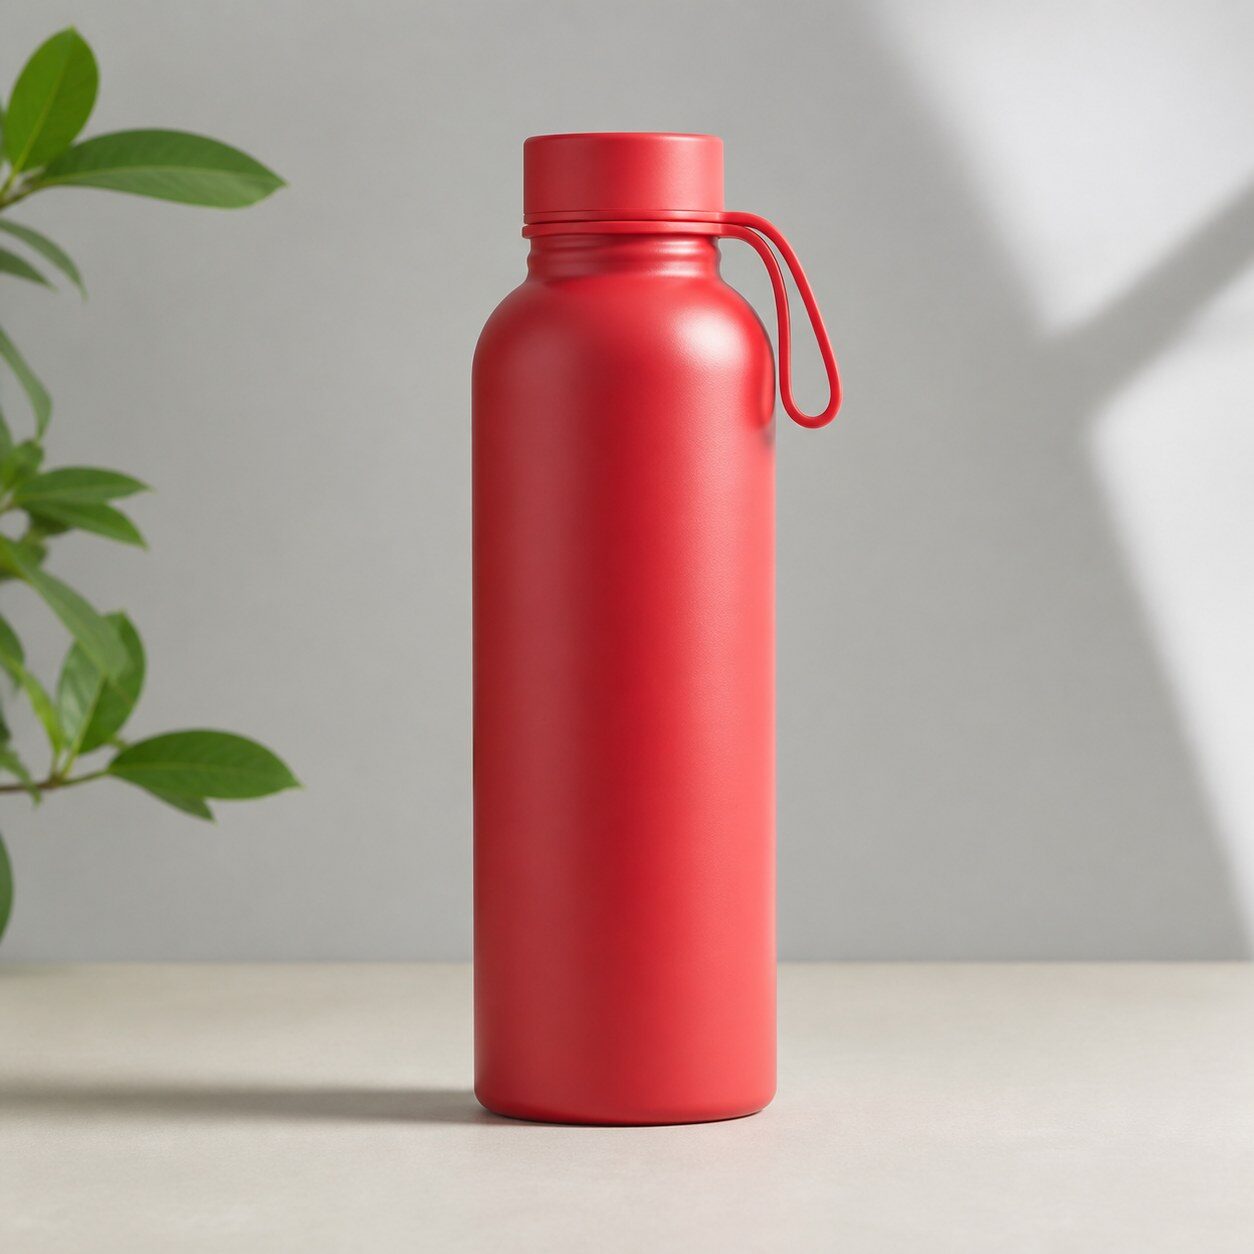
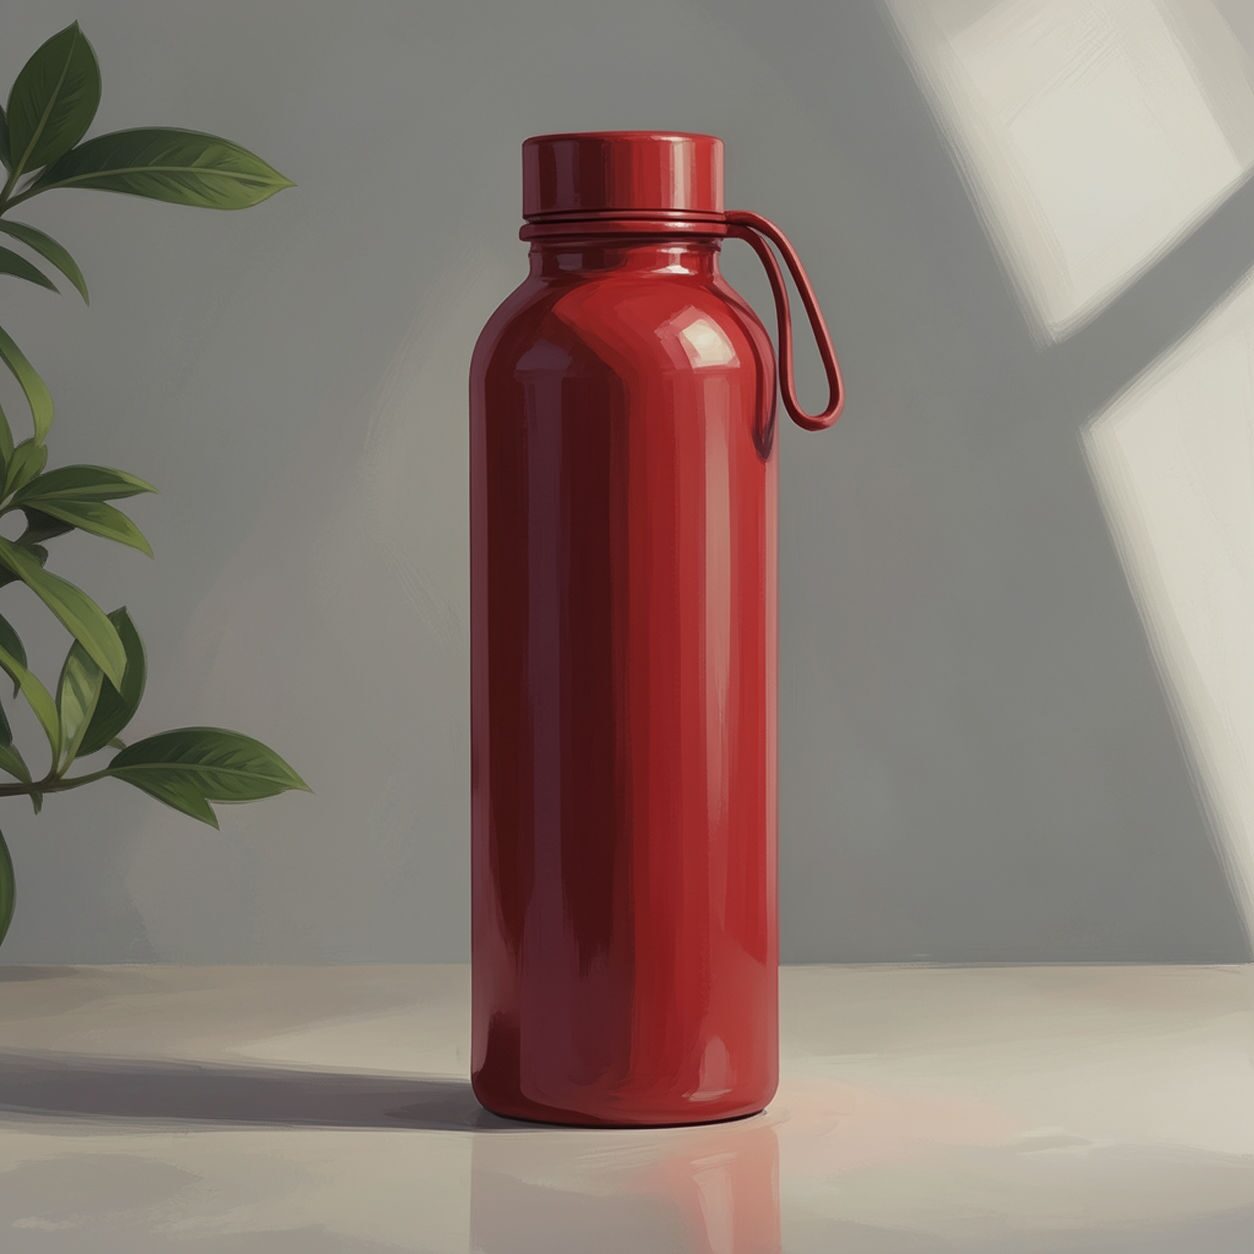
Product

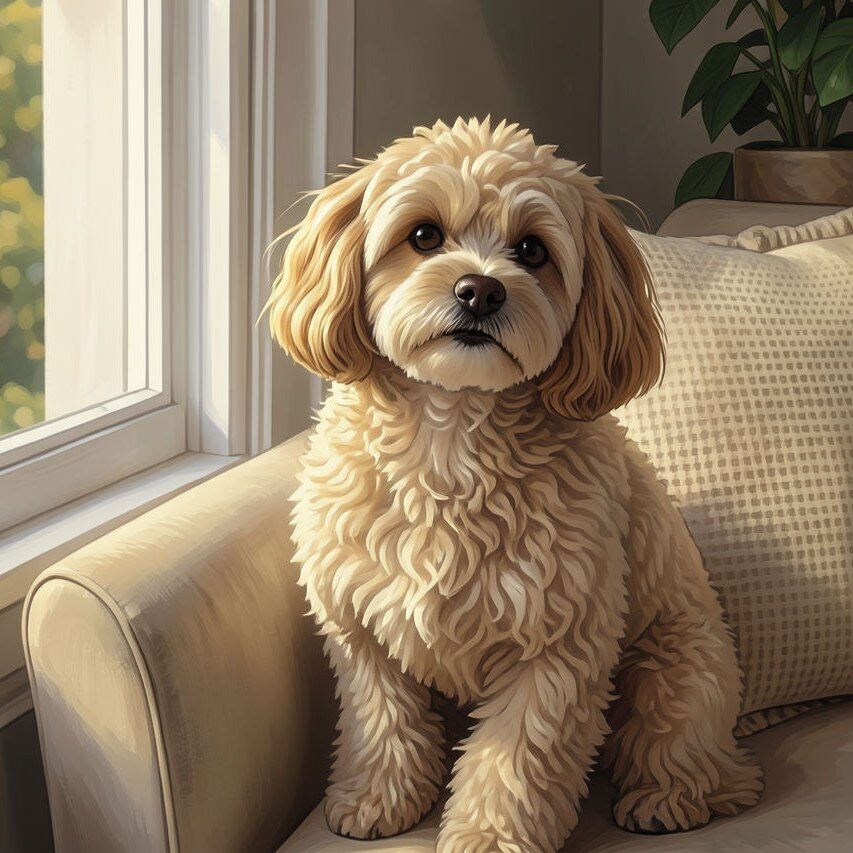
Pet
Photo workflow
How to get a cleaner digital art filter result
Start with a clean photo and avoid heavy filters before upload.
Apply the digital art filter, then compare whether the subject is still recognizable and well framed.
Use Magic Eraser tools to clean background clutter or crop the final image.
Best source photos
- Portraits, pet photos, travel shots, and clean lifestyle images.
- Product photos with simple setups.
- Images that need polish rather than a dramatic genre shift.
Filter tips
- Use good source lighting; the filter enhances style but cannot fully rescue a poor photo.
- Single-subject images usually look more premium.
- For product visuals, keep labels and important details large in frame.
Before upload checklist
- Use the largest clean version of the photo, not a compressed screenshot or reposted image.
- Crop loosely before filtering so the AI has enough room around the subject.
- Remove obvious distractions first if they sit directly on the face, product, or main subject.
- Check the result at the size where it will be used: profile image, feed post, story, thumbnail, or banner.
When this filter is a good fit
Choose the digital art filter when the original photo already has a clear subject and the goal is a recognizable stylized version, not a fully new generated scene. It is strongest for social, creator, profile, event, and campaign images where mood matters more than documentary accuracy.
Use a different workflow when the image needs exact product color, legal documentation, medical accuracy, or unmodified identity details. In those cases, use cleanup, crop, enhancement, or background tools instead of a heavy creative filter.
Free browser tools after filtering
FAQ
What should I upload?
Use a clear photo with one main subject. Strong lighting and simple backgrounds usually make the AI filter easier to control.
Can I keep editing after the filter?
Yes. After applying the filter, use Magic Eraser to crop, clean distractions, refine backgrounds, and export the final image.
Is this filter selected automatically?
The CTA opens AI Filter with the digital art style parameter, and the app falls back safely if the filter changes.