How to create a photo montage
Combine multiple photos into a single creative composition — cut out subjects, arrange them on a shared background, and build storytelling visuals. Magic Eraser's AI tools make professional photo montages accessible to everyone.
Last updated
Create montage now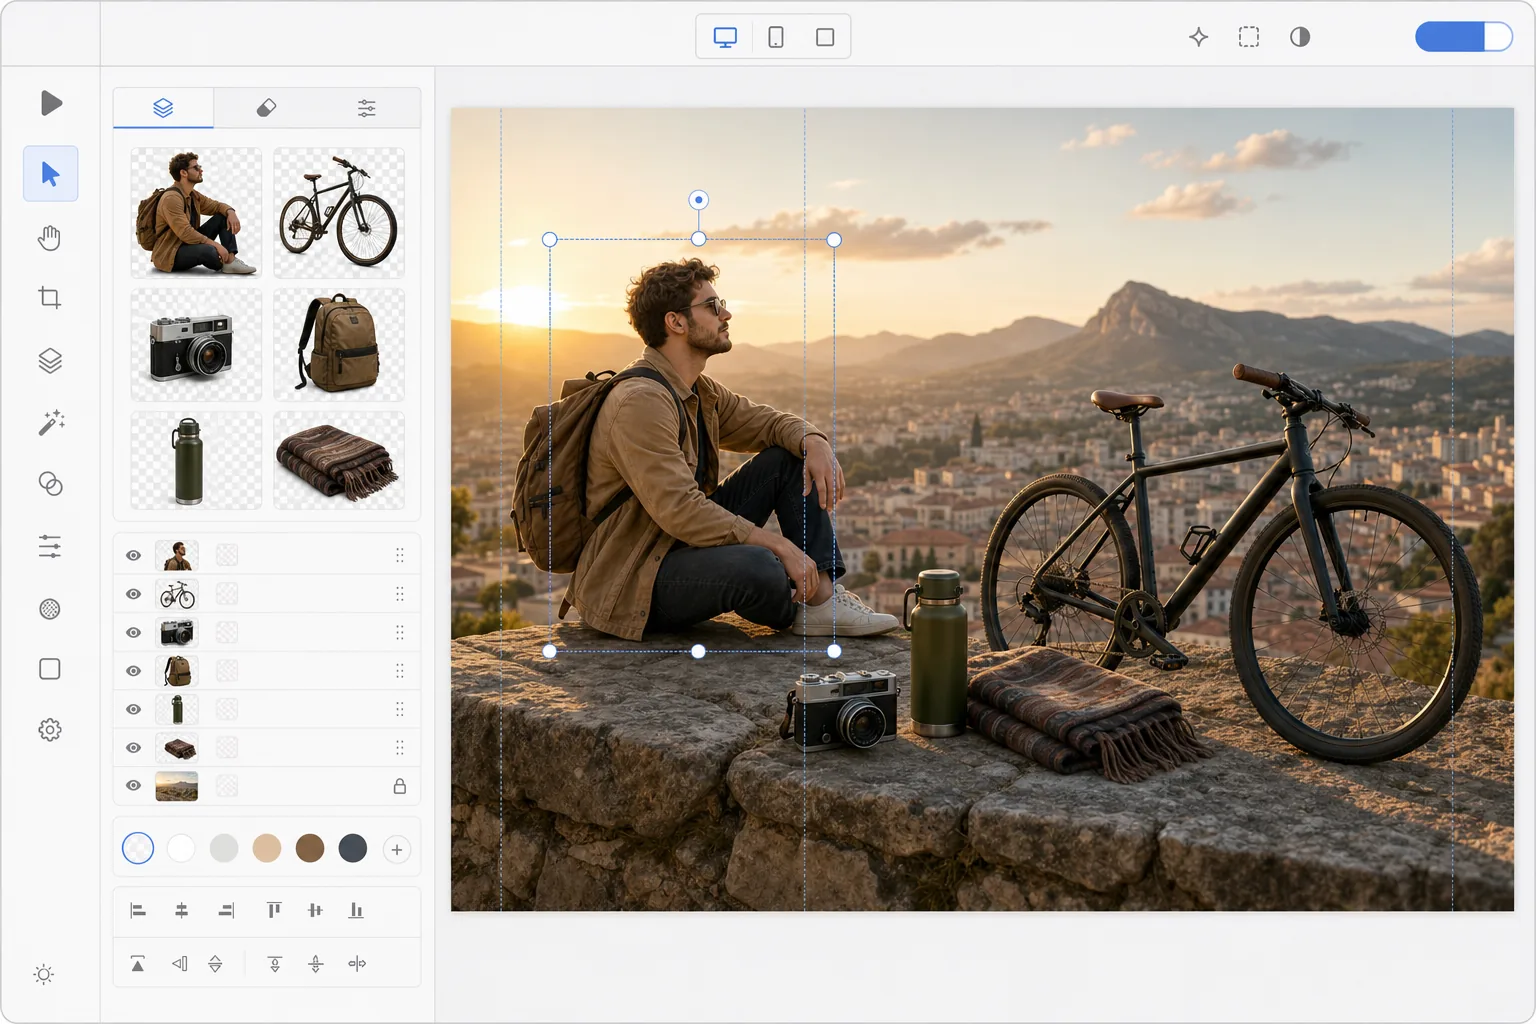
How to create a photo montage
To create a photo montage, open Magic Eraser on the web, iOS, or Android, use the Background Eraser to cut each subject out of its own photo, then switch to the Design tool, drop the cutouts onto a shared canvas, and add a background — a photo, a color, or an AI-generated scene. It includes limited free edits after sign-in. Unlike a collage, which sets whole photos side by side, a montage blends cut-out elements so they appear to share one scene. For a believable result, match the lighting direction and scale across subjects and add a soft shadow under each one. A photo montage combines elements from multiple images into a single composition that tells a story, shows progression, or creates surreal visual art. Unlike collages (which place whole photos side by side), montages blend elements seamlessly — subjects cut from different photos appear to coexist in a shared scene. Traditional montage creation requires advanced Photoshop skills: precise masking, color matching, perspective alignment, and shadow painting. AI tools dramatically simplify this workflow: automatic background removal extracts subjects cleanly, generative fill creates cohesive backgrounds, and smart compositing matches lighting across elements. What took hours now takes minutes.
Create a photo montage in three steps
- 1
Extract subjects from your photos
Open Magic Eraser on web, iOS, or Android. Use the Background Eraser to remove backgrounds from each photo, creating transparent cutouts of the subjects you want to combine. Export each cutout as a transparent PNG.
- 2
Arrange on a shared canvas
Switch to the Design tool and create a new canvas at your desired dimensions. Import your cutout PNGs and arrange them in the composition. Layer subjects front-to-back, resize for perspective consistency, and position them to create a natural or intentionally surreal scene.
- 3
Add background and finishing touches
Choose or create a background: use a photo, gradient, solid color, or AI-generated scene. Add text overlays, adjust the composition, and export. The result is a polished photo montage suitable for social media, marketing, or creative projects.
Best for
- Social media creators building composite images for stories and posts
- Marketing teams creating campaign visuals from multiple product photos
- Event organizers designing promotional graphics with venue and performer photos
- Artists and hobbyists creating surreal or fantastical composite art
- Teachers and students building visual presentations from multiple source images
Tips for best results
The most convincing montages maintain consistent lighting direction across all elements — if one subject is lit from the left, all others should be too. Scale subjects proportionally: a person should be the right size relative to buildings, furniture, and other people. Add subtle shadows under each subject to ground them in the scene. For surreal or artistic montages, intentional inconsistencies (impossible scale, mixed perspectives) become a creative choice rather than an error. For marketing montages, keep the composition clean with no more than 3-5 key elements competing for attention.
Frequently asked questions
- What is the difference between a montage and a collage?
- A collage places whole photos side by side in a grid or overlap layout. A montage extracts elements from different photos and blends them into a single scene where subjects appear to coexist — it requires cutting out subjects and compositing them onto a shared background.
- Can I use AI to generate a background for the montage?
- Yes. Use AI Create or AI Fill to generate a custom background scene, then layer your extracted subjects on top. This is ideal when no single photo provides the right backdrop.
- Is photo montage creation free?
- Yes. Background removal and the design tool are available in the free tier with daily usage limits. Premium removes limits for creating complex montages with many elements.
- How do I make a photo montage on my phone?
- Open Magic Eraser in any mobile browser or the iOS or Android app, load each photo from your camera roll, and use the Background Eraser to cut out the subjects. Then open the Design tool, add a canvas, and drag your transparent cutouts in — pinch to resize and position each one. Add a background and export; the finished montage saves back to your camera roll. It works the same as the desktop version, with no app install required if you use the browser.
- How do I make the montage look realistic instead of pasted together?
- Realism comes from consistency, not from the cutout quality alone. Match the lighting direction across every subject — if one is lit from the left, light them all from the left — and scale each element so the sizes make sense relative to one another. Add a soft shadow beneath each subject to ground it on the background, and keep the perspective (eye level and horizon) consistent. If you'd rather go surreal, break those rules on purpose; impossible scale and mixed perspective then read as a creative choice.