
AI Filter style
KI-Manga-Fotofilter
Verwandle Porträt-, Tier- oder Produktfotos in Manga-Illustrationen mit klaren Tuschelinien, kontrastreichen Schatten und ausdrucksstarker Komposition. Das Ergebnis ist eine kreative Interpretation, keine exakte Kopie; prüfe vor der Nutzung Gesichter, Hände, Text, Logos und Produktdetails.

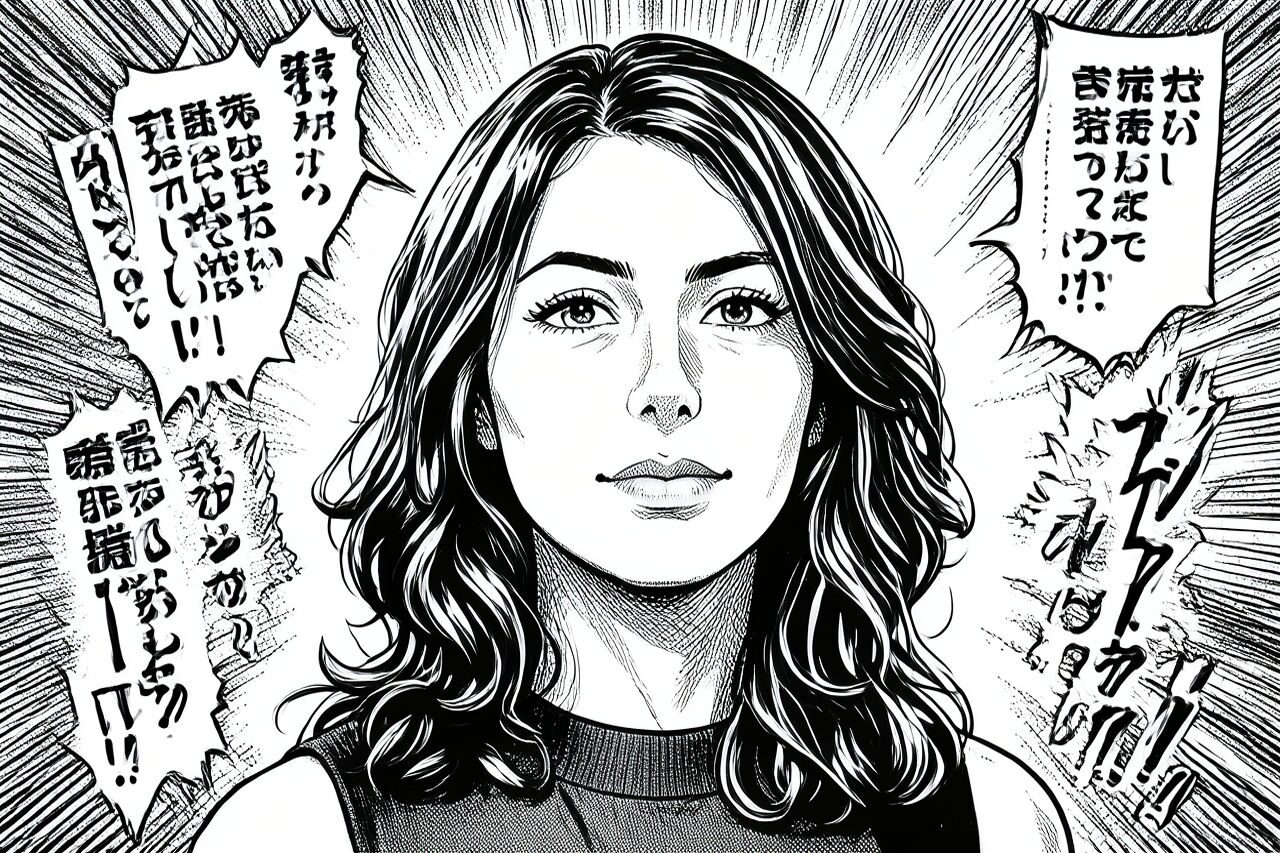
Use case
Profilbilder, Creator-Porträts und Figuren-Posts im Manga-Look.
Use case
Kontrastreiche Thumbnails, Veranstaltungsplakate und Cover-Konzepte.
Use case
Tier- oder Produktfotos mit gezeichneter Tuschewirkung.
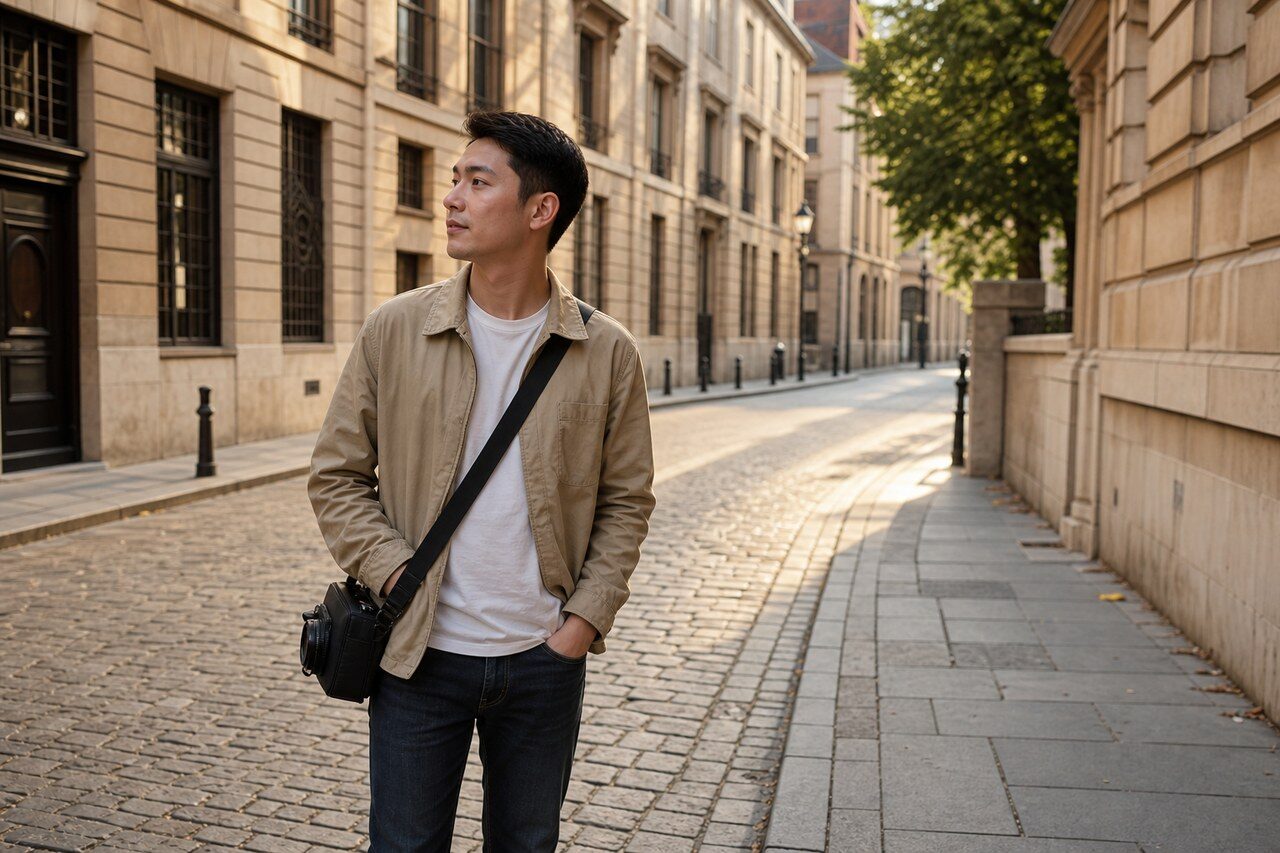
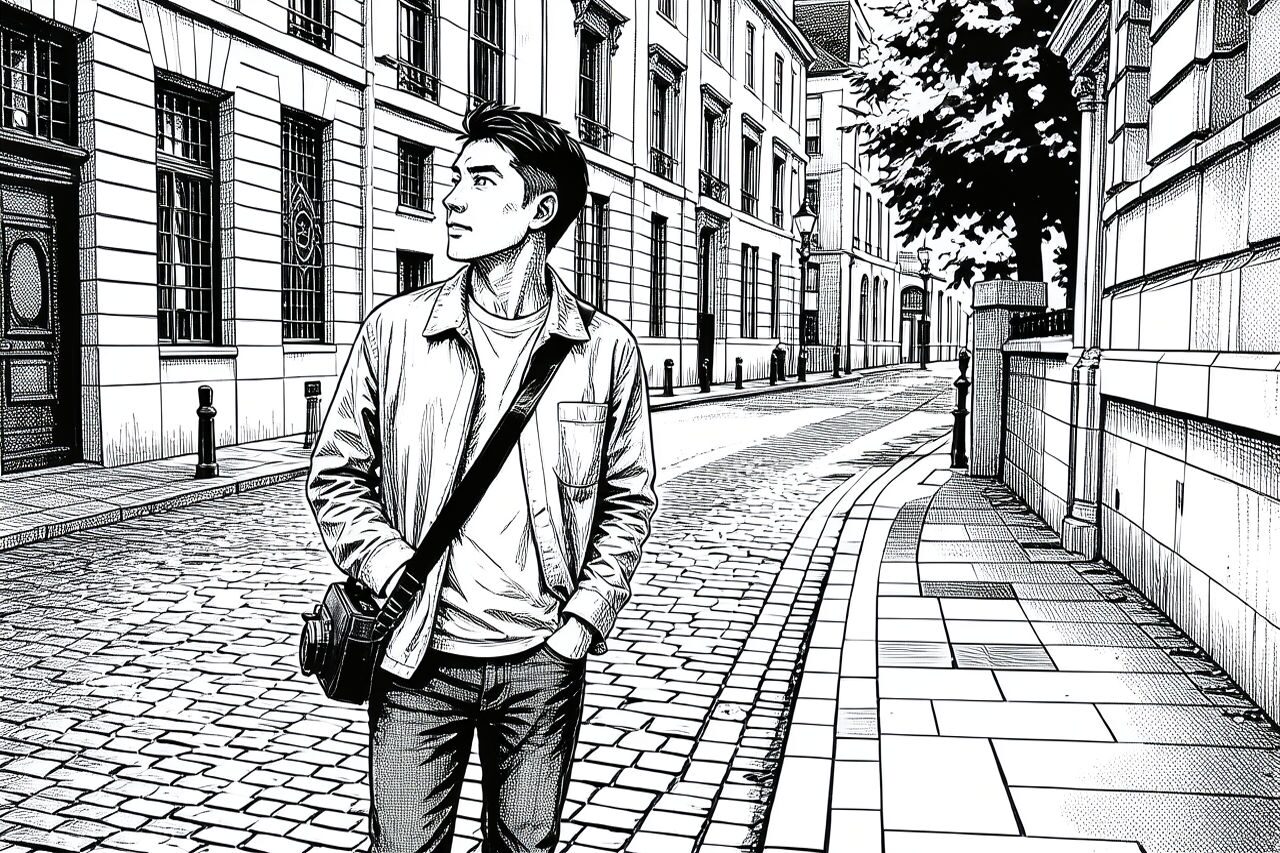
Filter preview
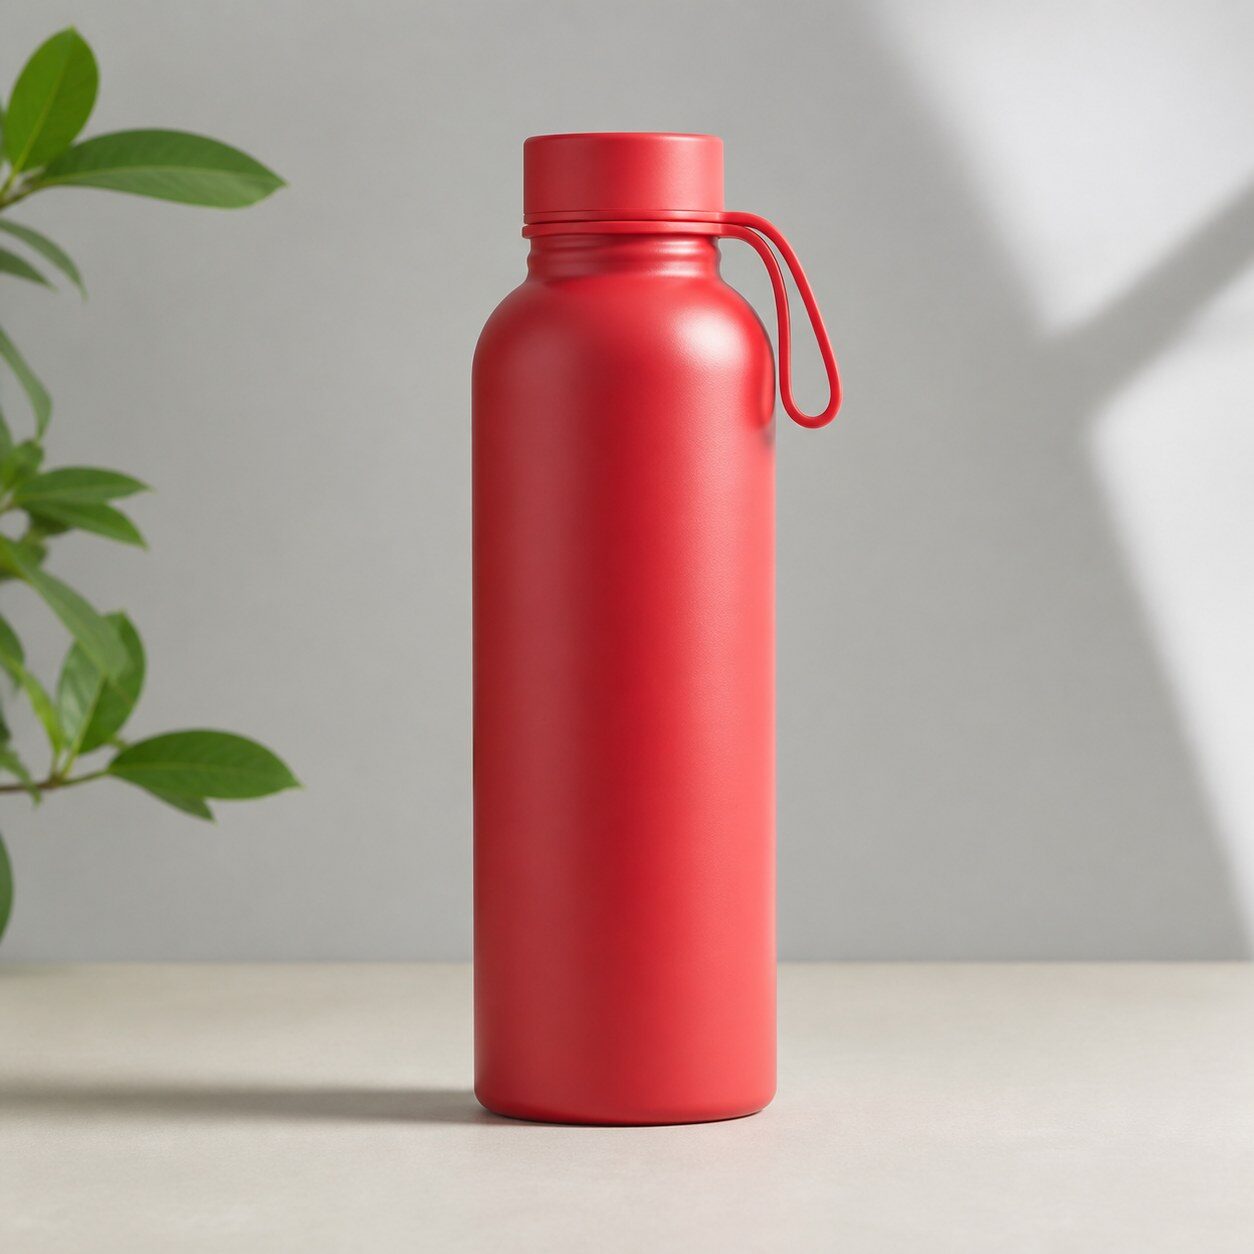
Compare the original photo with the manga result
The example uses a generated source photo and the same filter API path as the app, so users can judge the visual treatment before uploading their own image.
More examples
Test the manga filter on different photo types
Compare portrait, product, and pet examples before opening the filter. Each result uses the same filter API path as the Magic Eraser app.

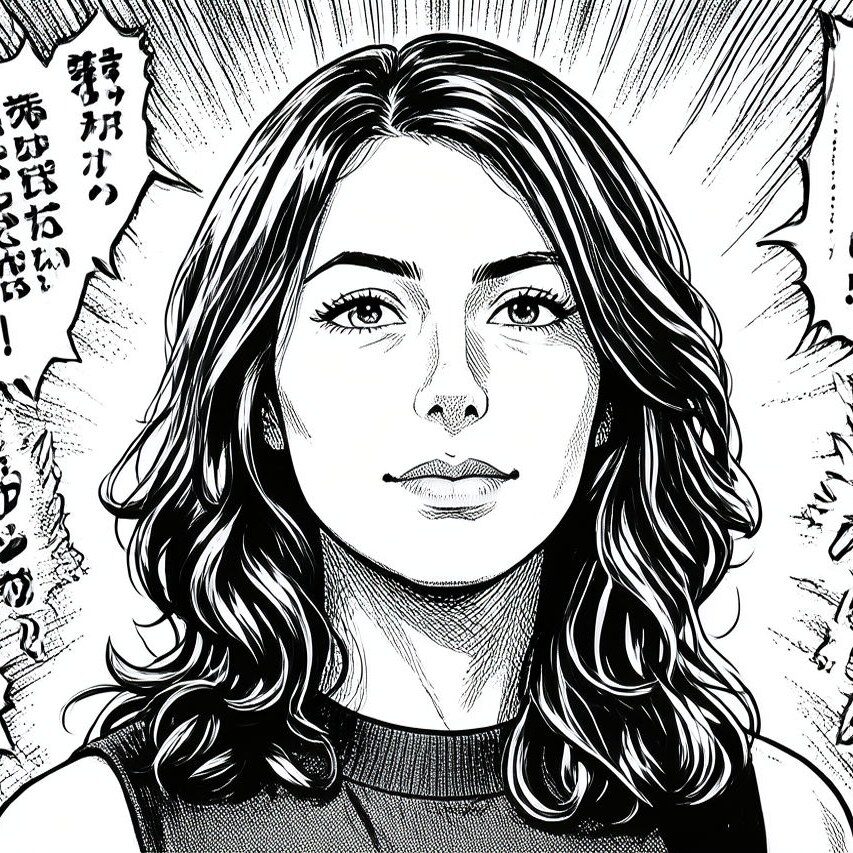
Portrait
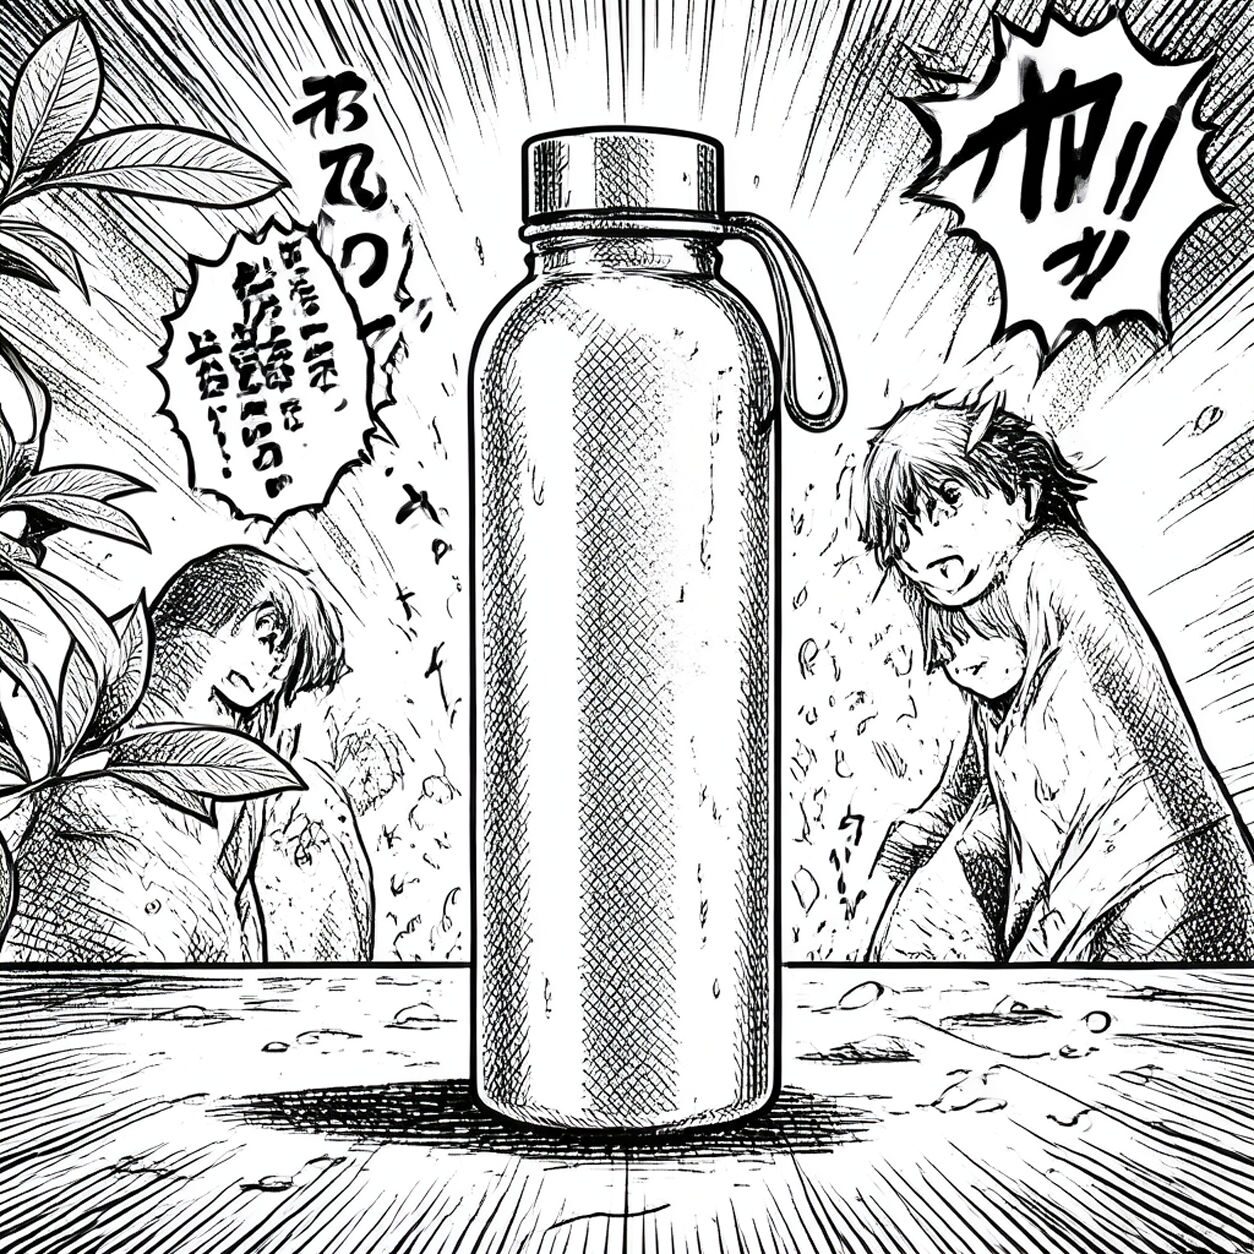
Product

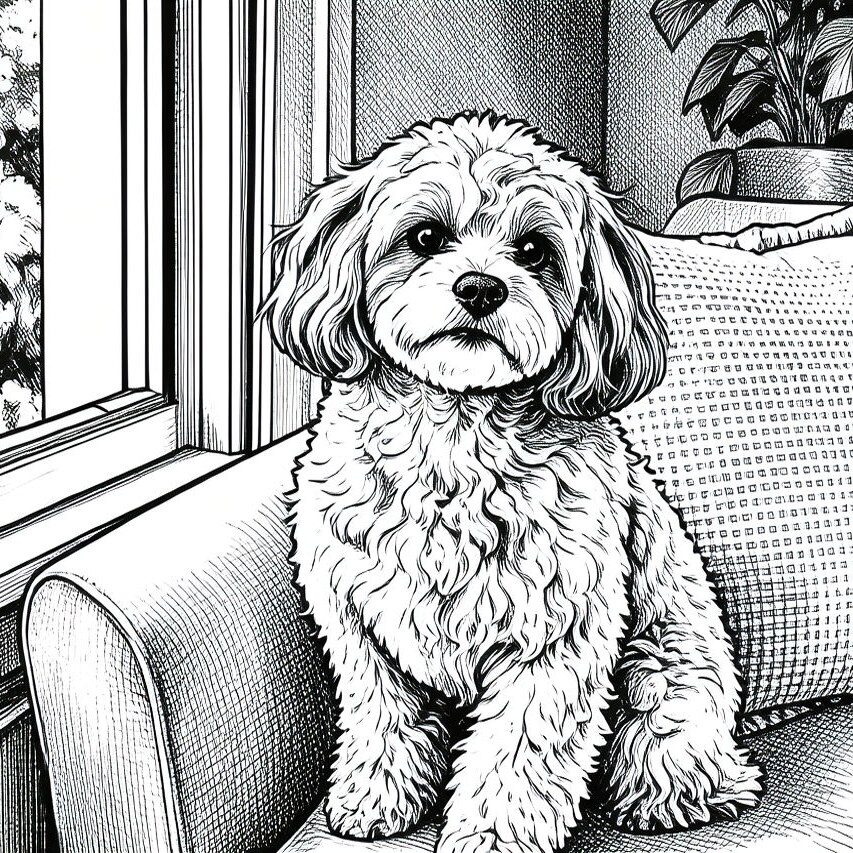
Pet
Photo workflow
How to get a cleaner manga filter result
Wähle ein scharfes, gut beleuchtetes Foto mit einem Hauptmotiv und schlichtem Hintergrund.
Öffne den Manga-Filter, lade das Foto hoch und prüfe Gesichter, Hände, Konturen und Schatten.
Schneide das Ergebnis zu, entferne Artefakte und füge exakten Text oder Logos danach separat hinzu.
Best source photos
- Porträts und Halbaufnahmen mit gut erkennbarem Gesicht.
- Tierfotos mit klarer Pose und Silhouette.
- Produkte oder Objekte mit deutlicher Trennung vom Hintergrund.
Filter tips
- Gleichmäßiges Licht und klare Konturen halten das Motiv erkennbar.
- Vermeide große Gruppen, sehr kleine Gesichter und unruhige Hintergründe.
- Nutze das Ergebnis nicht, wenn Identität, Farbe oder Produktdetails exakt bleiben müssen.
Before upload checklist
- Use the largest clean version of the photo, not a compressed screenshot or reposted image.
- Crop loosely before filtering so the AI has enough room around the subject.
- Remove obvious distractions first if they sit directly on the face, product, or main subject.
- Check the result at the size where it will be used: profile image, feed post, story, thumbnail, or banner.
When this filter is a good fit
Choose the manga filter when the original photo already has a clear subject and the goal is a recognizable stylized version, not a fully new generated scene. It is strongest for social, creator, profile, event, and campaign images where mood matters more than documentary accuracy.
Use a different workflow when the image needs exact product color, legal documentation, medical accuracy, or unmodified identity details. In those cases, use cleanup, crop, enhancement, or background tools instead of a heavy creative filter.
Free browser tools after filtering
FAQ
What should I upload?
Use a clear photo with one main subject. Strong lighting and simple backgrounds usually make the AI filter easier to control.
Can I keep editing after the filter?
Yes. After applying the filter, use Magic Eraser to crop, clean distractions, refine backgrounds, and export the final image.
Is this filter selected automatically?
The CTA opens AI Filter with the manga style parameter, and the app falls back safely if the filter changes.