
Perfekte Produktfotos mit weißem Hintergrund erstellen
Erreiche einen echten RGB-255-Weißhintergrund und bewahre dabei natürliche Produktschatten und Farbgenauigkeit.
Lesson context before the long read
Review the result preview above, then scan the learning objectives below before reading the full lesson. Updated 2026-05-17.
Example visual uses an existing public asset: /content-images/white-background-product-photos-academy.webp.
Learning Objectives
- 1Den ursprünglichen Hintergrund entfernen und durch marktplatzkonformes Reinweiß ersetzen
- 2Natürliche Kontaktschatten bewahren, damit das Produkt geerdet und dreidimensional wirkt
- 3Trotz des hellen weißen Umfelds eine genaue Produktfarbe beibehalten
Warum weiße Hintergründe die Konversion steigern
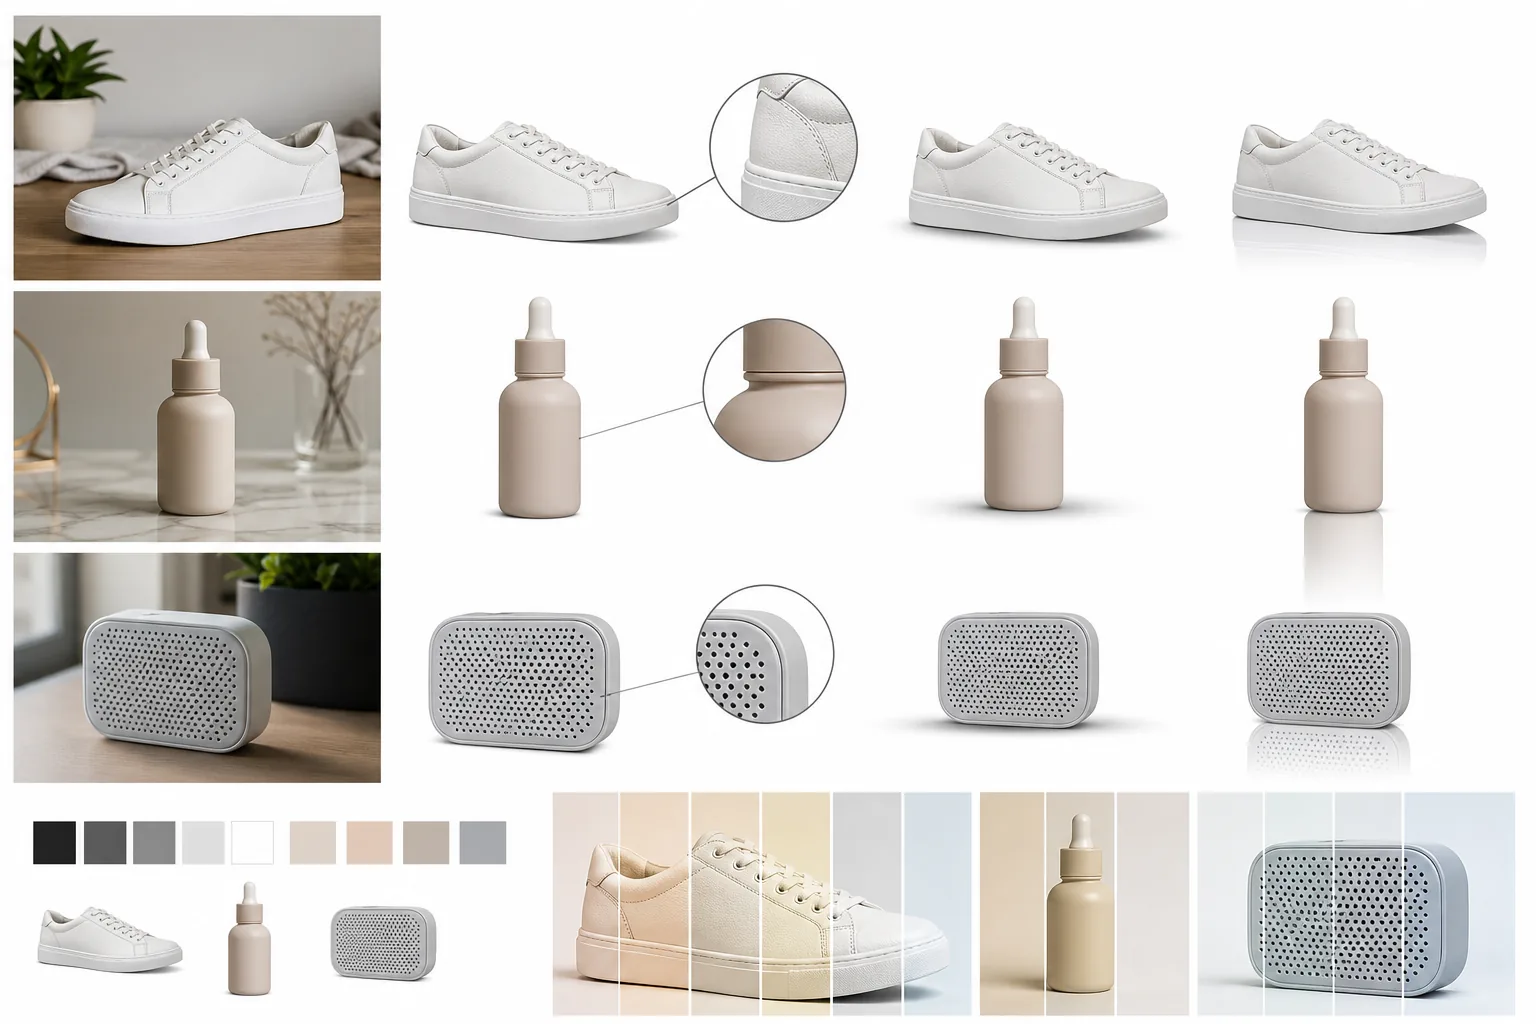
Beginne damit, das Produkt mit der Hintergrundentfernung von Magic Eraser zu isolieren. Sobald das Motiv sauber freigestellt ist, lege eine reinweiße Füllebene dahinter. Prüfe die Kanten bei 200% Zoom, um sicherzustellen, dass es keine dunklen Randpixel gibt, die auf einer weißen Marktplatzseite einen Heiligenschein erzeugen würden. Wenn du Farbsäume siehst, wende den Filter zur Kantenentfärbung an, um diese Pixel hin zu den Farbwerten des Produkts zu verschieben. Das Ziel ist ein unmerklicher Übergang von der Produktkante zum weißen Hintergrund.
Reinweiß ohne Fotostudio erreichen
Flache Produktfreisteller auf Weiß wirken unnatürlich, weil reale Objekte Schatten werfen. Erzeuge einen weichen Kontaktschatten neu, indem du eine mit Gaußscher Unschärfe versehene Ellipse mit etwa 10-15% Deckkraft unter dem Produkt hinzufügst. Positioniere den Schatten leicht unterhalb der Produktbasis, um eine Studiobeleuchtung von oben zu simulieren. Bei reflektierenden Produkten wie Schuhen oder Elektronik fügst du eine subtile Spiegelung hinzu, indem du die untere Kante duplizierst, vertikal spiegelst und mit einer Verlaufsmaske ausblendest. Diese Details lassen sich in Sekunden hinzufügen und steigern die wahrgenommene Qualität erheblich.
Konformität des weißen Hintergrunds prüfen
Ein reinweißes Umfeld kann die automatische Helligkeit deines Monitors täuschen und das Produkt dunkler oder gesättigter erscheinen lassen, als es tatsächlich ist. Kalibriere die Produktfarbe vor dem Export immer anhand des Originalfotos oder einer bekannten Farbprobe. Mit der Farbabgleich-Überlagerung von Magic Eraser kannst du einen Referenzpunkt am Produkt abtasten und ihn zwischen Original und bearbeiteter Version vergleichen. Wenn sich Farbton oder Helligkeit verschoben haben, wende eine gezielte Farbkorrekturebene nur auf das Produkt an und lasse den weißen Hintergrund unberührt.
Key Takeaways
- ✓Die Kantenentfärbung beseitigt dunkle Randpixel gegen reines Weiß
- ✓Weiche Kontaktschatten und Spiegelungen verleihen Aufnahmen mit weißem Hintergrund realistische Tiefe
- ✓Überprüfe nach dem Hintergrundwechsel immer die Genauigkeit der Produktfarbe anhand des Originals