
AI Filter style
Bộ lọc ảnh film noir bằng AI
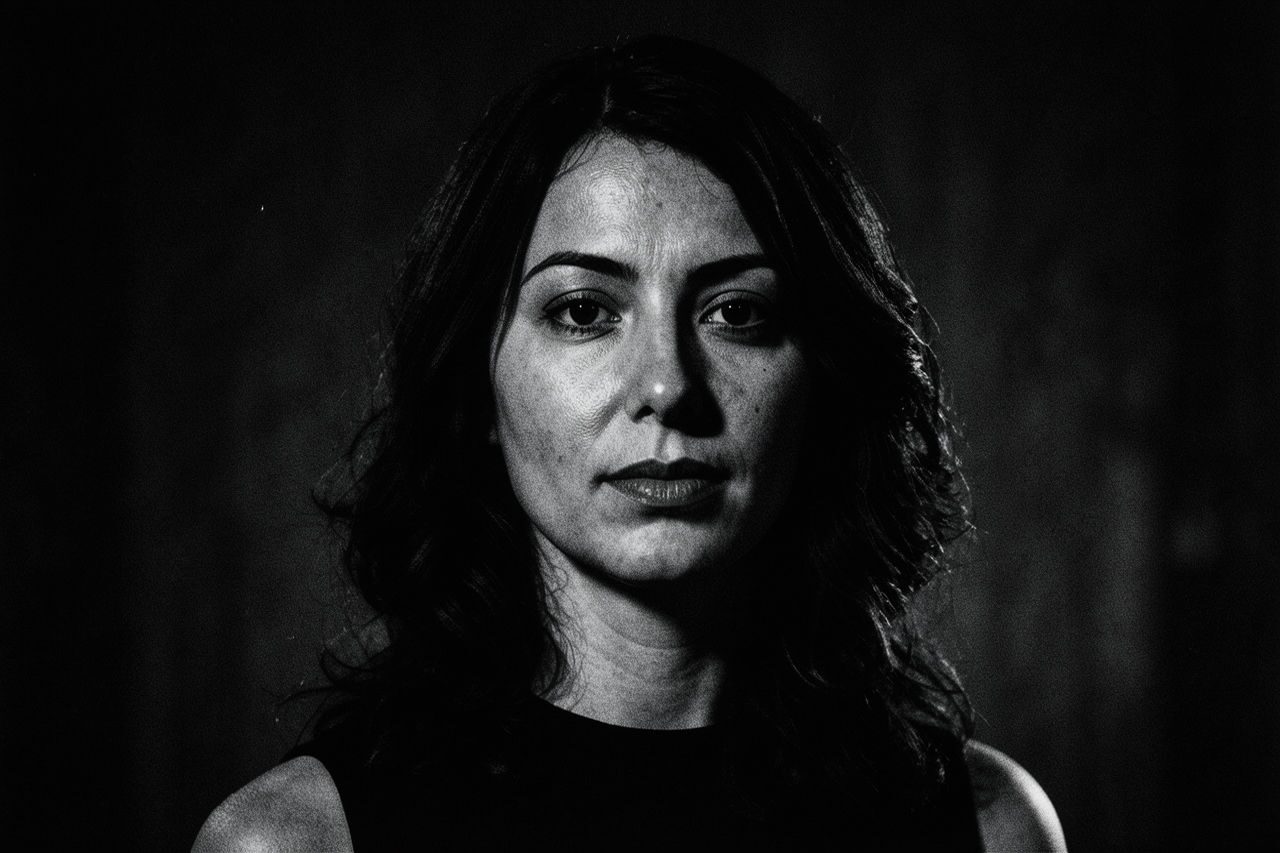
Biến ảnh thành cảnh đen trắng đậm chất điện ảnh với bóng tối sâu, ánh sáng tương phản và không khí trinh thám cổ điển. Phù hợp cho chân dung, ảnh đường phố và áp phích; hiệu ứng có thể thay đổi chi tiết nhỏ nên hãy kiểm tra khuôn mặt, chữ và logo.

Use case
Chân dung kịch tính và ảnh đại diện điện ảnh.
Use case
Áp phích, bìa nhạc và hình thu nhỏ bí ẩn.
Use case
Ảnh đường phố hoặc kiến trúc có ánh sáng và bóng đổ rõ.
Filter preview
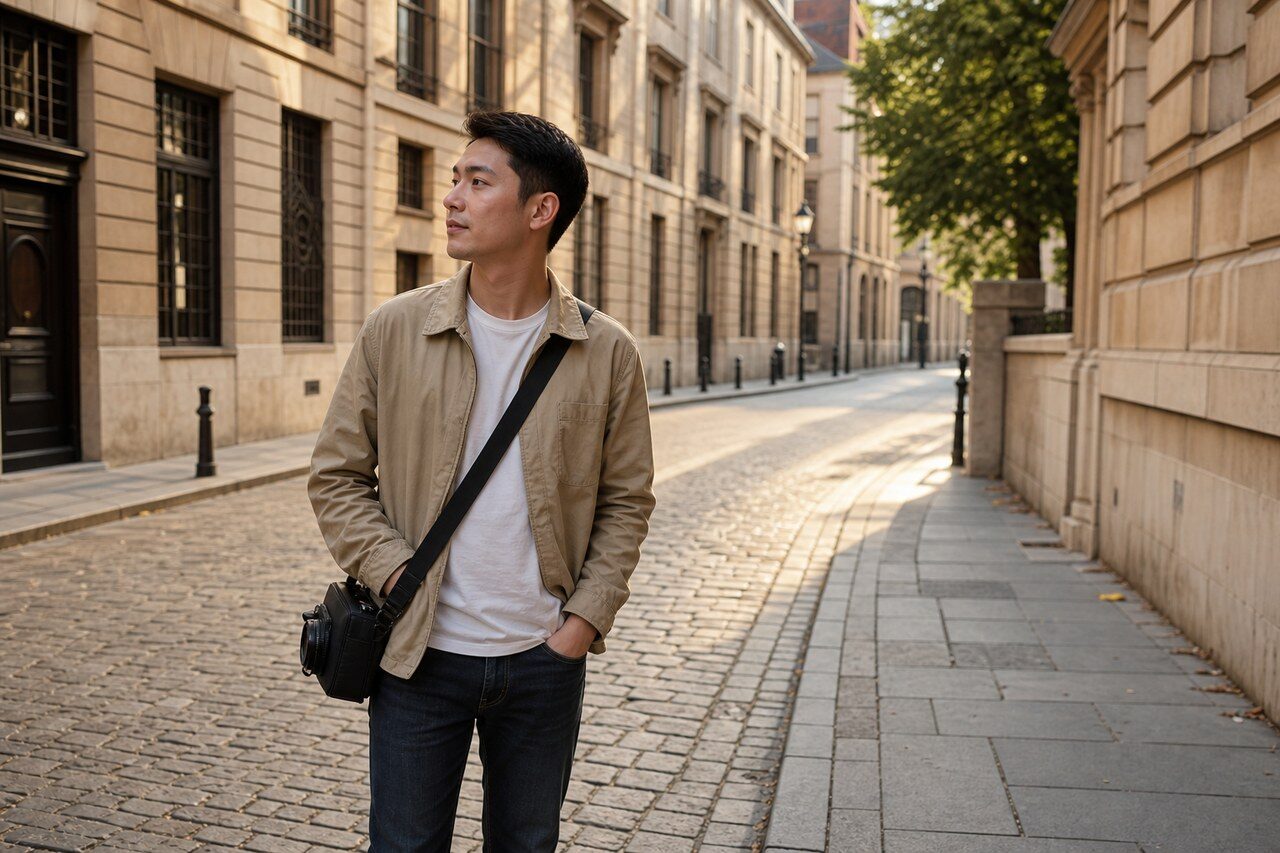
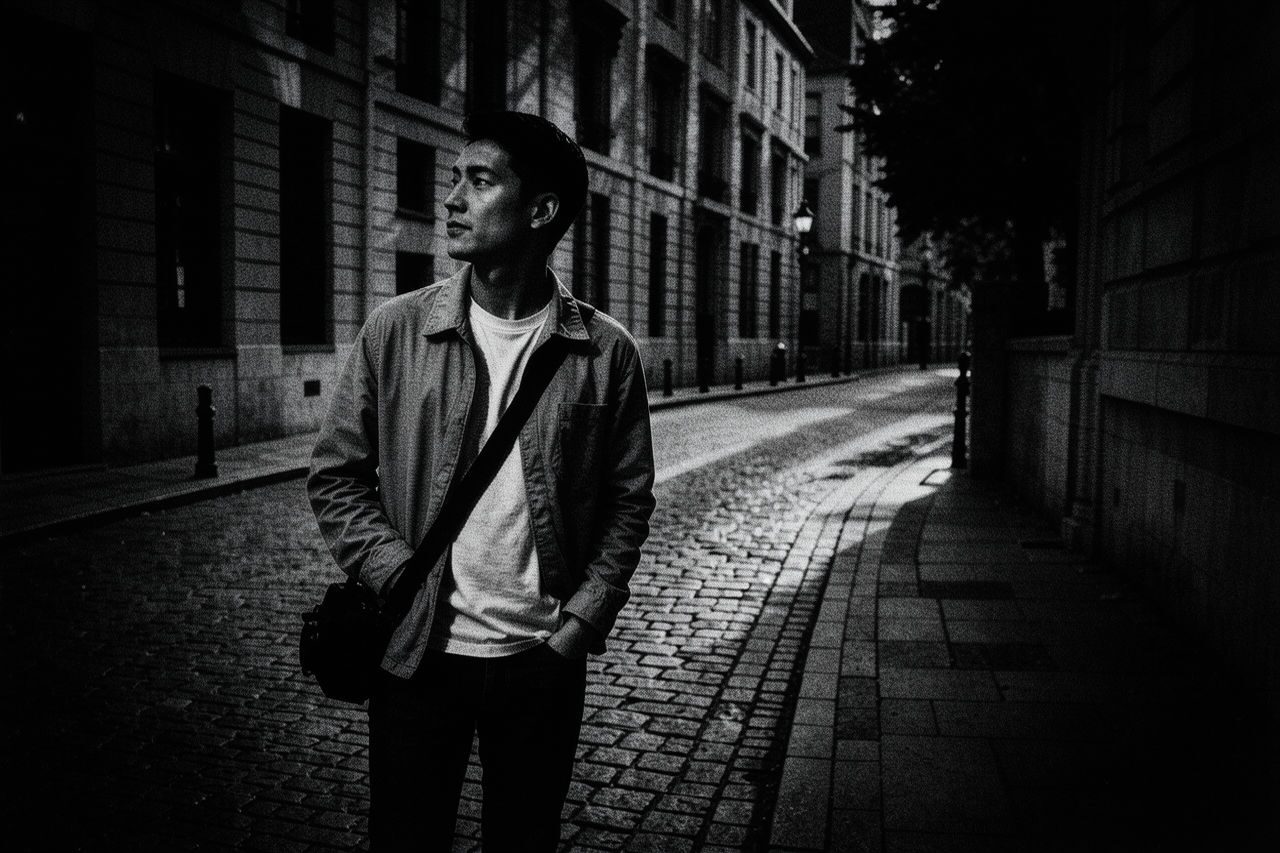
Compare the original photo with the film noir result
The example uses a generated source photo and the same filter API path as the app, so users can judge the visual treatment before uploading their own image.
More examples
Test the film noir filter on different photo types
Compare portrait, product, and pet examples before opening the filter. Each result uses the same filter API path as the Magic Eraser app.

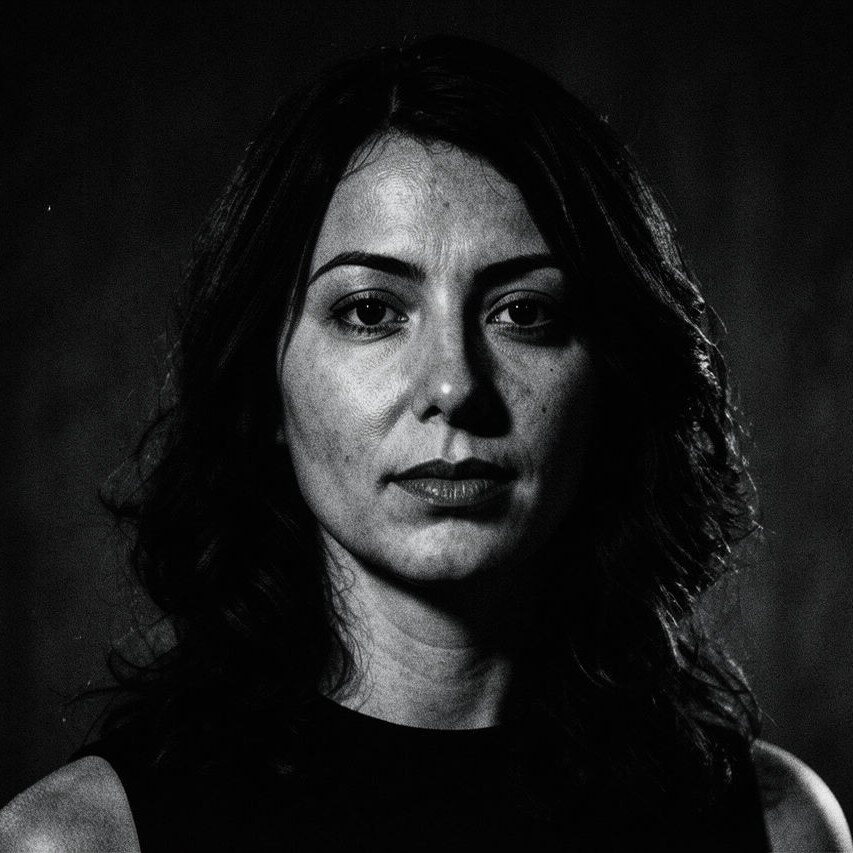
Portrait
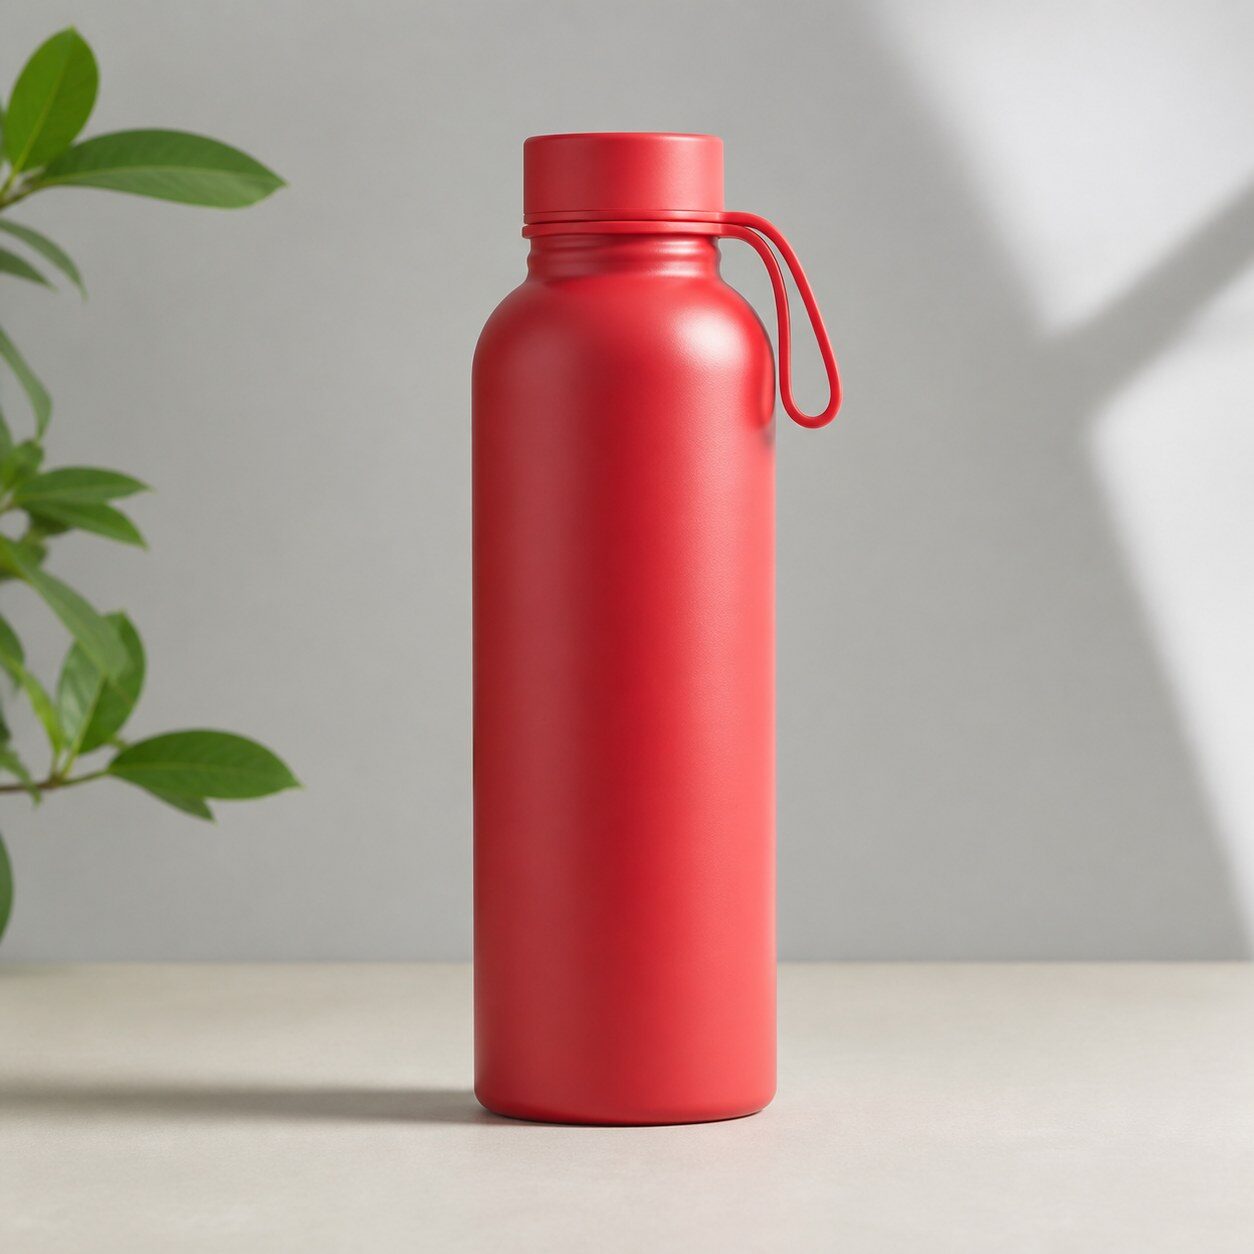
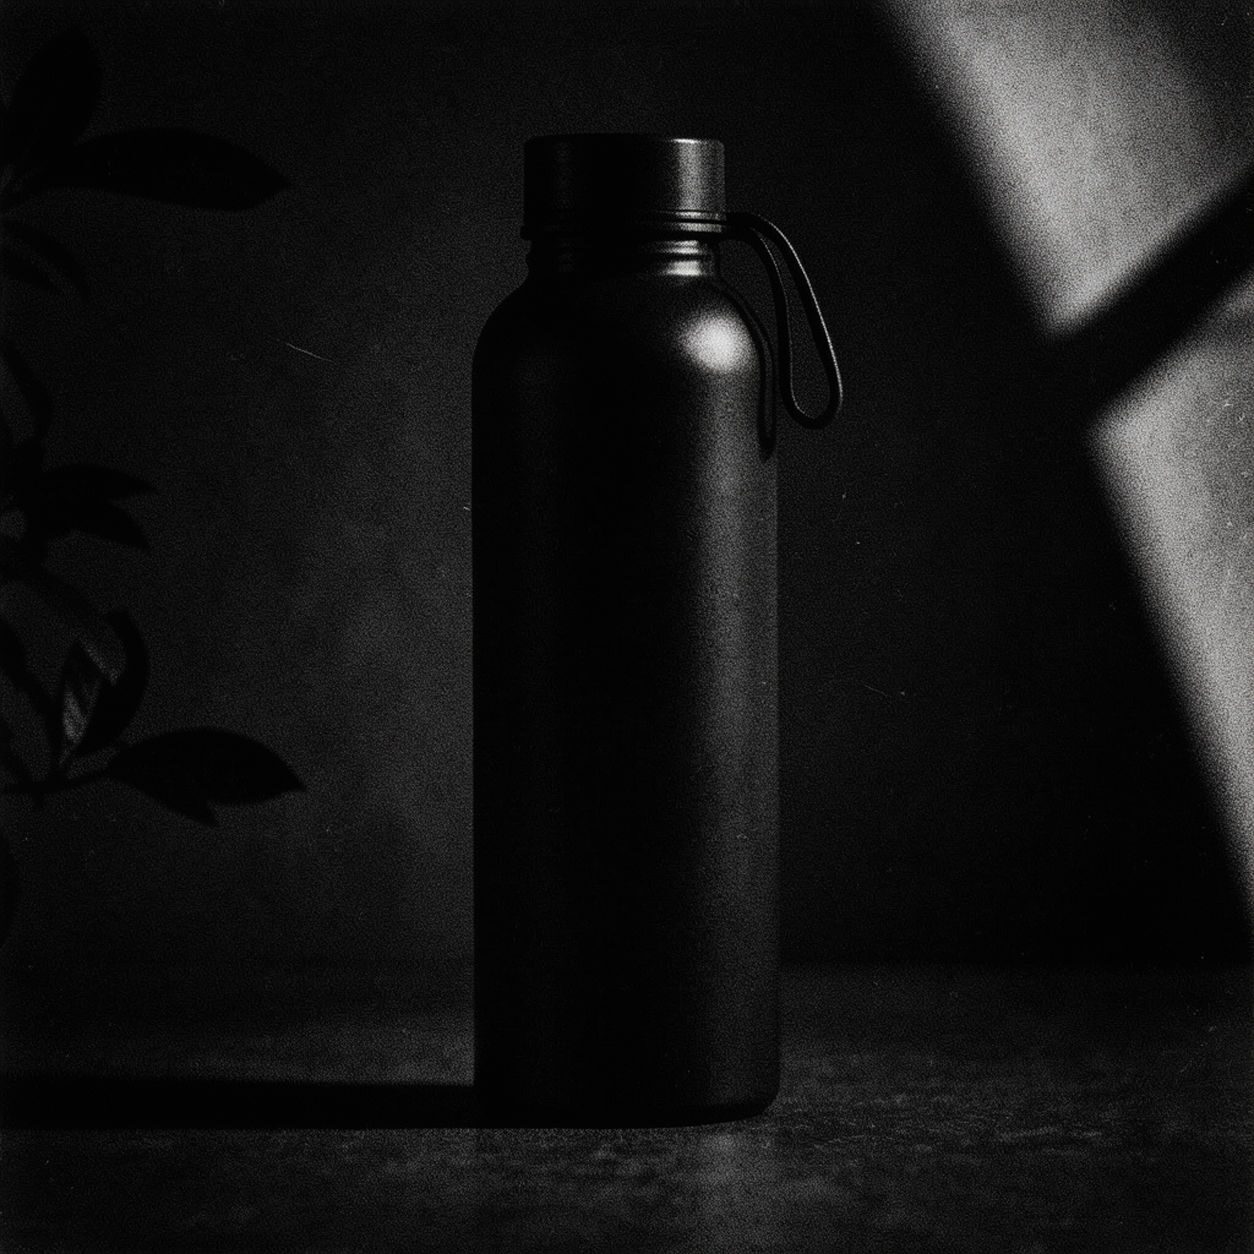
Product

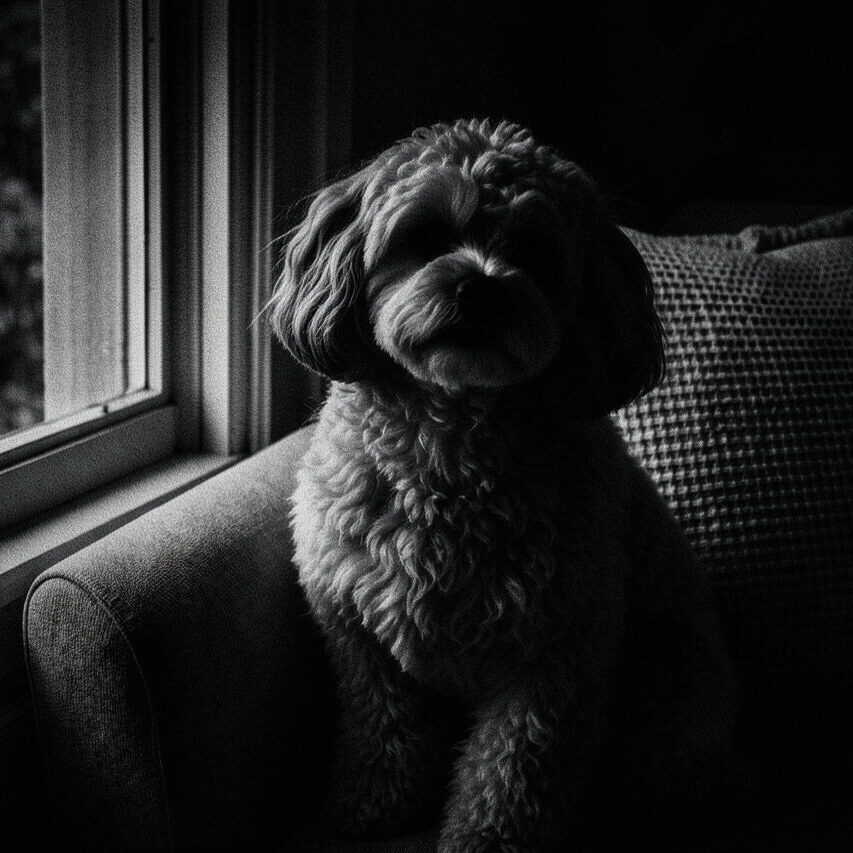
Pet
Photo workflow
How to get a cleaner film noir filter result
Chọn ảnh sắc nét với một chủ thể chính và ánh sáng có hướng.
Mở trực tiếp bộ lọc film noir, tải ảnh lên và so sánh vùng sáng, bóng tối cùng khuôn mặt.
Cắt ảnh, xóa chi tiết lỗi và thêm chữ hoặc logo chính xác sau khi lọc.
Best source photos
- Chân dung và ảnh bán thân có ánh sáng rõ.
- Cảnh đường phố, kiến trúc và xe cộ vào ban đêm.
- Ảnh sản phẩm đơn giản có đường nét mạnh.
Filter tips
- Ánh sáng bên và nền đơn giản thường tạo bóng đổ rõ hơn.
- Kiểm tra chi tiết trong vùng tối trước khi tải xuống.
- Không dùng kết quả khi cần màu sắc hoặc độ chính xác tư liệu.
Before upload checklist
- Use the largest clean version of the photo, not a compressed screenshot or reposted image.
- Crop loosely before filtering so the AI has enough room around the subject.
- Remove obvious distractions first if they sit directly on the face, product, or main subject.
- Check the result at the size where it will be used: profile image, feed post, story, thumbnail, or banner.
When this filter is a good fit
Choose the film noir filter when the original photo already has a clear subject and the goal is a recognizable stylized version, not a fully new generated scene. It is strongest for social, creator, profile, event, and campaign images where mood matters more than documentary accuracy.
Use a different workflow when the image needs exact product color, legal documentation, medical accuracy, or unmodified identity details. In those cases, use cleanup, crop, enhancement, or background tools instead of a heavy creative filter.
Free browser tools after filtering
FAQ
What should I upload?
Use a clear photo with one main subject. Strong lighting and simple backgrounds usually make the AI filter easier to control.
Can I keep editing after the filter?
Yes. After applying the filter, use Magic Eraser to crop, clean distractions, refine backgrounds, and export the final image.
Is this filter selected automatically?
The CTA opens AI Filter with the film noir style parameter, and the app falls back safely if the filter changes.