
AI Filter style
ИИ-фильтр гранж для фото
Придайте фотографиям грубую гранжевую эстетику с потёртыми текстурами, сильным контрастом и приглушёнными цветами. Стиль подходит для портретов, снимков групп, уличной моды и товаров; эффект может менять мелкие детали, поэтому проверяйте лица, текст и логотипы.

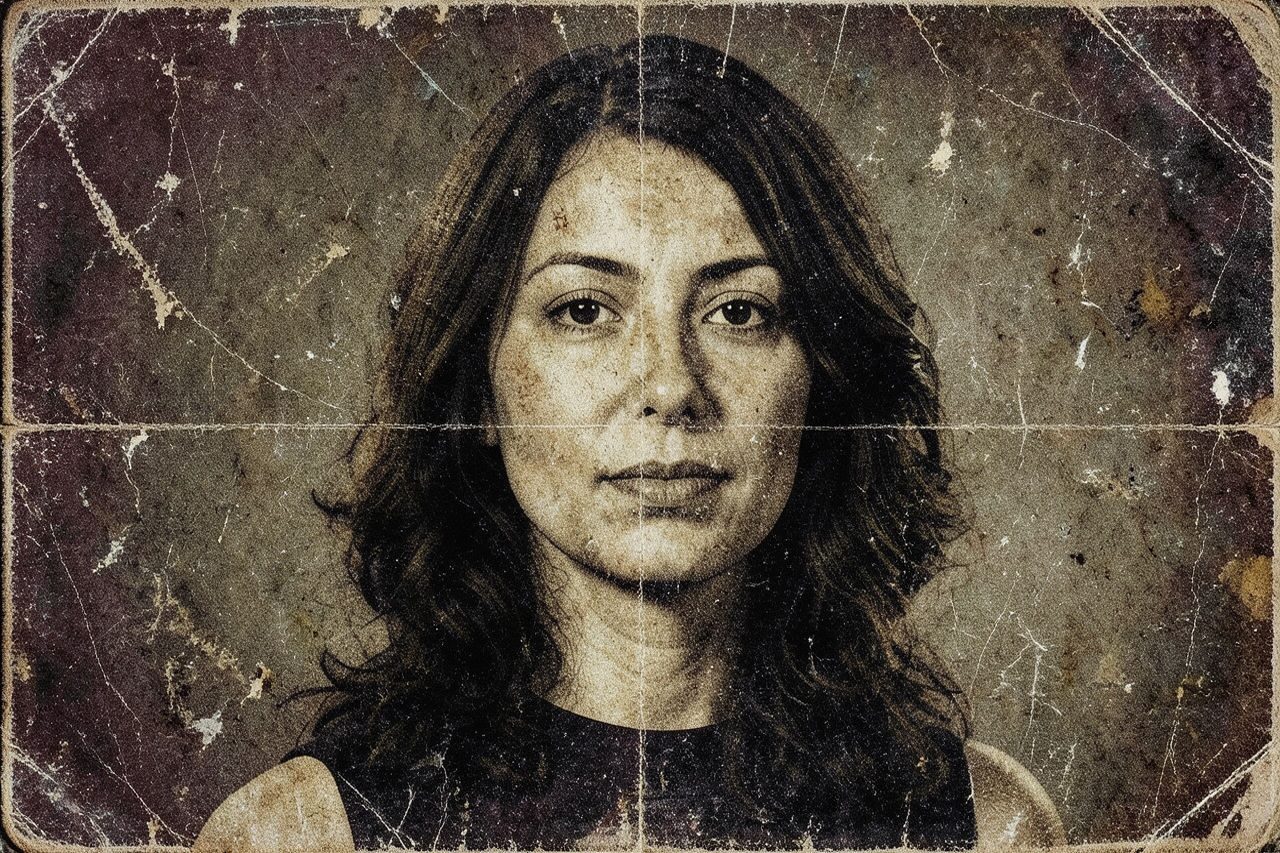
Use case
Портреты артистов, аватары и музыкальные обложки с грубой эстетикой.
Use case
Публикации об уличной моде, афиши и миниатюры.
Use case
Предметные и лайфстайл-фото, которым нужна состаренная фактура.
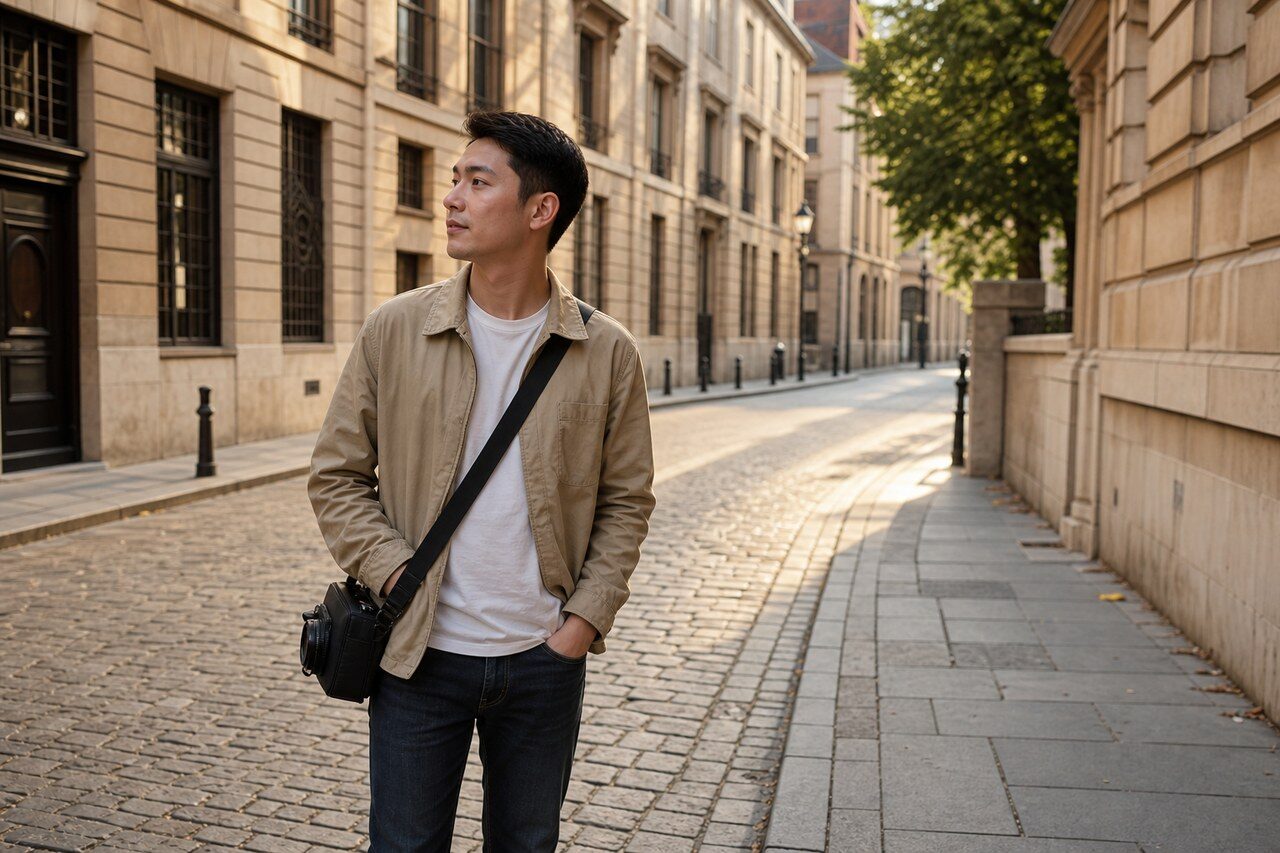
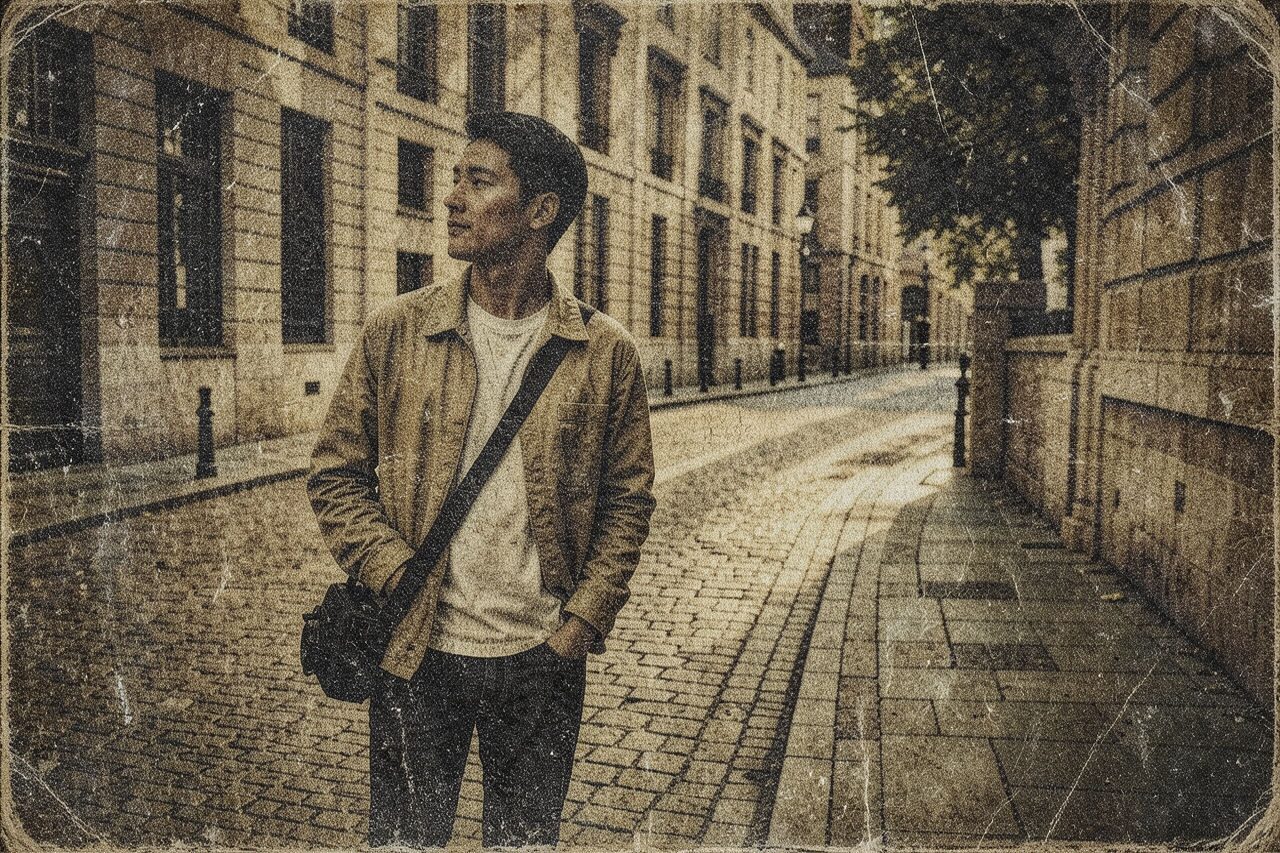
Filter preview
Compare the original photo with the grunge result
The example uses a generated source photo and the same filter API path as the app, so users can judge the visual treatment before uploading their own image.
More examples
Test the grunge filter on different photo types
Compare portrait, product, and pet examples before opening the filter. Each result uses the same filter API path as the Magic Eraser app.

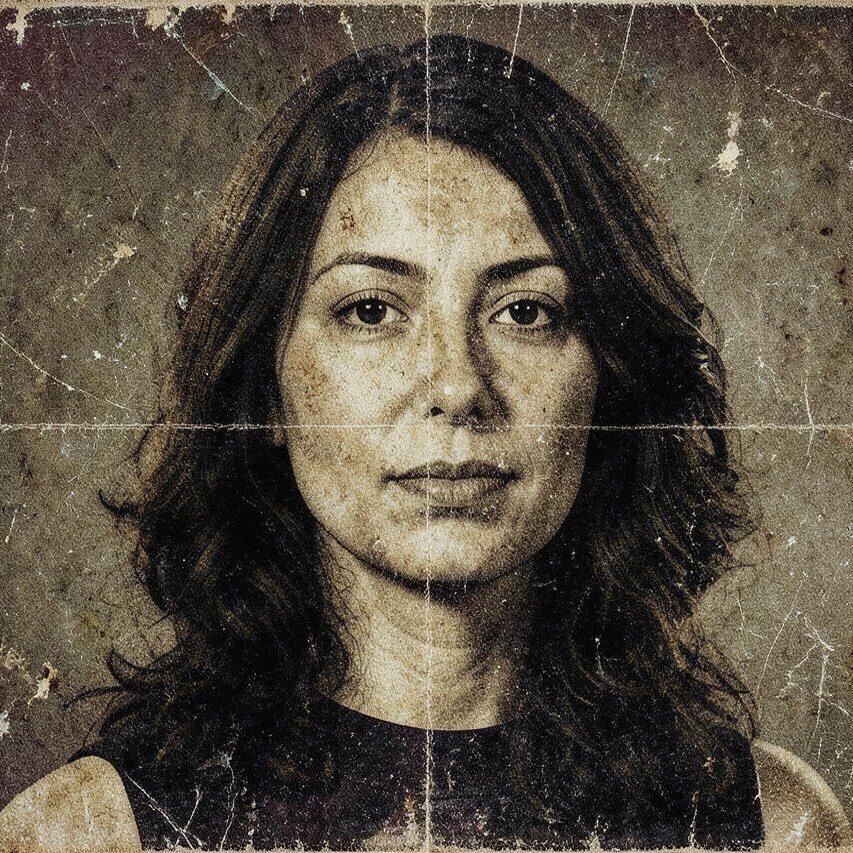
Portrait
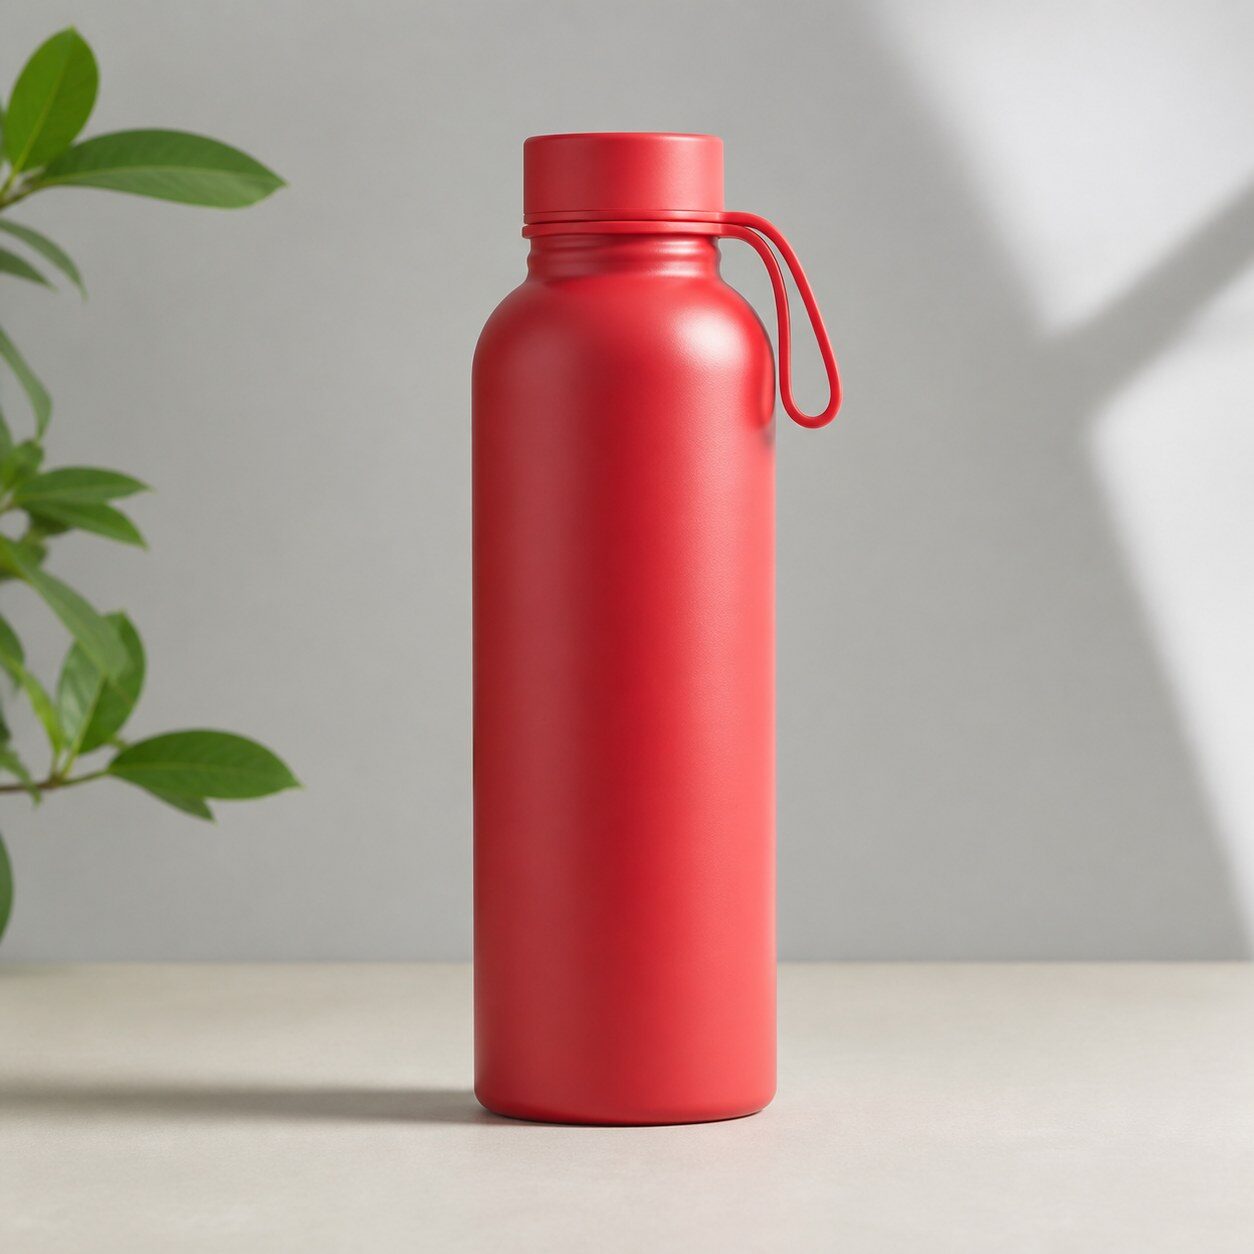
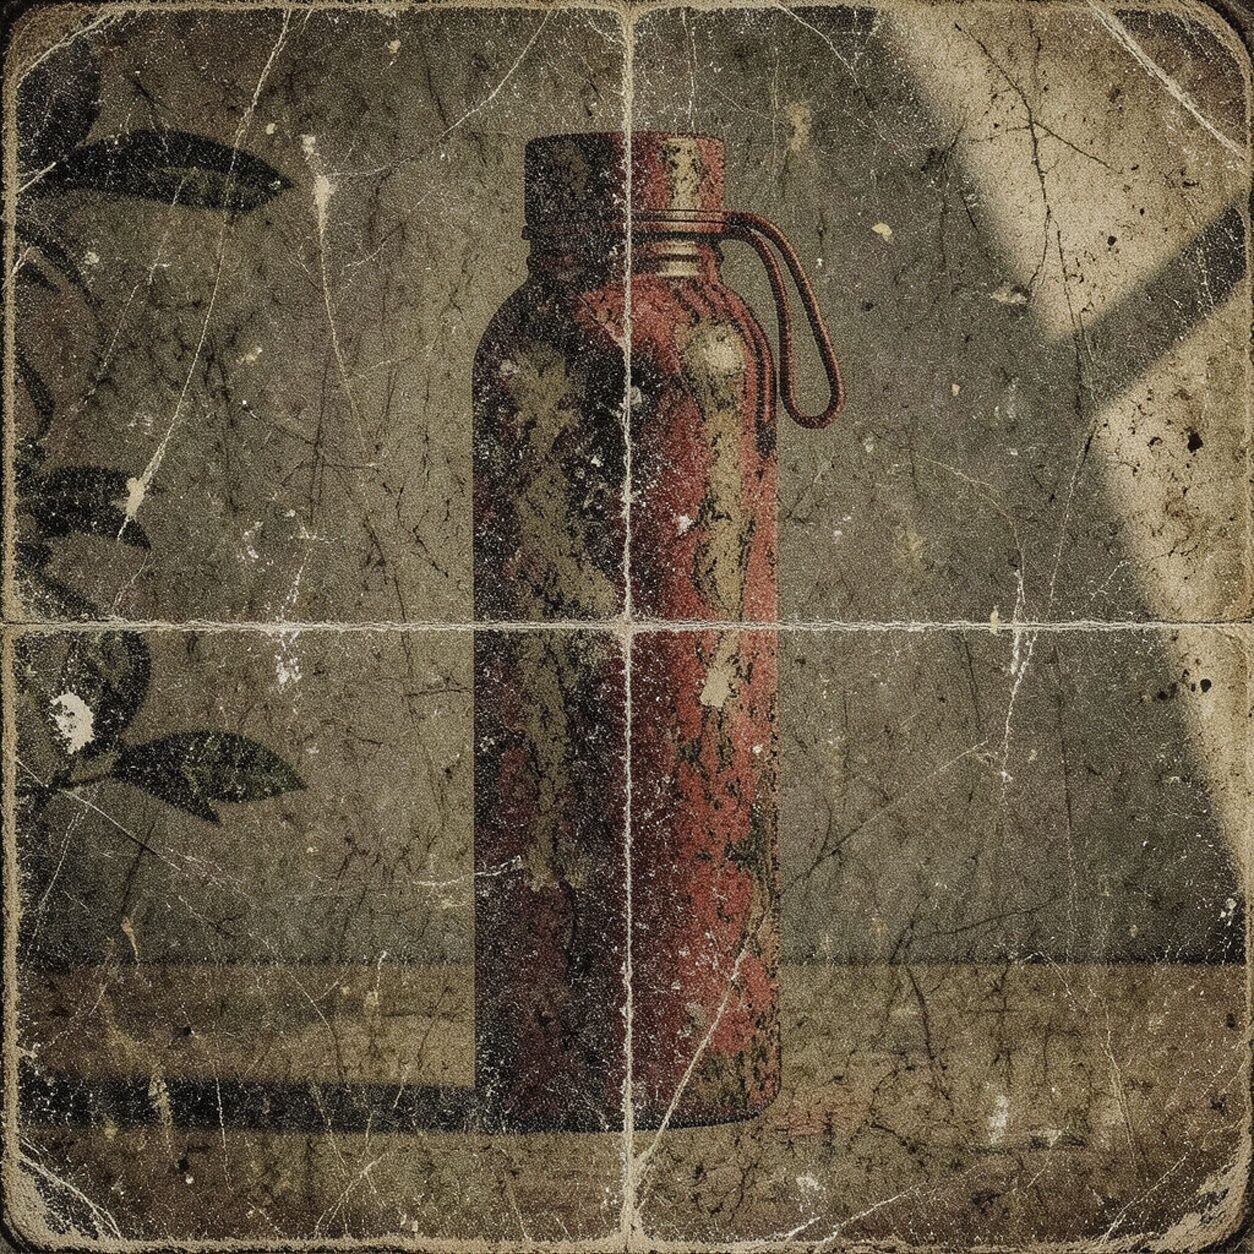
Product

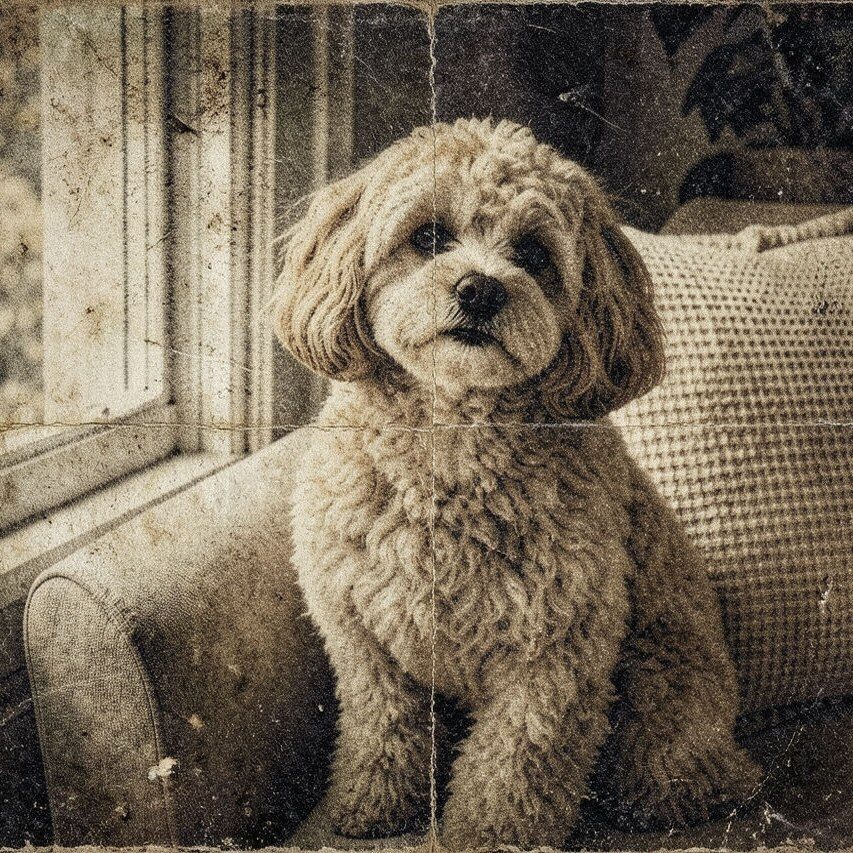
Pet
Photo workflow
How to get a cleaner grunge filter result
Выберите чёткое фото с одним главным объектом и достаточно простым фоном.
Откройте фильтр гранж, загрузите фото и сравните лица, края и тени.
Кадрируйте, удалите артефакты, а точный текст и логотипы добавьте после фильтрации.
Best source photos
- Портреты и модные фото с чёткими контурами.
- Музыкальные, уличные и событийные фото с простой композицией.
- Предметные фото с хорошим отделением от фона.
Filter tips
- Ясное освещение не даст объекту потеряться в текстуре.
- Избегайте сильно сжатых изображений и важных мелких деталей.
- Не используйте результат, если цвета или детали товара должны быть точными.
Before upload checklist
- Use the largest clean version of the photo, not a compressed screenshot or reposted image.
- Crop loosely before filtering so the AI has enough room around the subject.
- Remove obvious distractions first if they sit directly on the face, product, or main subject.
- Check the result at the size where it will be used: profile image, feed post, story, thumbnail, or banner.
When this filter is a good fit
Choose the grunge filter when the original photo already has a clear subject and the goal is a recognizable stylized version, not a fully new generated scene. It is strongest for social, creator, profile, event, and campaign images where mood matters more than documentary accuracy.
Use a different workflow when the image needs exact product color, legal documentation, medical accuracy, or unmodified identity details. In those cases, use cleanup, crop, enhancement, or background tools instead of a heavy creative filter.
Free browser tools after filtering
FAQ
What should I upload?
Use a clear photo with one main subject. Strong lighting and simple backgrounds usually make the AI filter easier to control.
Can I keep editing after the filter?
Yes. After applying the filter, use Magic Eraser to crop, clean distractions, refine backgrounds, and export the final image.
Is this filter selected automatically?
The CTA opens AI Filter with the grunge style parameter, and the app falls back safely if the filter changes.