
AI Filter style
Filter foto film noir AI
Ubah foto menjadi adegan hitam putih sinematik dengan bayangan pekat, cahaya kontras, dan suasana kriminal klasik. Cocok untuk potret, suasana jalan, dan poster; efek dapat mengubah detail kecil, jadi periksa wajah, teks, dan logo.

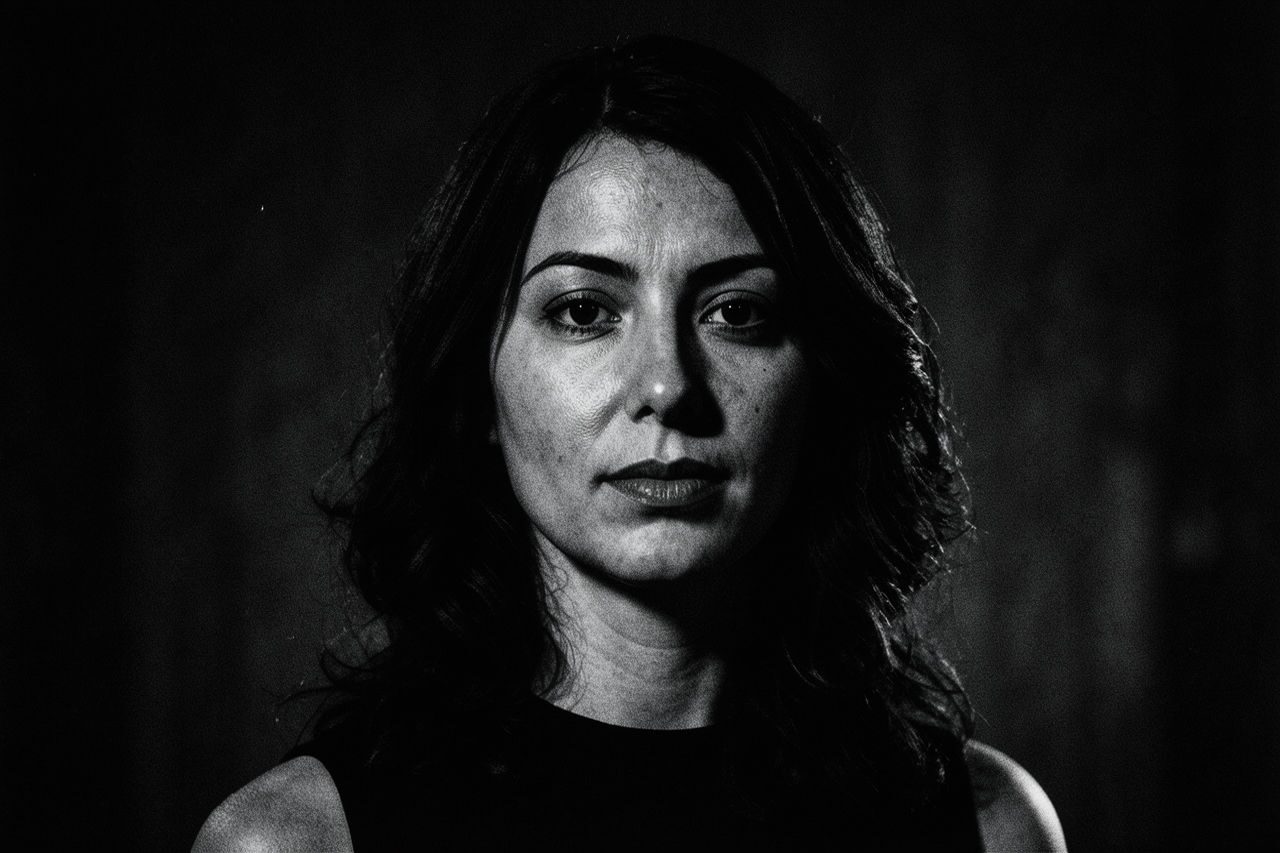
Use case
Potret dramatis dan foto profil sinematik.
Use case
Poster, sampul musik, dan gambar mini bernuansa misterius.
Use case
Foto jalan atau arsitektur dengan cahaya dan bayangan tegas.
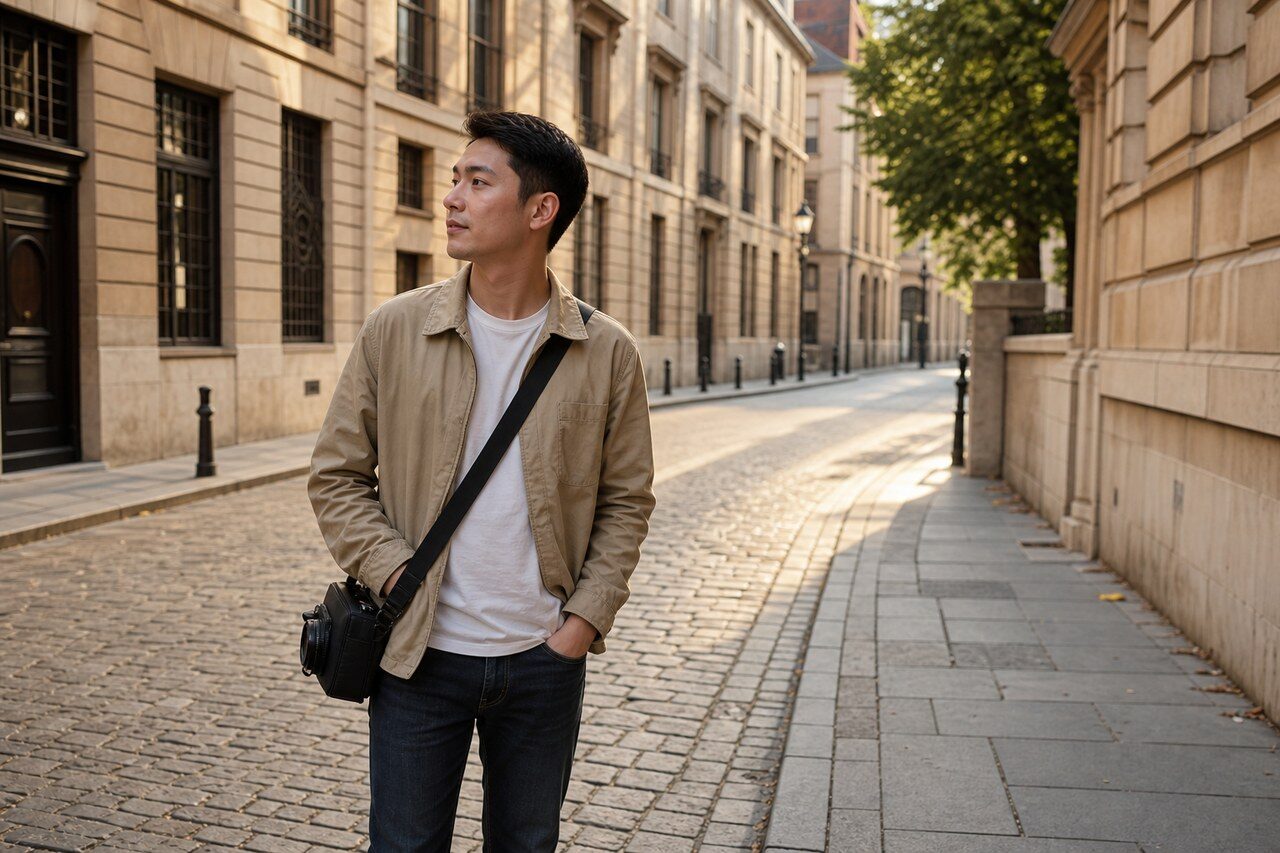
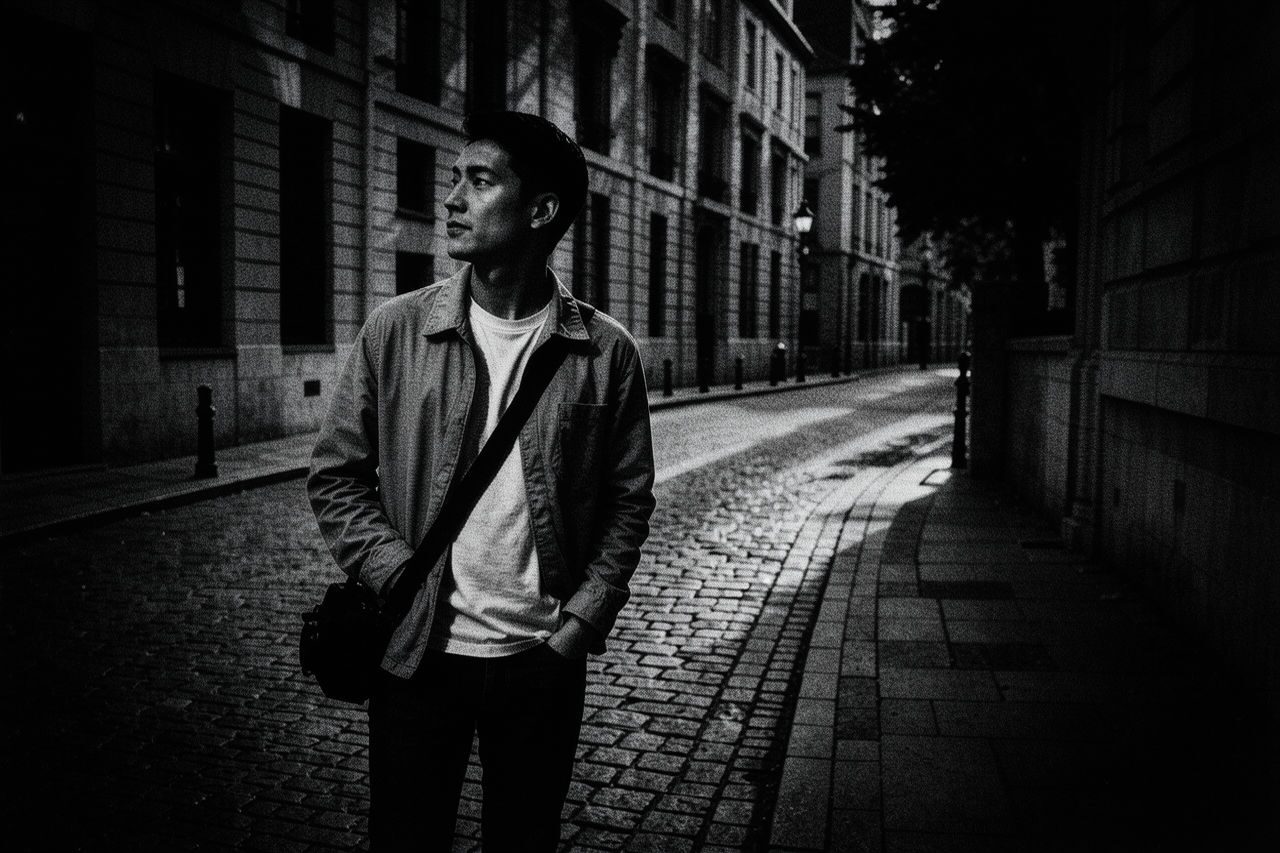
Filter preview
Compare the original photo with the film noir result
The example uses a generated source photo and the same filter API path as the app, so users can judge the visual treatment before uploading their own image.
More examples
Test the film noir filter on different photo types
Compare portrait, product, and pet examples before opening the filter. Each result uses the same filter API path as the Magic Eraser app.

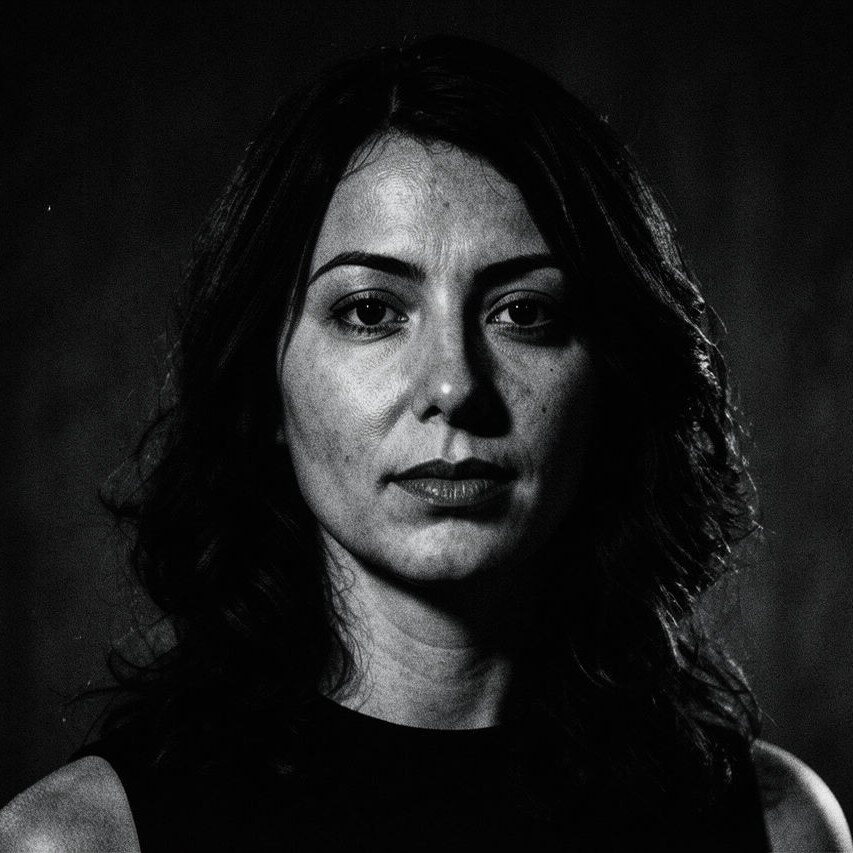
Portrait
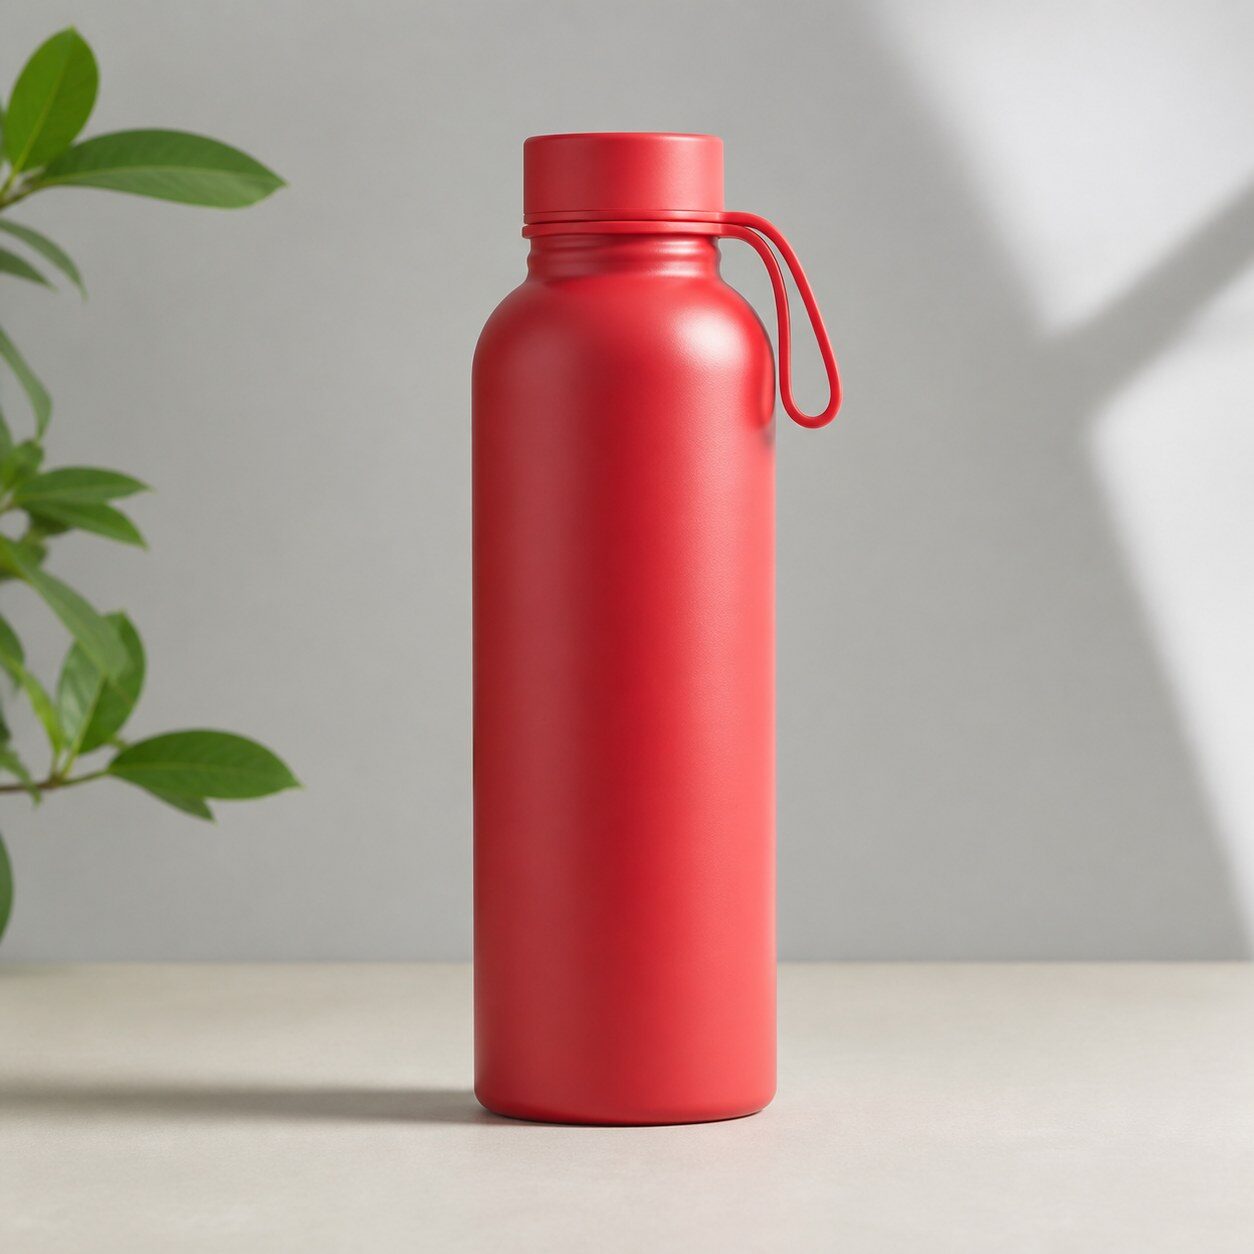
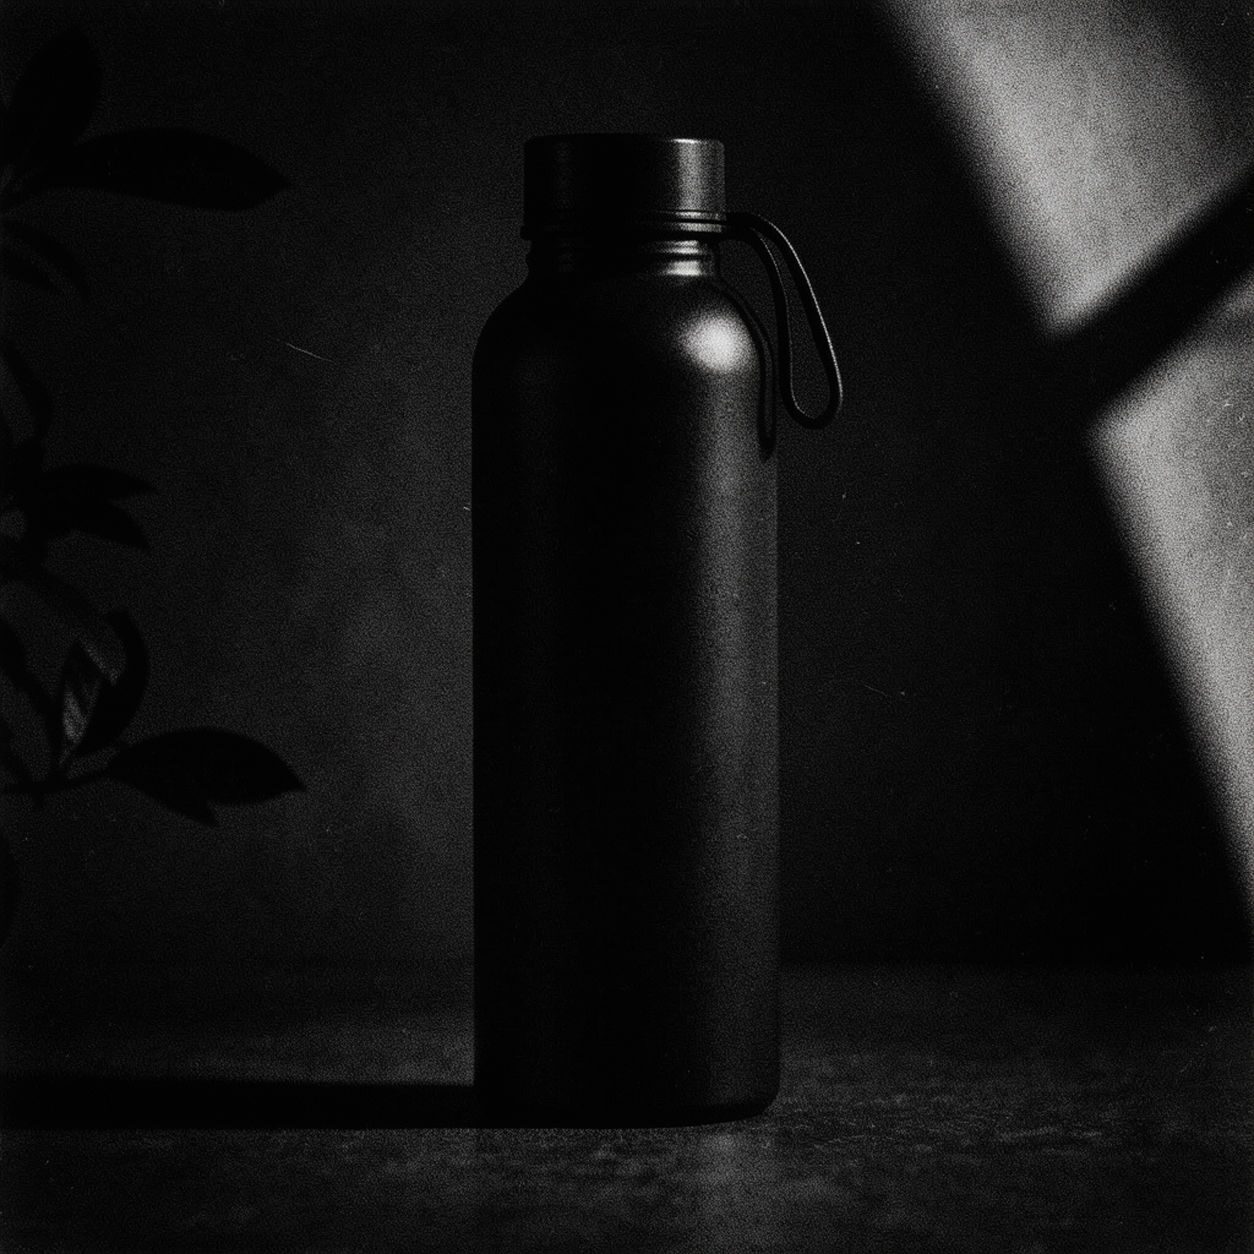
Product

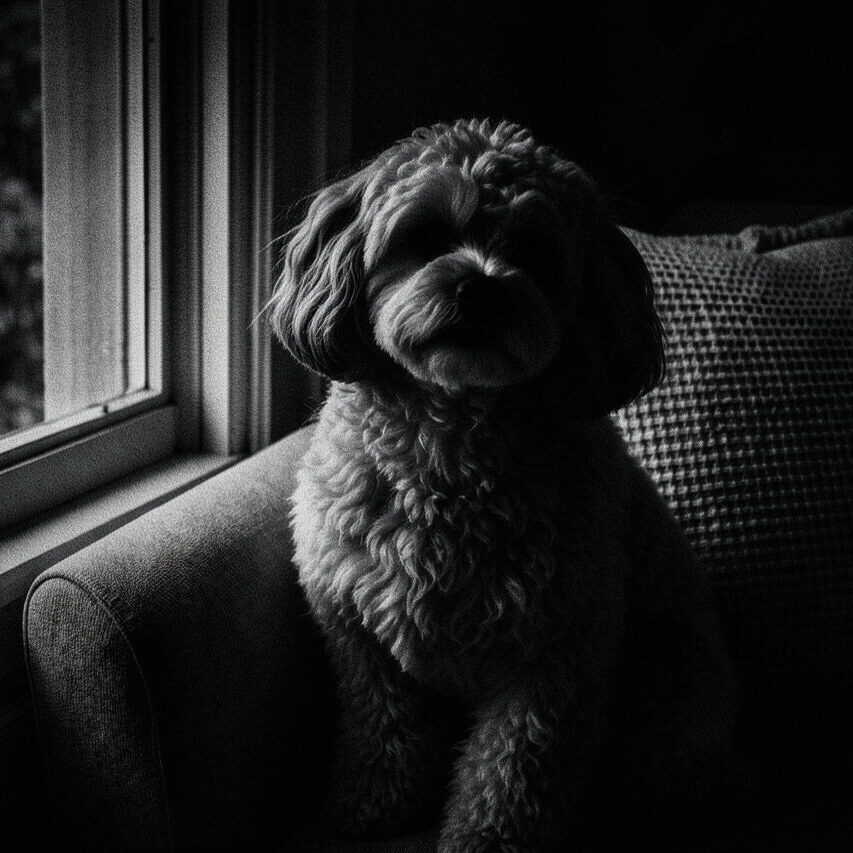
Pet
Photo workflow
How to get a cleaner film noir filter result
Pilih foto tajam dengan satu subjek utama dan cahaya terarah.
Buka langsung filter film noir, unggah foto, lalu bandingkan sorotan, bayangan, dan wajah.
Pangkas, hapus artefak, lalu tambahkan teks atau logo yang tepat setelahnya.
Best source photos
- Potret dan foto setengah badan dengan cahaya jelas.
- Jalan, arsitektur, dan kendaraan pada malam hari.
- Foto produk sederhana dengan kontur kuat.
Filter tips
- Cahaya samping dan latar sederhana biasanya menghasilkan bayangan lebih jelas.
- Periksa detail di area gelap sebelum mengunduh.
- Jangan gunakan hasilnya jika warna atau ketepatan dokumenter diperlukan.
Before upload checklist
- Use the largest clean version of the photo, not a compressed screenshot or reposted image.
- Crop loosely before filtering so the AI has enough room around the subject.
- Remove obvious distractions first if they sit directly on the face, product, or main subject.
- Check the result at the size where it will be used: profile image, feed post, story, thumbnail, or banner.
When this filter is a good fit
Choose the film noir filter when the original photo already has a clear subject and the goal is a recognizable stylized version, not a fully new generated scene. It is strongest for social, creator, profile, event, and campaign images where mood matters more than documentary accuracy.
Use a different workflow when the image needs exact product color, legal documentation, medical accuracy, or unmodified identity details. In those cases, use cleanup, crop, enhancement, or background tools instead of a heavy creative filter.
Free browser tools after filtering
FAQ
What should I upload?
Use a clear photo with one main subject. Strong lighting and simple backgrounds usually make the AI filter easier to control.
Can I keep editing after the filter?
Yes. After applying the filter, use Magic Eraser to crop, clean distractions, refine backgrounds, and export the final image.
Is this filter selected automatically?
The CTA opens AI Filter with the film noir style parameter, and the app falls back safely if the filter changes.