
AI Filter style
Filtro foto AI Acero
Applica il filtro foto AI Acero a ritratti, animali, prodotti e foto di viaggio per ottenere un trattamento caldo ispirato all’autunno, con toni ambrati, rossi e dorati. Guarda l’anteprima, controlla i dettagli importanti, quindi ritaglia o ripulisci l’immagine prima dell’esportazione.


Use case
Ritratti stagionali, immagini profilo e foto di famiglia dai toni caldi.
Use case
Visual autunnali per prodotti, cibo, viaggi e lifestyle.
Use case
Post social e bozze di campagne con una palette accogliente rossa e dorata.


Filter preview
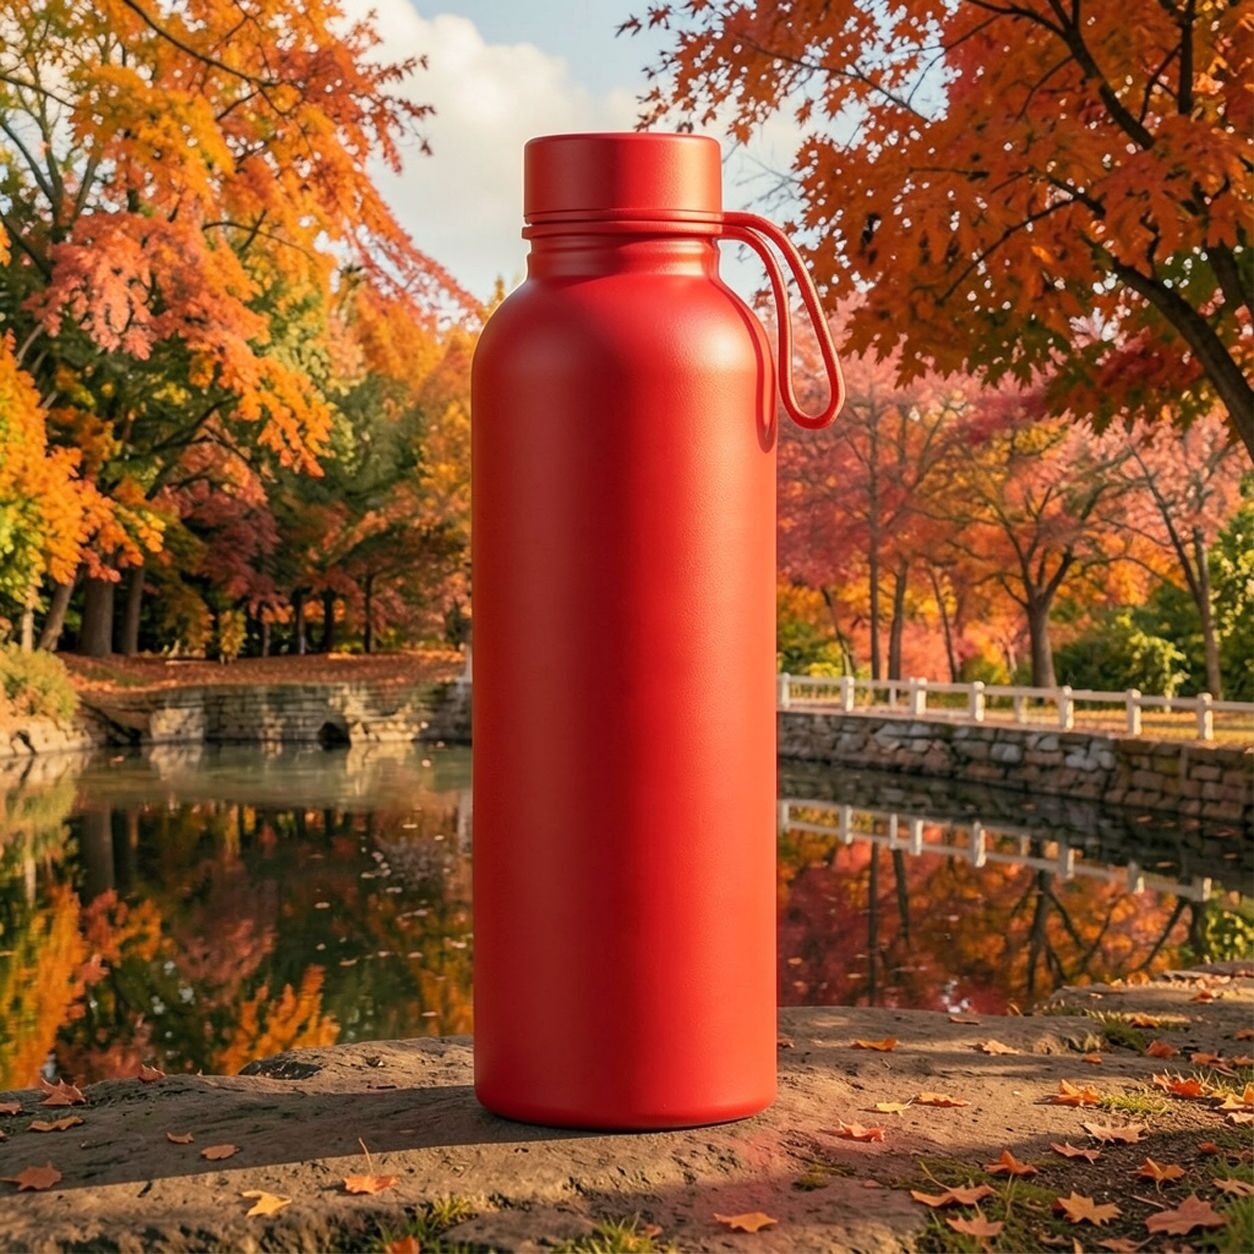
Compare the original photo with the maple result
The example uses a generated source photo and the same filter API path as the app, so users can judge the visual treatment before uploading their own image.
More examples
Test the maple filter on different photo types
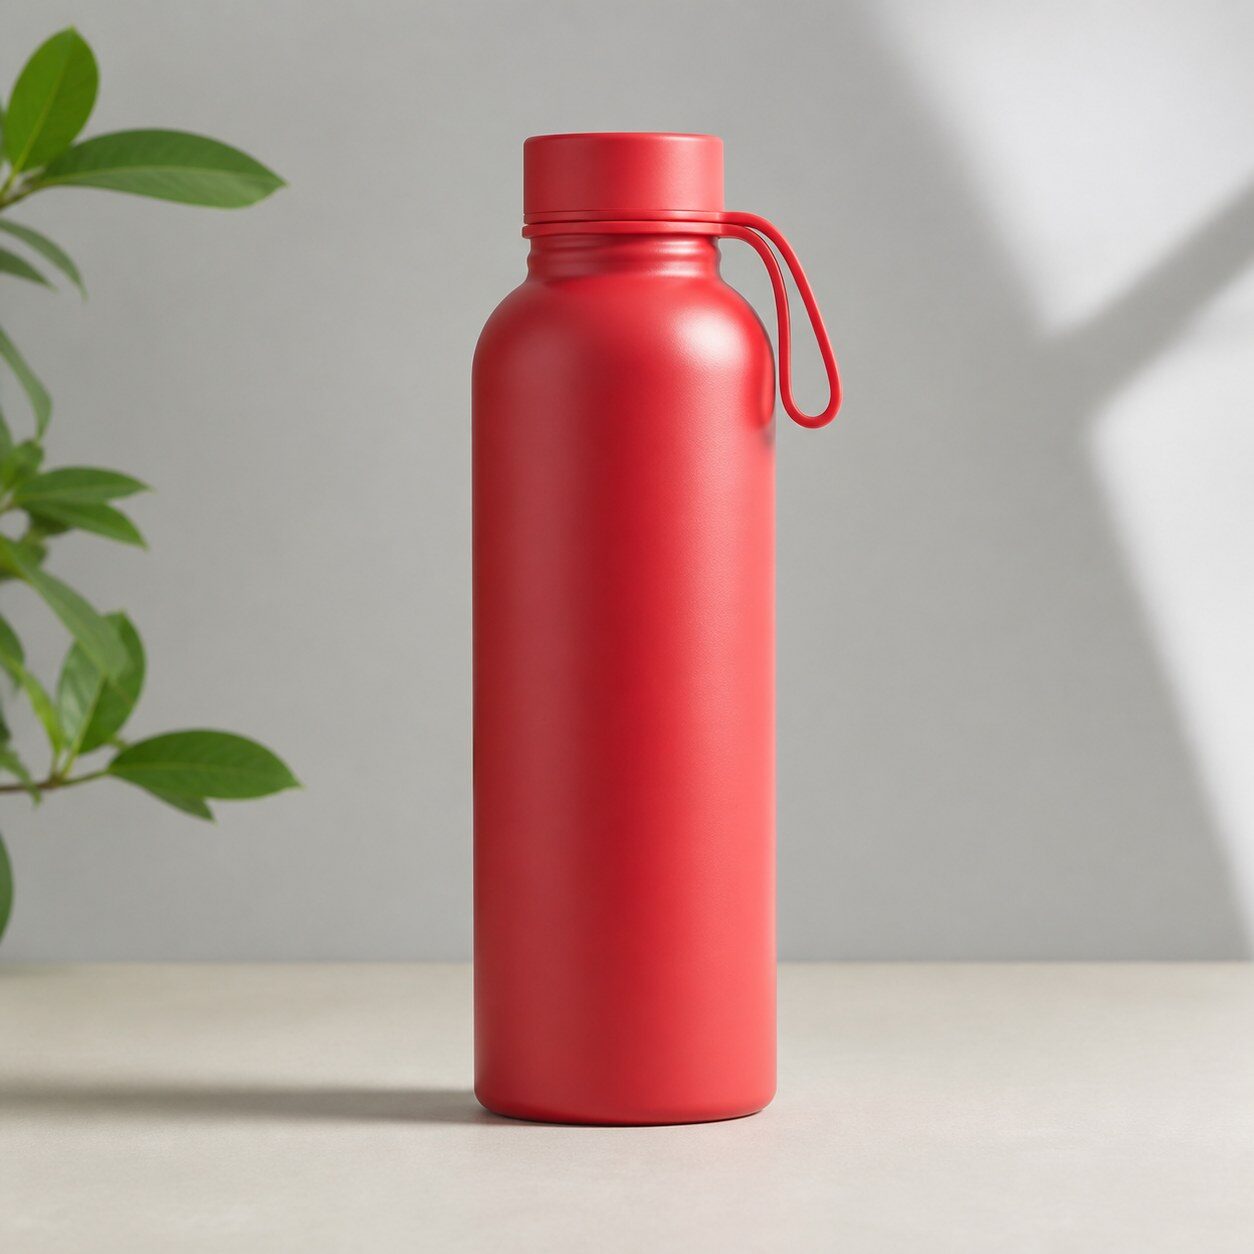
Compare portrait, product, and pet examples before opening the filter. Each result uses the same filter API path as the Magic Eraser app.


Portrait
Product


Pet
Photo workflow
How to get a cleaner maple filter result
Scegli una foto ben illuminata con un soggetto chiaro e bordi visibili.
Apri il filtro Acero, carica la foto e confronta l’anteprima con l’originale.
Controlla volti, etichette e dettagli sensibili al colore, poi ritaglia o elimina le distrazioni.
Best source photos
- Ritratti, coppie, animali domestici e foto di famiglia.
- Cibo, prodotti, viaggi e scene lifestyle all’aperto.
- Immagini adatte a un’atmosfera calda ispirata all’autunno.
Filter tips
- Le foto neutre o all’aperto lasciano più spazio al trattamento cromatico caldo.
- Non usare il risultato quando servono colori di prodotto esatti o fedeltà documentaria.
- Uno sfondo semplice mantiene leggibile il soggetto anche con toni ambrati e rossi intensi.
Before upload checklist
- Use the largest clean version of the photo, not a compressed screenshot or reposted image.
- Crop loosely before filtering so the AI has enough room around the subject.
- Remove obvious distractions first if they sit directly on the face, product, or main subject.
- Check the result at the size where it will be used: profile image, feed post, story, thumbnail, or banner.
When this filter is a good fit
Choose the maple filter when the original photo already has a clear subject and the goal is a recognizable stylized version, not a fully new generated scene. It is strongest for social, creator, profile, event, and campaign images where mood matters more than documentary accuracy.
Use a different workflow when the image needs exact product color, legal documentation, medical accuracy, or unmodified identity details. In those cases, use cleanup, crop, enhancement, or background tools instead of a heavy creative filter.
Free browser tools after filtering
FAQ
What should I upload?
Use a clear photo with one main subject. Strong lighting and simple backgrounds usually make the AI filter easier to control.
Can I keep editing after the filter?
Yes. After applying the filter, use Magic Eraser to crop, clean distractions, refine backgrounds, and export the final image.
Is this filter selected automatically?
The CTA opens AI Filter with the maple style parameter, and the app falls back safely if the filter changes.