
AI Create style
AI 타이포그래피 이미지 생성기
글자 형태, 레이아웃 리듬과 그래픽 구성이 이미지를 이끄는 타이포그래피 중심 비주얼 콘셉트를 만드세요. 포스터, 문구 그래픽, 앨범, 굿즈와 캠페인 방향에 활용하고 정확한 최종 문구는 편집기에서 추가하세요.
Use case
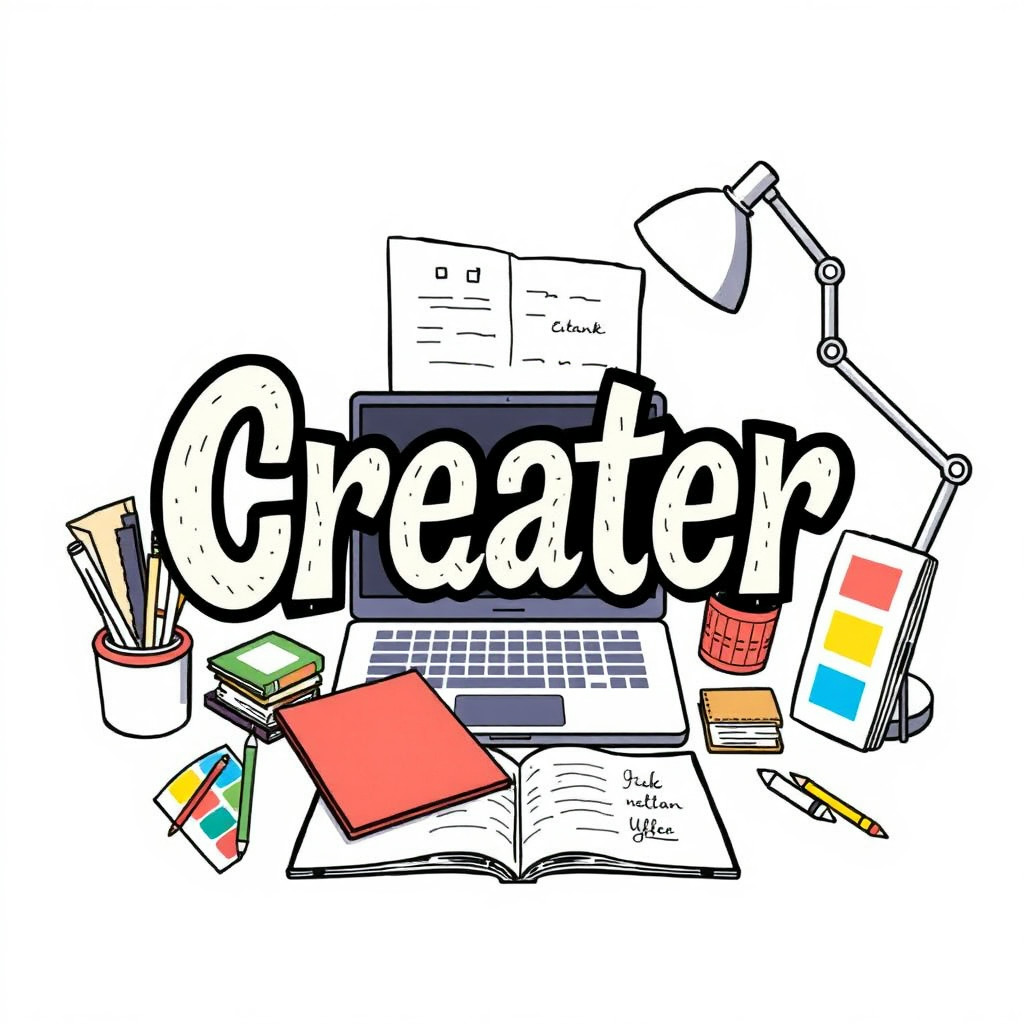
글자가 중심이 되는 포스터와 표지 콘셉트.
Use case
표현력 있는 레터링을 활용한 문구 그래픽과 소셜 게시물.
Use case
굿즈, 이벤트와 캠페인을 위한 시각적 방향.
Visual direction preview
Use the style thumbnail as the creative target
The preview gives users a concrete reference for color, texture, edge detail, and mood before they open the generator. Pair it with the prompt starters below to keep the page useful instead of only decorative.
Generated examples
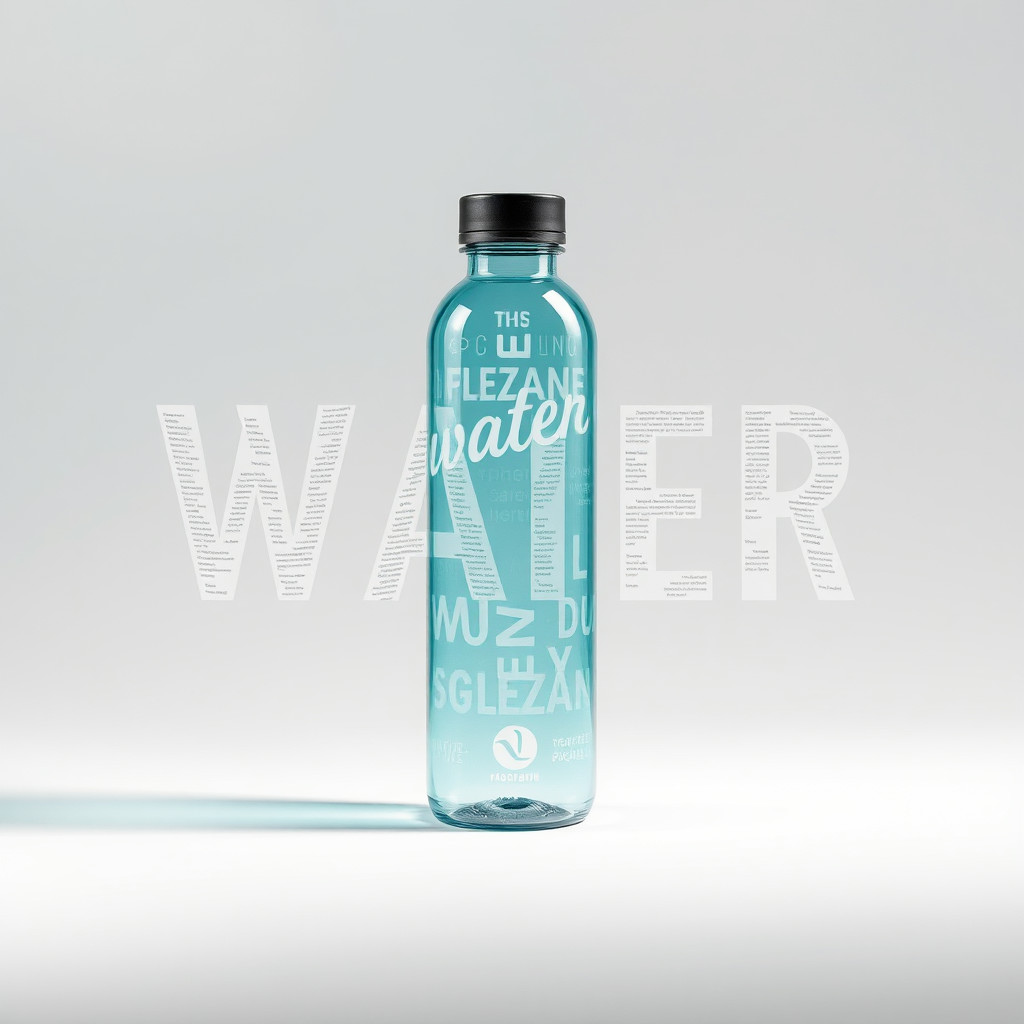
See the 타이포그래피 style in real outputs
These examples were generated through the Magic Eraser AI Create API with the 타이포그래피 style selected.
Prompt workflow
How to get a stronger 타이포그래피 result
짧은 단어나 메시지로 시작해 글자 스타일, 색상, 배경과 구도를 지정하세요.
여러 버전을 만들고 글자 형태, 시각적 위계, 대비와 여백을 비교하세요.
가장 좋은 구도를 고른 뒤 게시 전에 생성된 글자를 정확하고 편집 가능한 텍스트로 바꾸세요.
Prompt starters
- “FOCUS 단어의 타이포그래피 포스터 콘셉트, 굵은 빨간 산세리프 글자, 깨끗한 흰 배경, 은은한 그림자”
- “여름 여행 편집 타이포그래피 레이아웃, 겹친 종이 글자, 밝은 색상 블록”
- “음악 이벤트 포스터용 크롬 타이포그래피, 어두운 배경, 반사 글자, 극적인 조명”
Style tips
- 생성된 글자는 정확한 최종 문구가 아니라 시각 요소로 취급하세요.
- 짧은 단어와 단순한 구도로 디자인 방향을 선명하게 유지하세요.
- 이름, 날짜, 가격과 로고는 생성 후 별도로 추가하세요.
Output planning checklist
- Decide the final placement before prompting: square post, vertical story, product insert, poster, thumbnail, or wide banner.
- Keep one primary subject and one visual mood so the 타이포그래피 style has a clear job.
- Describe the background as simple, detailed, bright, dark, studio, outdoor, or textured instead of leaving it open-ended.
- Generate variations first, then edit the selected image for crop, cleanup, and export size.
When to choose this style
Choose 타이포그래피 when the image needs a clear creative direction before production: an ad concept, a social visual, a character idea, a packaging mood, or a fast design draft. Choose another style if the final asset must look like a camera photo, preserve exact product color, or include precise typography.
For commercial work, treat the generated image as a starting point. Review details, remove distracting artifacts, add exact text separately, and export the final size from the editor.
FAQ
Can I edit the generated image?
Yes. Generate the image, then continue with cleanup, crop, background, and export tools in Magic Eraser.
Should I include exact text?
Use AI Create for the visual direction. Add exact text later with editable design tools for cleaner spelling and layout.
Is this style selected automatically?
The CTA opens AI Create with the 타이포그래피 style parameter, and the app falls back safely if the option changes.