
AI Filter style
Filtre photo sticker par IA
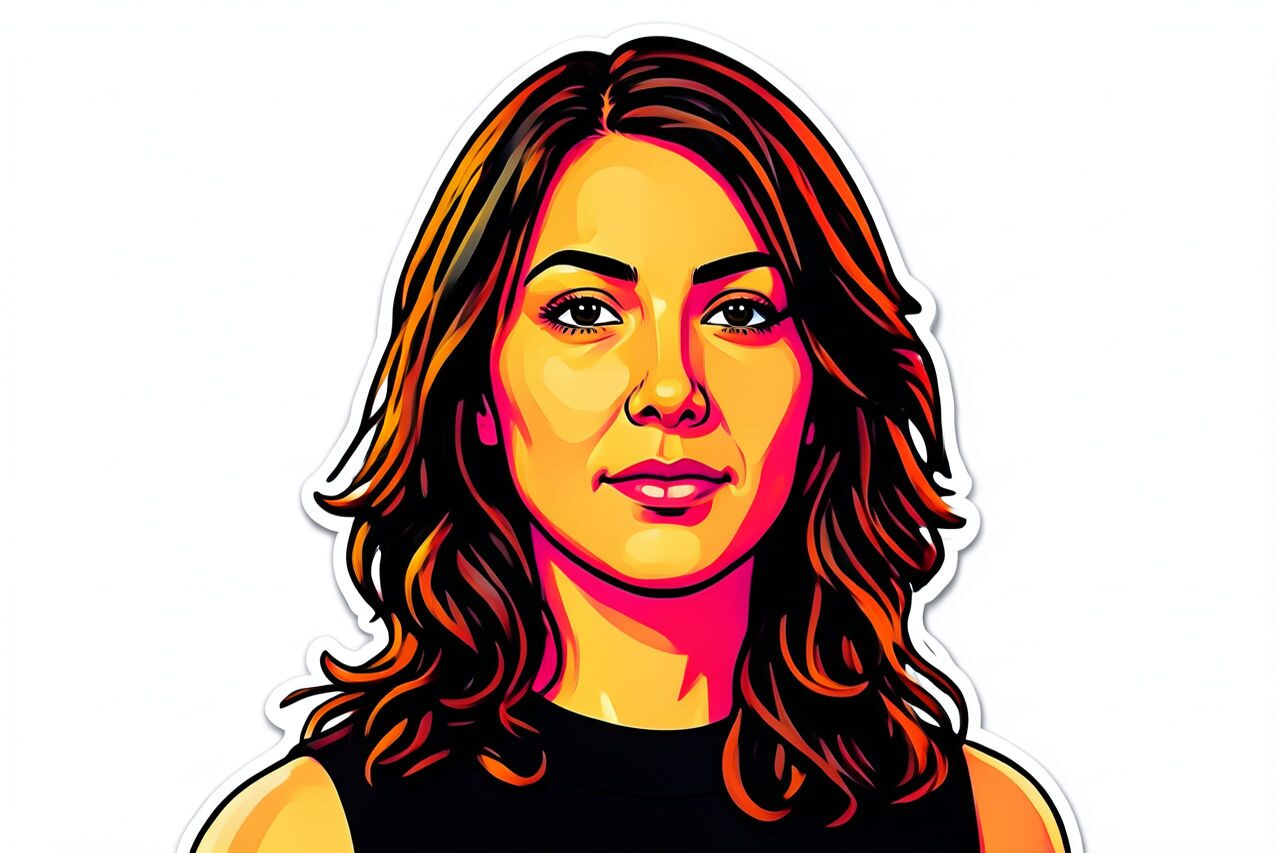
Transformez une photo en illustration façon sticker avec un contour marqué, des couleurs simples et un sujet bien détaché. Le filtre convient aux portraits, animaux et produits simples; vérifiez les visages, textes, logos et contours, car le résultat est une interprétation créative.

Use case
Photos de profil et portraits façon sticker.
Use case
Photos d’animaux et lifestyle pour les réseaux sociaux.
Use case
Concepts de badges ou de produits sans exigence de couleur exacte.

Filter preview
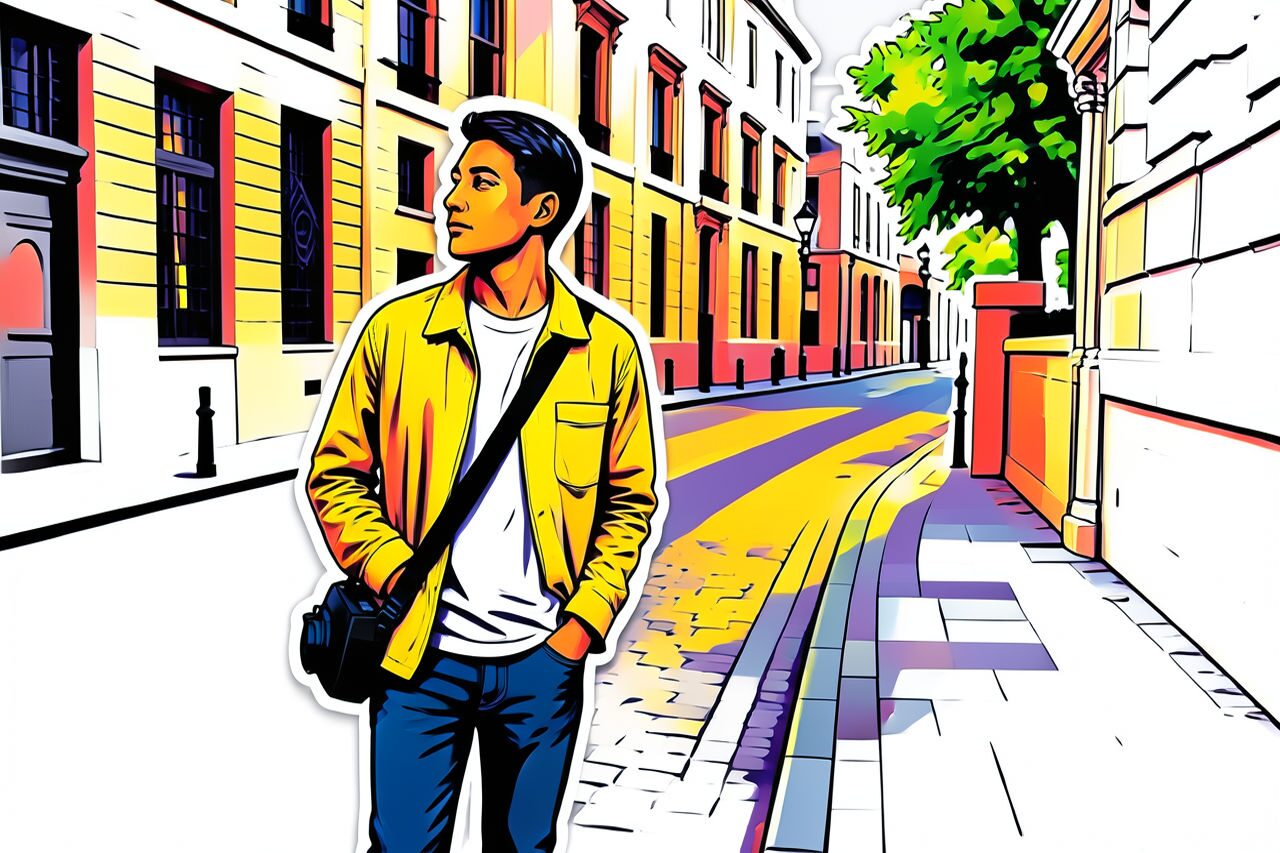
Compare the original photo with the sticker result
The example uses a generated source photo and the same filter API path as the app, so users can judge the visual treatment before uploading their own image.
More examples
Test the sticker filter on different photo types
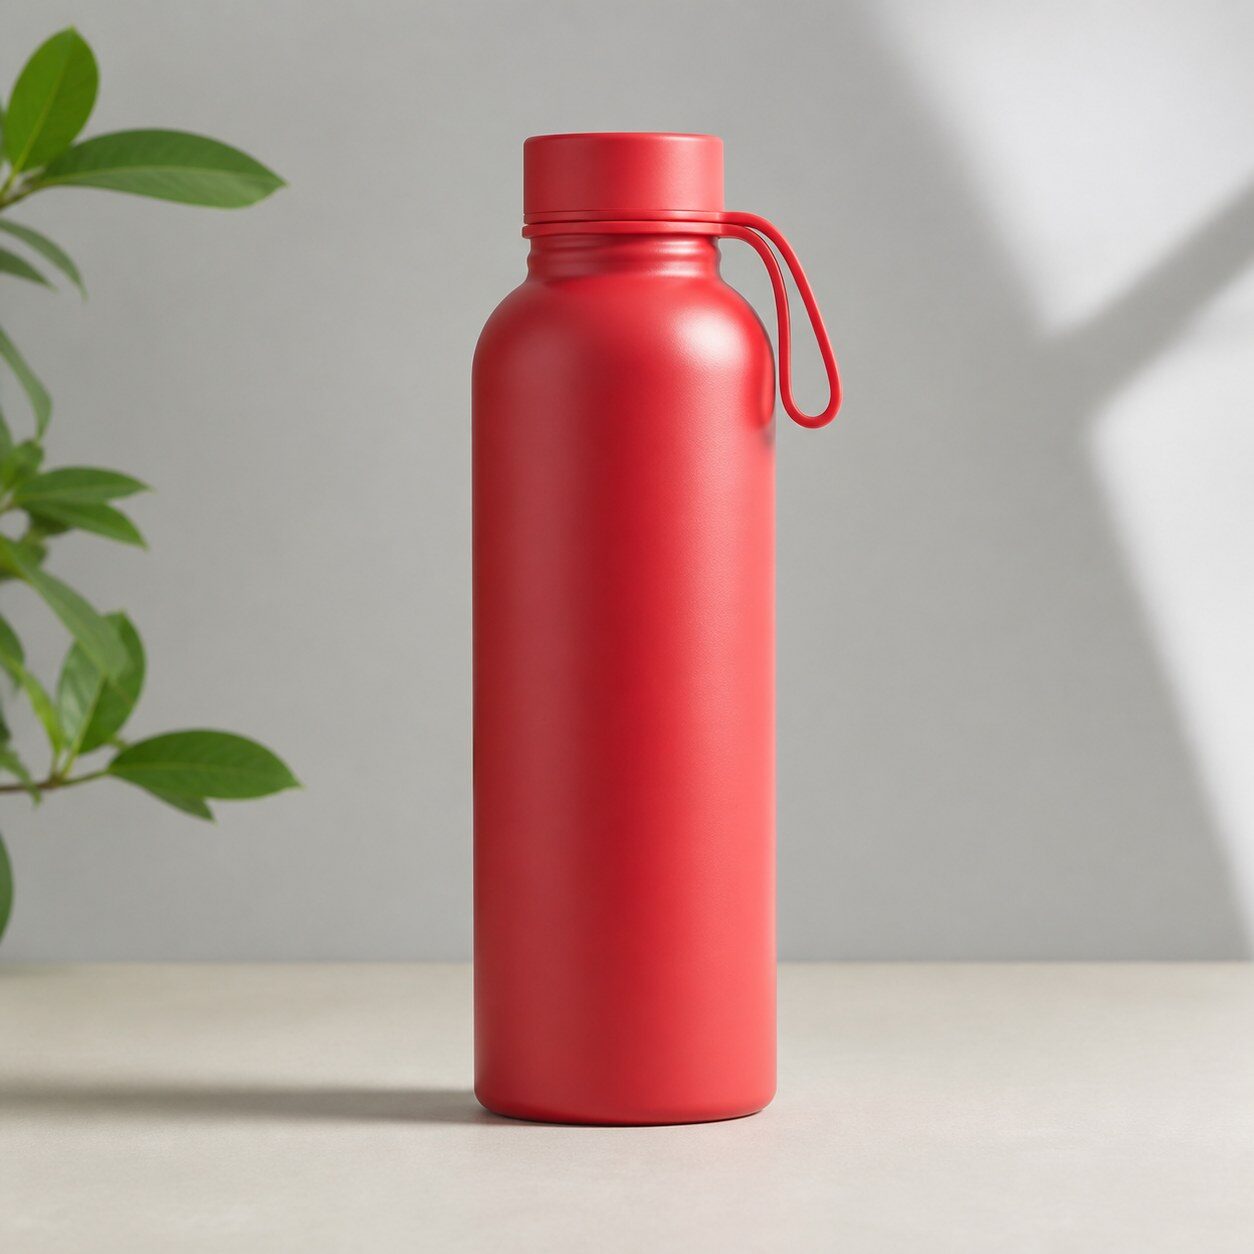
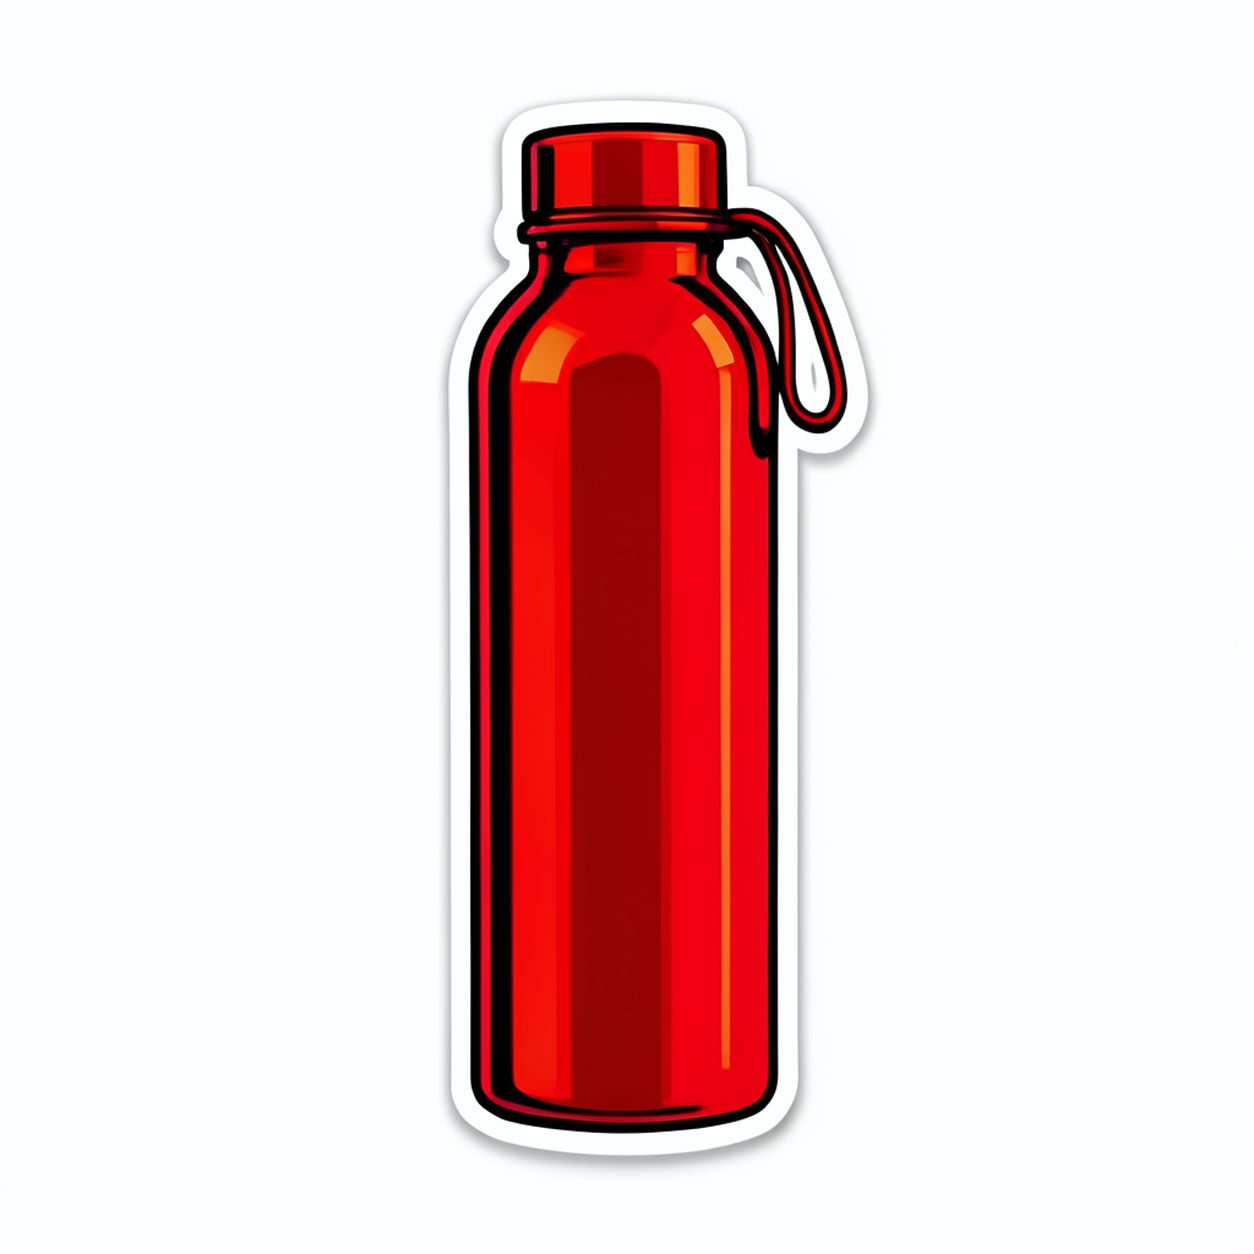
Compare portrait, product, and pet examples before opening the filter. Each result uses the same filter API path as the Magic Eraser app.


Portrait
Product

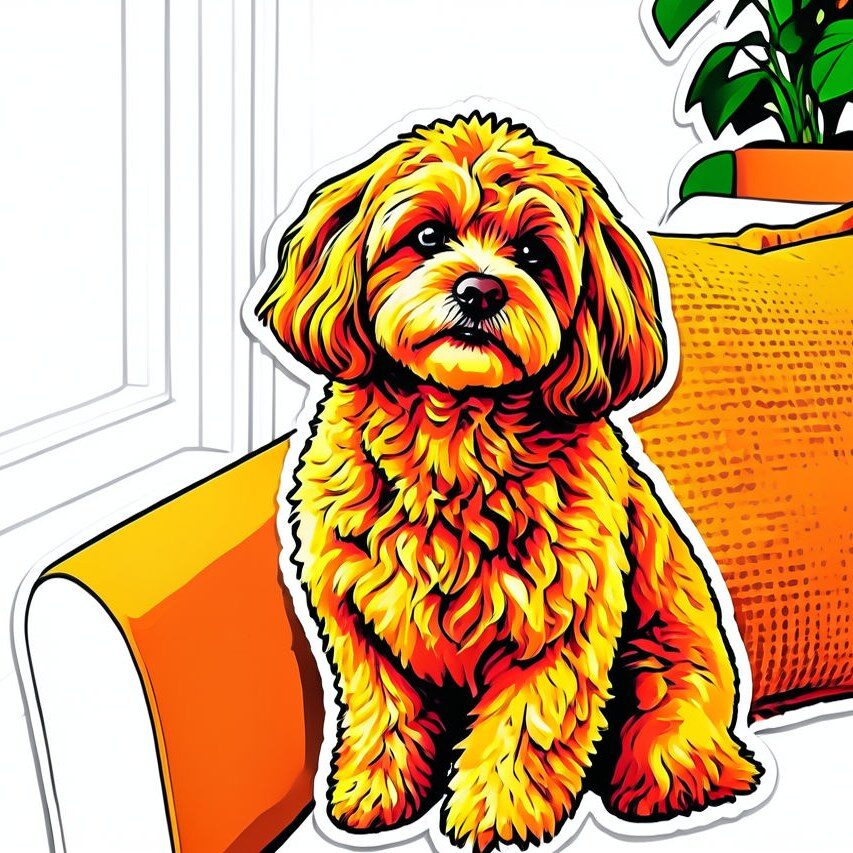
Pet
Photo workflow
How to get a cleaner sticker filter result
Choisissez une photo nette avec un sujet principal et un fond simple.
Ouvrez le filtre sticker, importez la photo et contrôlez les visages, les mains et les contours.
Recadrez et nettoyez les détails gênants avant l’export.
Best source photos
- Portraits et photos à mi-corps.
- Animaux aux contours bien visibles.
- Produits simples ne nécessitant pas une couleur exacte.
Filter tips
- Laissez de l’espace autour du sujet pour obtenir un contour lisible.
- Évitez les grands groupes et les arrière-plans chargés.
- Vérifiez séparément les textes, logos et couleurs de produit après le filtre.
Before upload checklist
- Use the largest clean version of the photo, not a compressed screenshot or reposted image.
- Crop loosely before filtering so the AI has enough room around the subject.
- Remove obvious distractions first if they sit directly on the face, product, or main subject.
- Check the result at the size where it will be used: profile image, feed post, story, thumbnail, or banner.
When this filter is a good fit
Choose the sticker filter when the original photo already has a clear subject and the goal is a recognizable stylized version, not a fully new generated scene. It is strongest for social, creator, profile, event, and campaign images where mood matters more than documentary accuracy.
Use a different workflow when the image needs exact product color, legal documentation, medical accuracy, or unmodified identity details. In those cases, use cleanup, crop, enhancement, or background tools instead of a heavy creative filter.
Free browser tools after filtering
FAQ
What should I upload?
Use a clear photo with one main subject. Strong lighting and simple backgrounds usually make the AI filter easier to control.
Can I keep editing after the filter?
Yes. After applying the filter, use Magic Eraser to crop, clean distractions, refine backgrounds, and export the final image.
Is this filter selected automatically?
The CTA opens AI Filter with the sticker style parameter, and the app falls back safely if the filter changes.