
AI Filter style
Yapay zekâ grunge fotoğraf filtresi
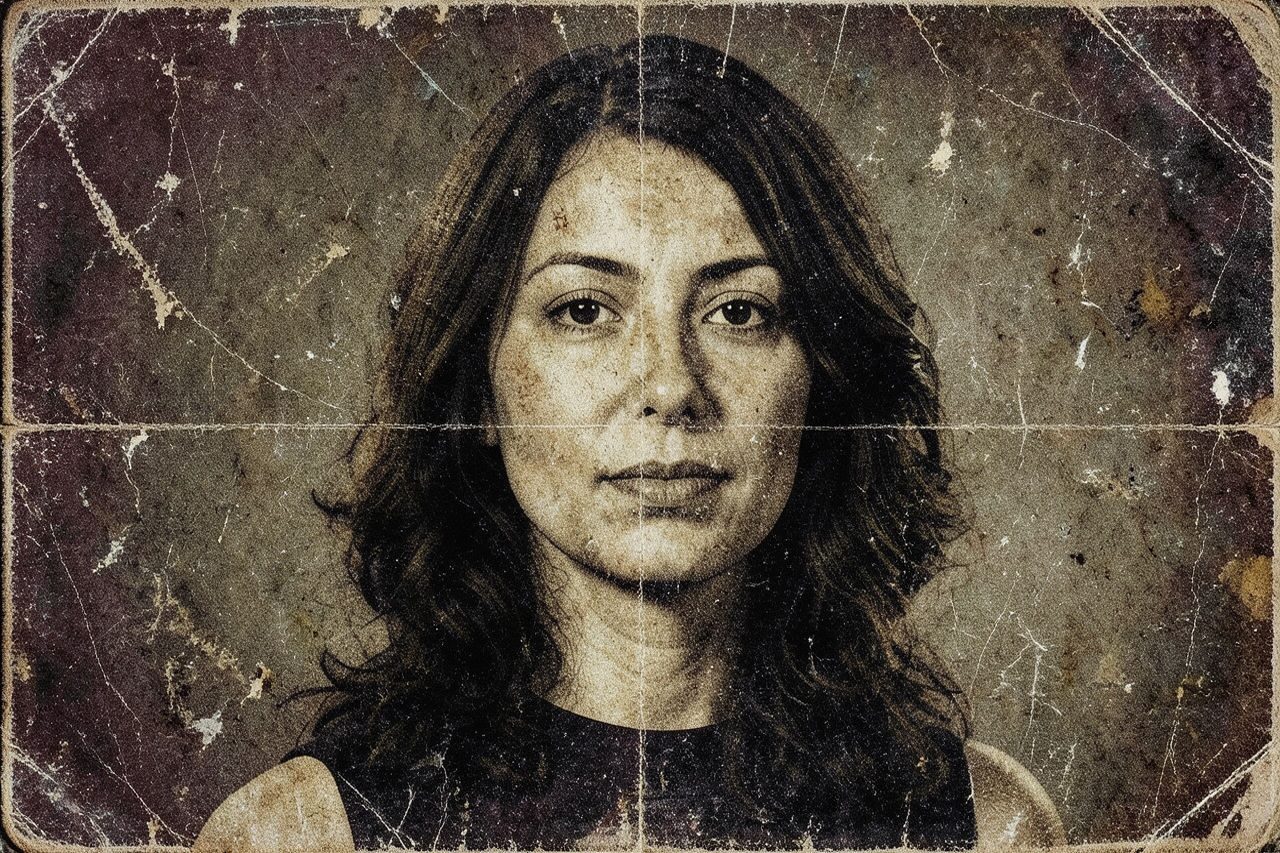
Yıpranmış dokular, güçlü kontrast ve soluk renklerle fotoğraflara ham bir grunge görünümü verin. Portreler, grup fotoğrafları, sokak modası ve ürün görselleri için uygundur; efekt küçük ayrıntıları değiştirebileceğinden yüzleri, metinleri ve logoları kontrol edin.

Use case
Ham karakterli sanatçı portreleri, profil görselleri ve müzik kapakları.
Use case
Sokak modası gönderileri, etkinlik afişleri ve küçük resimler.
Use case
Eskitilmiş doku gerektiren ürün veya yaşam tarzı fotoğrafları.
Filter preview
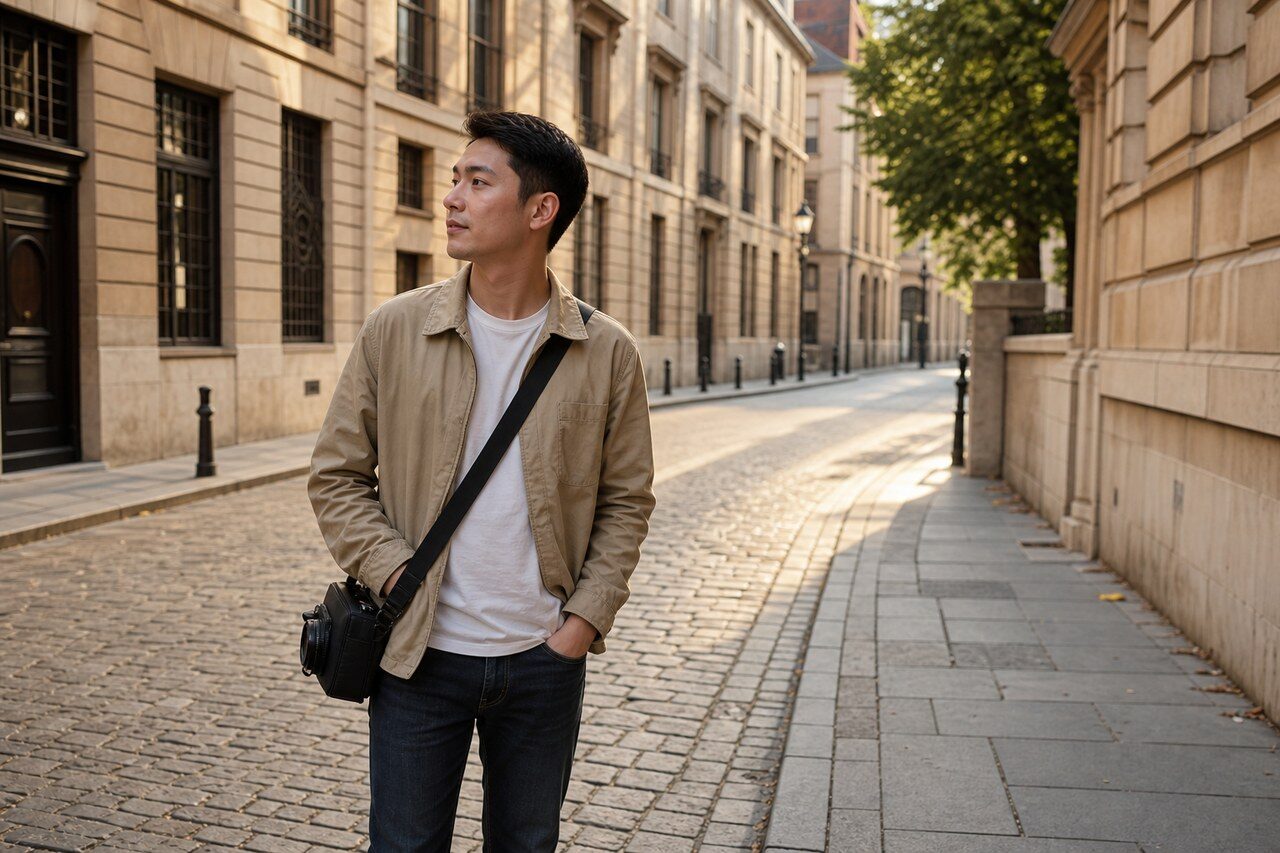
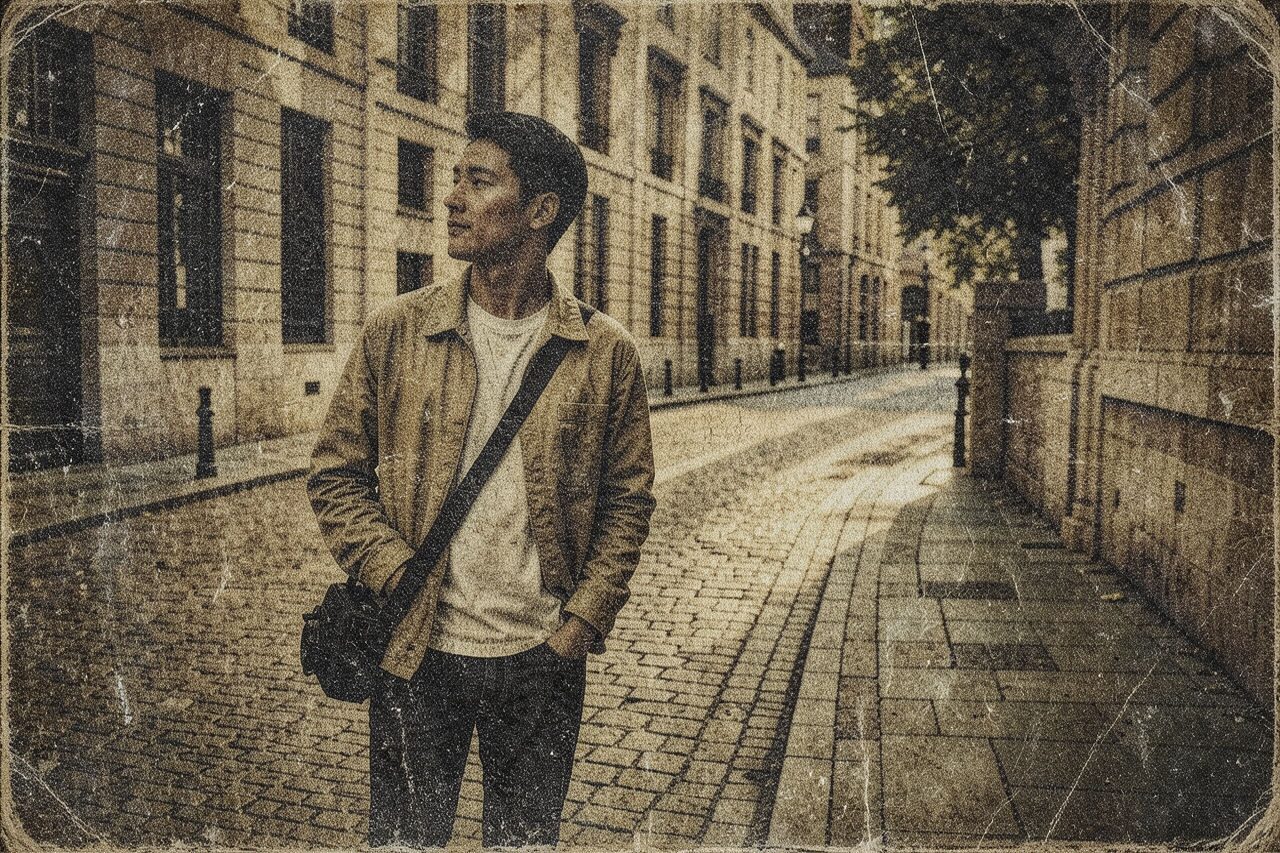
Compare the original photo with the grunge result
The example uses a generated source photo and the same filter API path as the app, so users can judge the visual treatment before uploading their own image.
More examples
Test the grunge filter on different photo types
Compare portrait, product, and pet examples before opening the filter. Each result uses the same filter API path as the Magic Eraser app.

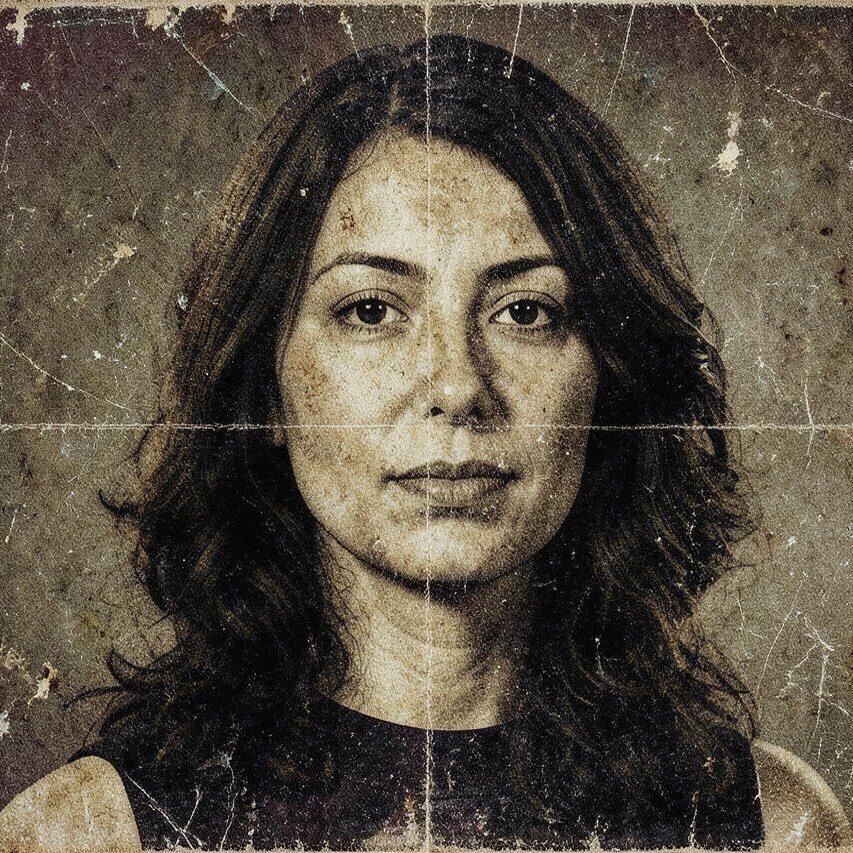
Portrait
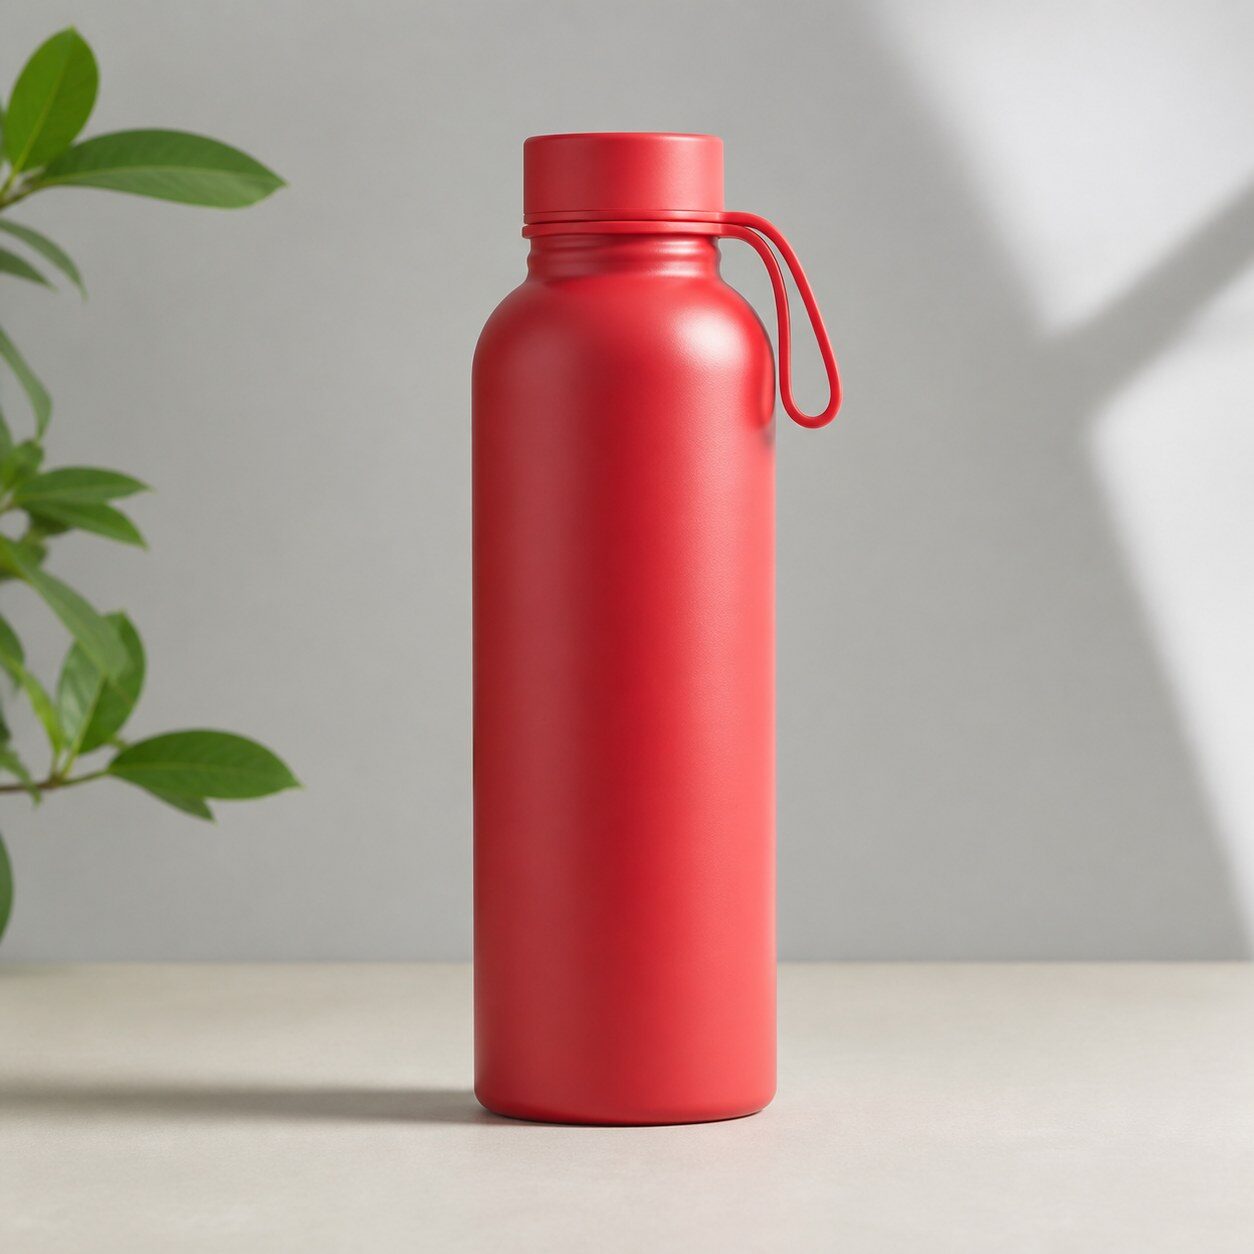
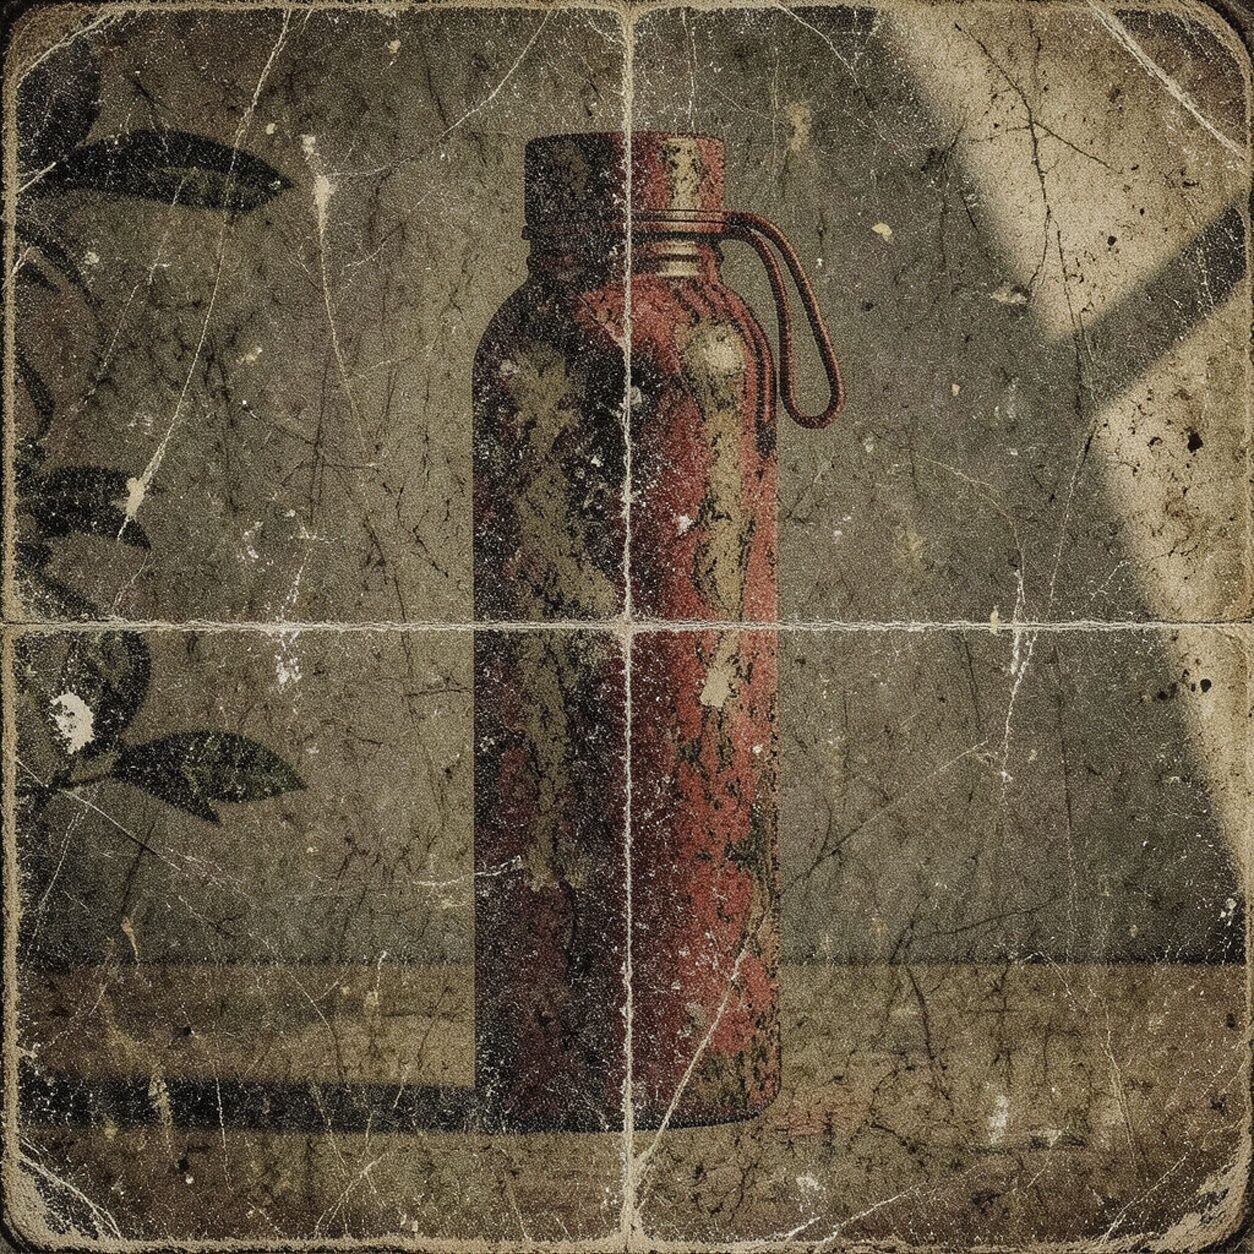
Product

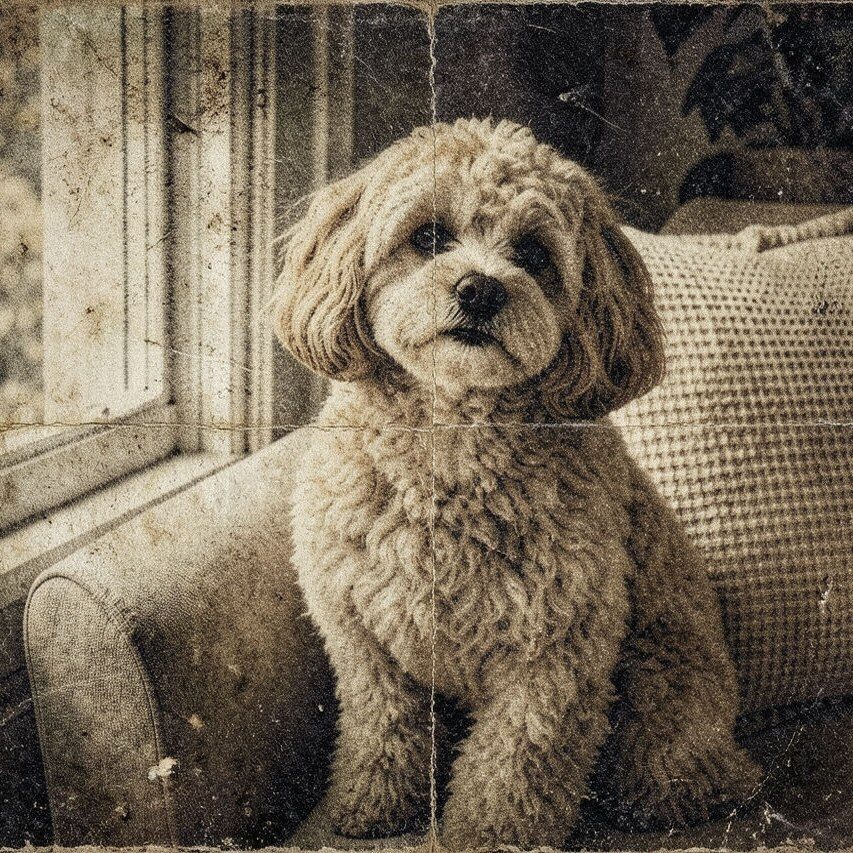
Pet
Photo workflow
How to get a cleaner grunge filter result
Tek ana konuya ve nispeten sade bir arka plana sahip net bir fotoğraf seçin.
Grunge filtresini açın, fotoğrafı yükleyin ve yüzleri, kenarları ve gölgeleri karşılaştırın.
Kırpın, kusurları giderin ve doğru metin veya logoları filtrelemeden sonra ekleyin.
Best source photos
- Net kenarlı portre ve moda fotoğrafları.
- Sade kompozisyonlu müzik, sokak ve etkinlik fotoğrafları.
- Arka plandan iyi ayrılmış ürün fotoğrafları.
Filter tips
- Net ışık, konunun dokular arasında kaybolmasını önler.
- Aşırı sıkıştırılmış görüntülerden ve önemli küçük ayrıntılardan kaçının.
- Ürün rengi veya ayrıntılarının kesin olması gerektiğinde sonucu kullanmayın.
Before upload checklist
- Use the largest clean version of the photo, not a compressed screenshot or reposted image.
- Crop loosely before filtering so the AI has enough room around the subject.
- Remove obvious distractions first if they sit directly on the face, product, or main subject.
- Check the result at the size where it will be used: profile image, feed post, story, thumbnail, or banner.
When this filter is a good fit
Choose the grunge filter when the original photo already has a clear subject and the goal is a recognizable stylized version, not a fully new generated scene. It is strongest for social, creator, profile, event, and campaign images where mood matters more than documentary accuracy.
Use a different workflow when the image needs exact product color, legal documentation, medical accuracy, or unmodified identity details. In those cases, use cleanup, crop, enhancement, or background tools instead of a heavy creative filter.
Free browser tools after filtering
FAQ
What should I upload?
Use a clear photo with one main subject. Strong lighting and simple backgrounds usually make the AI filter easier to control.
Can I keep editing after the filter?
Yes. After applying the filter, use Magic Eraser to crop, clean distractions, refine backgrounds, and export the final image.
Is this filter selected automatically?
The CTA opens AI Filter with the grunge style parameter, and the app falls back safely if the filter changes.