
AI Filter style
ฟิลเตอร์ภาพ AI เมเปิล
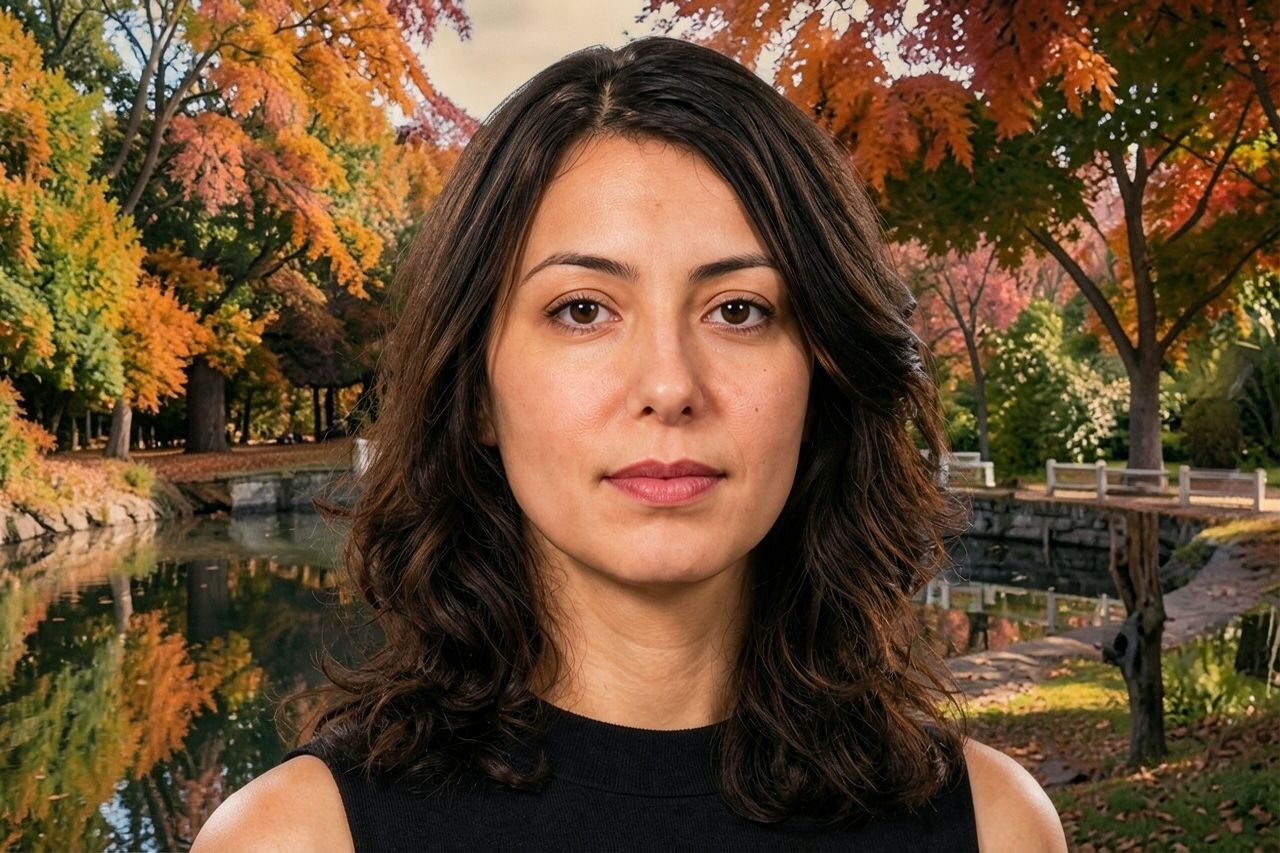
ใช้ฟิลเตอร์ภาพ AI เมเปิลกับภาพบุคคล สัตว์เลี้ยง สินค้า และภาพท่องเที่ยว เพื่อเพิ่มบรรยากาศฤดูใบไม้ร่วงที่อบอุ่นด้วยโทนสีอำพัน แดง และทอง ดูตัวอย่าง ตรวจสอบรายละเอียดสำคัญ แล้วครอปหรือลบสิ่งรบกวนก่อนส่งออก

Use case
ภาพบุคคลตามฤดูกาล รูปโปรไฟล์ และภาพครอบครัวโทนอุ่น
Use case
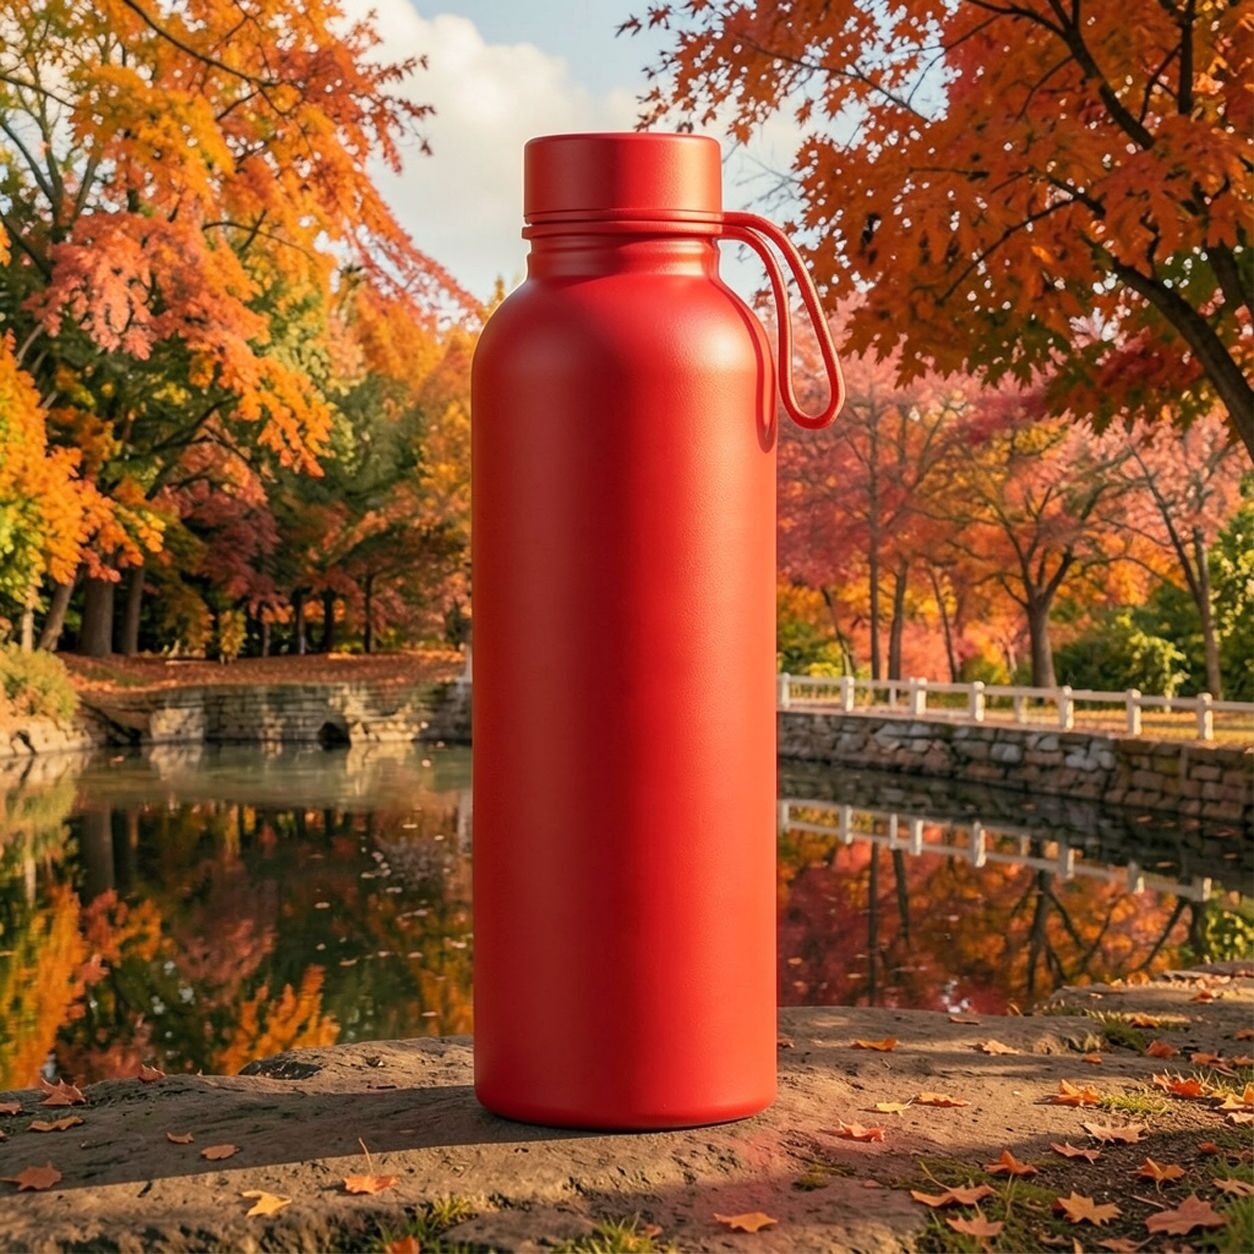
ภาพสินค้า อาหาร ท่องเที่ยว และไลฟ์สไตล์ในธีมฤดูใบไม้ร่วง
Use case
โพสต์โซเชียลและร่างแคมเปญที่ต้องการพาเลตสีแดงทองอบอุ่น

Filter preview
Compare the original photo with the maple result
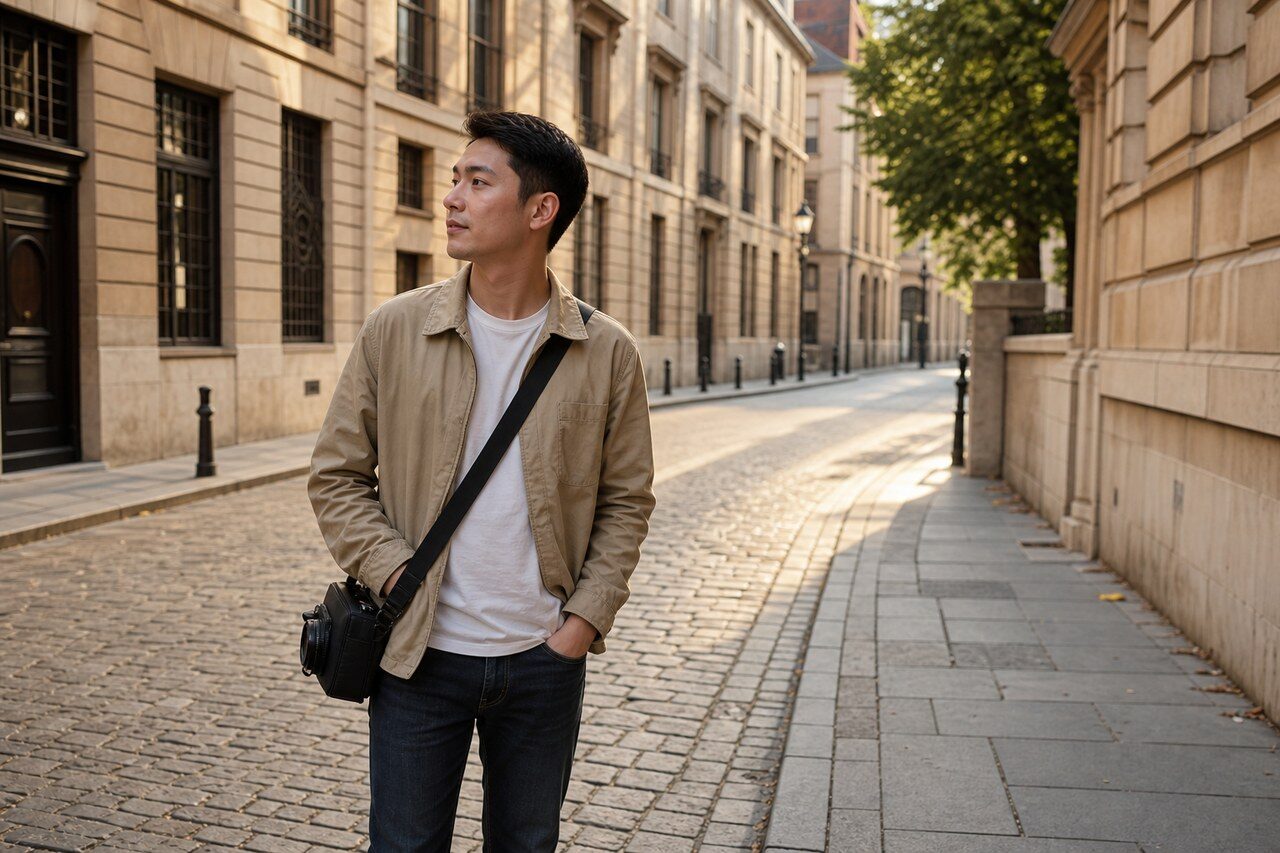
The example uses a generated source photo and the same filter API path as the app, so users can judge the visual treatment before uploading their own image.
More examples
Test the maple filter on different photo types
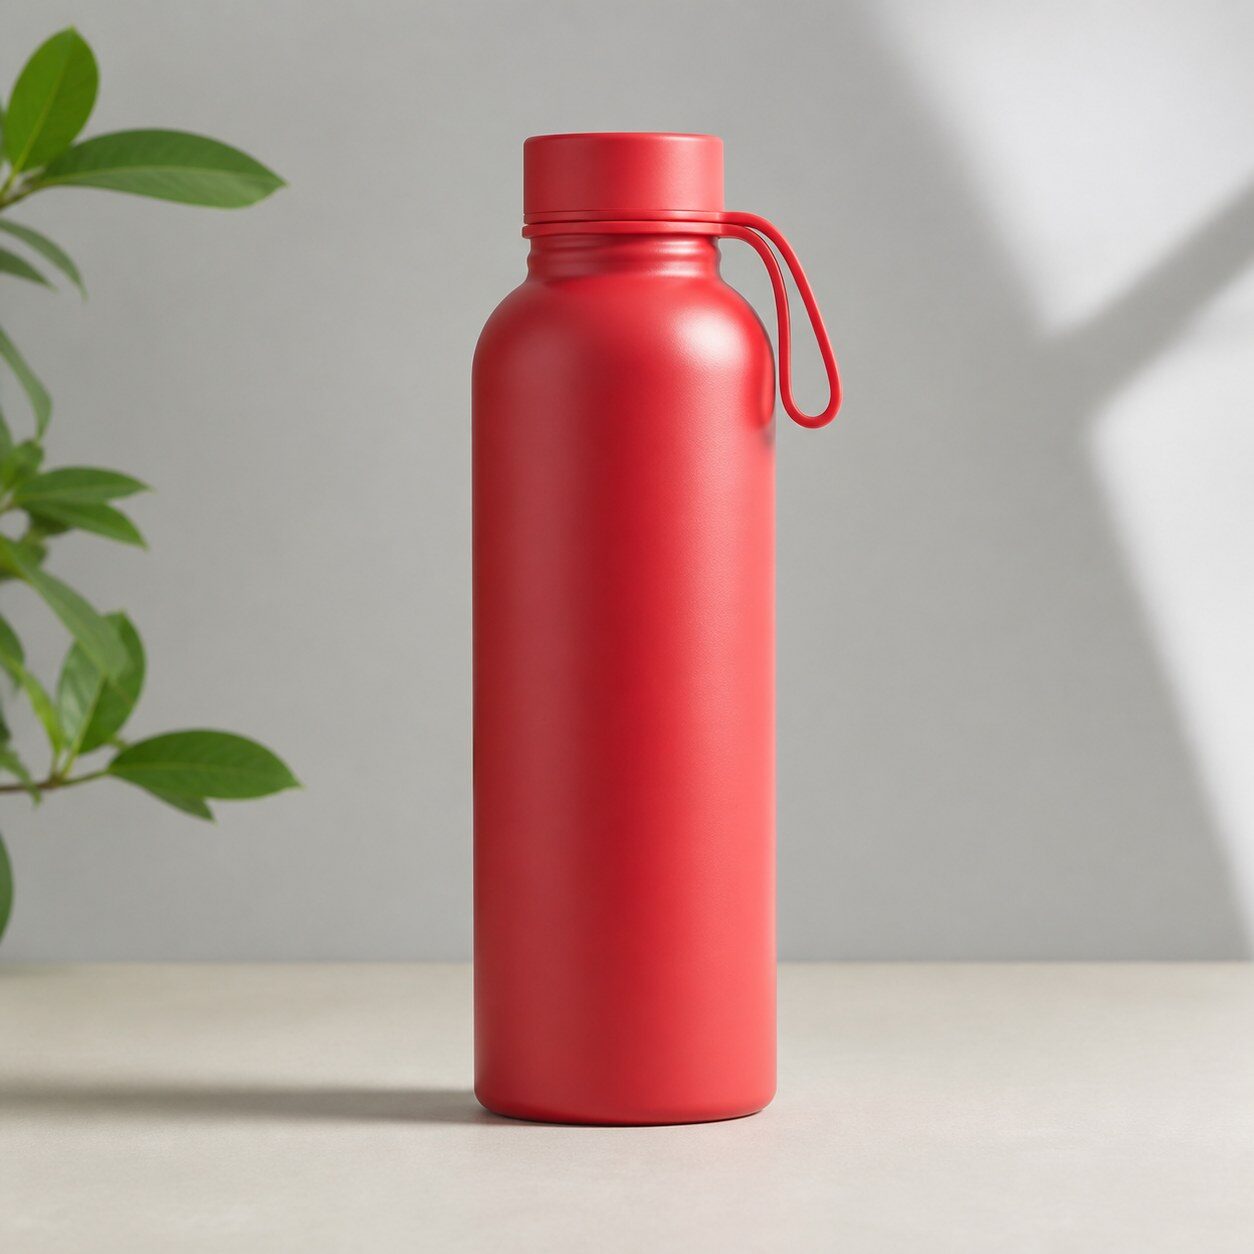
Compare portrait, product, and pet examples before opening the filter. Each result uses the same filter API path as the Magic Eraser app.


Portrait
Product


Pet
Photo workflow
How to get a cleaner maple filter result
เลือกภาพที่มีแสงดี ตัวแบบหลักชัดเจน และขอบรายละเอียดมองเห็นง่าย
เปิดฟิลเตอร์เมเปิล อัปโหลดภาพ แล้วเปรียบเทียบตัวอย่างกับภาพต้นฉบับ
ตรวจสอบใบหน้า ฉลาก และรายละเอียดที่ต้องรักษาสี จากนั้นครอปหรือลบสิ่งรบกวน
Best source photos
- ภาพบุคคล คู่รัก สัตว์เลี้ยง และครอบครัว
- อาหาร สินค้า การเดินทาง และไลฟ์สไตล์กลางแจ้ง
- ภาพที่เหมาะกับบรรยากาศสีอุ่นแบบฤดูใบไม้ร่วง
Filter tips
- ภาพโทนกลางหรือภาพกลางแจ้งเปิดพื้นที่ให้การปรับโทนอุ่นได้มากกว่า
- หลีกเลี่ยงผลลัพธ์นี้เมื่อต้องการสีสินค้าที่แม่นยำหรือสีเชิงสารคดี
- พื้นหลังเรียบช่วยให้ตัวแบบยังชัดเมื่อเพิ่มสีอำพันและแดง
Before upload checklist
- Use the largest clean version of the photo, not a compressed screenshot or reposted image.
- Crop loosely before filtering so the AI has enough room around the subject.
- Remove obvious distractions first if they sit directly on the face, product, or main subject.
- Check the result at the size where it will be used: profile image, feed post, story, thumbnail, or banner.
When this filter is a good fit
Choose the maple filter when the original photo already has a clear subject and the goal is a recognizable stylized version, not a fully new generated scene. It is strongest for social, creator, profile, event, and campaign images where mood matters more than documentary accuracy.
Use a different workflow when the image needs exact product color, legal documentation, medical accuracy, or unmodified identity details. In those cases, use cleanup, crop, enhancement, or background tools instead of a heavy creative filter.
Free browser tools after filtering
FAQ
What should I upload?
Use a clear photo with one main subject. Strong lighting and simple backgrounds usually make the AI filter easier to control.
Can I keep editing after the filter?
Yes. After applying the filter, use Magic Eraser to crop, clean distractions, refine backgrounds, and export the final image.
Is this filter selected automatically?
The CTA opens AI Filter with the maple style parameter, and the app falls back safely if the filter changes.