
AI Filter style
ฟิลเตอร์ภาพดิสโทเปียด้วย AI
เปลี่ยนภาพถ่ายให้เป็นฉากดิสโทเปียด้วยโทนสีเย็น บรรยากาศหม่นหนัก และพื้นผิวแบบภาพยนตร์ที่ดูผุกร่อน เหมาะกับภาพบุคคล เมือง ท่องเที่ยว และแนวคิดโปสเตอร์ เนื่องจากเป็นการตีความเชิงสร้างสรรค์ ควรตรวจสอบใบหน้า มือ ข้อความ และสีสินค้า

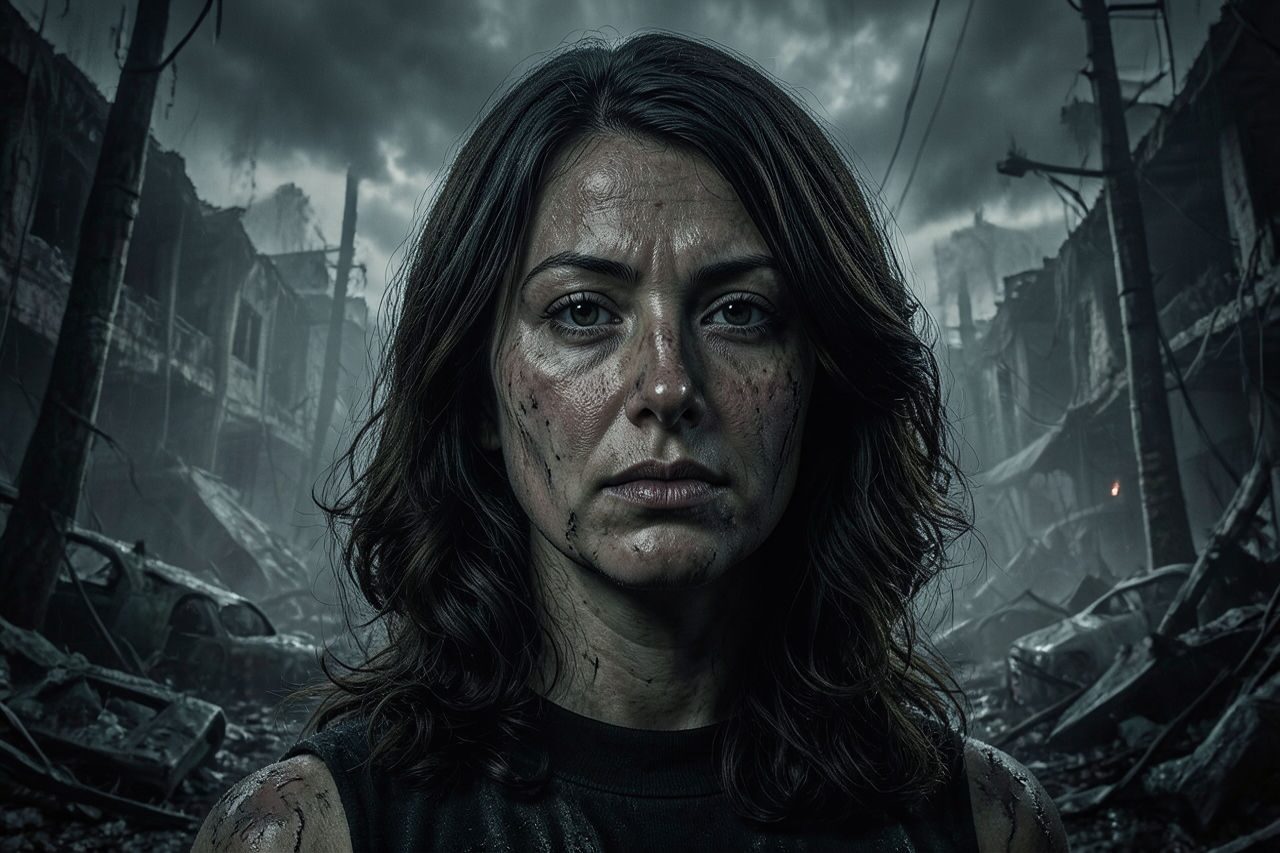
Use case
ภาพบุคคลและรูปโปรไฟล์ในบรรยากาศไซไฟมืดหม่น
Use case
ภาพถนน สถาปัตยกรรม และท่องเที่ยวในสไตล์หลังวันสิ้นโลก
Use case
แนวคิดสำหรับโปสเตอร์ ปกเล่าเรื่อง และโพสต์ภาพ
Filter preview
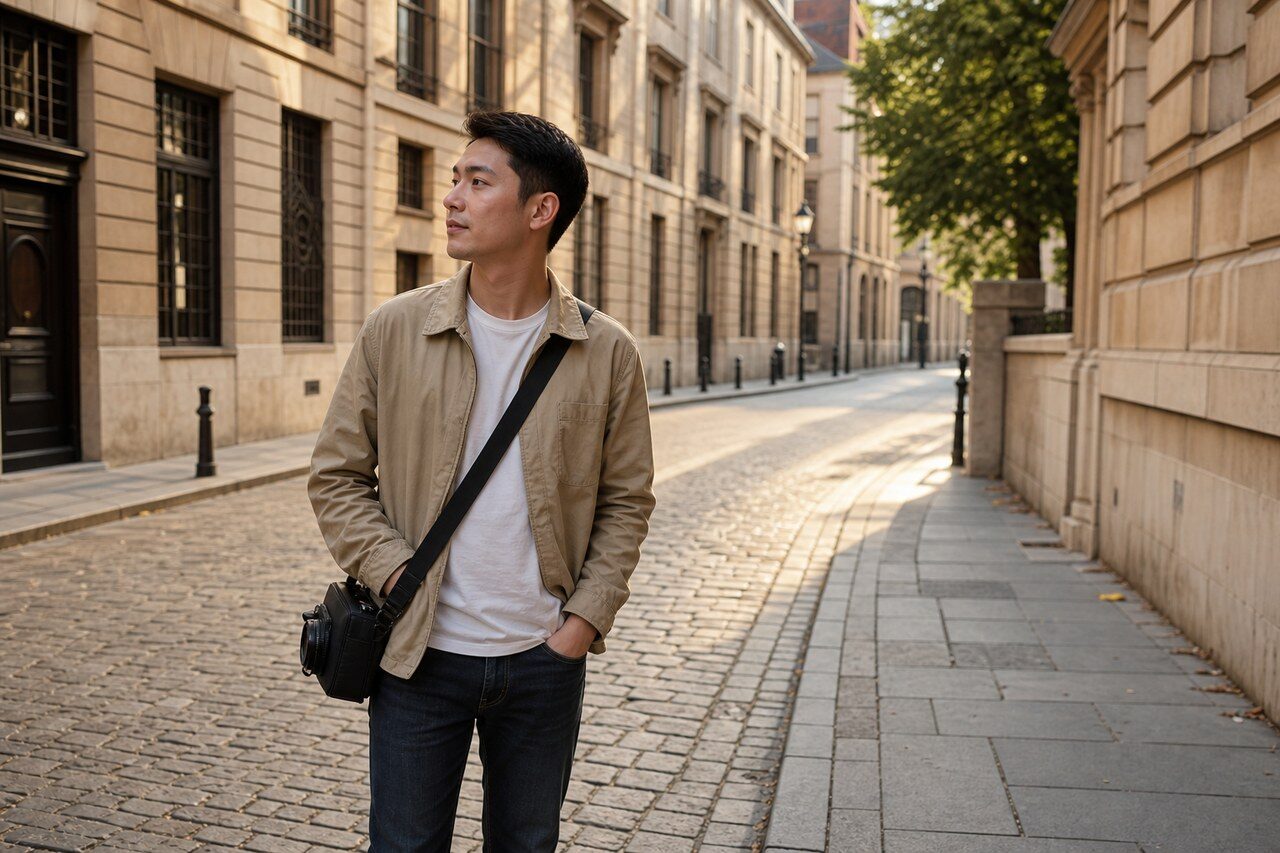
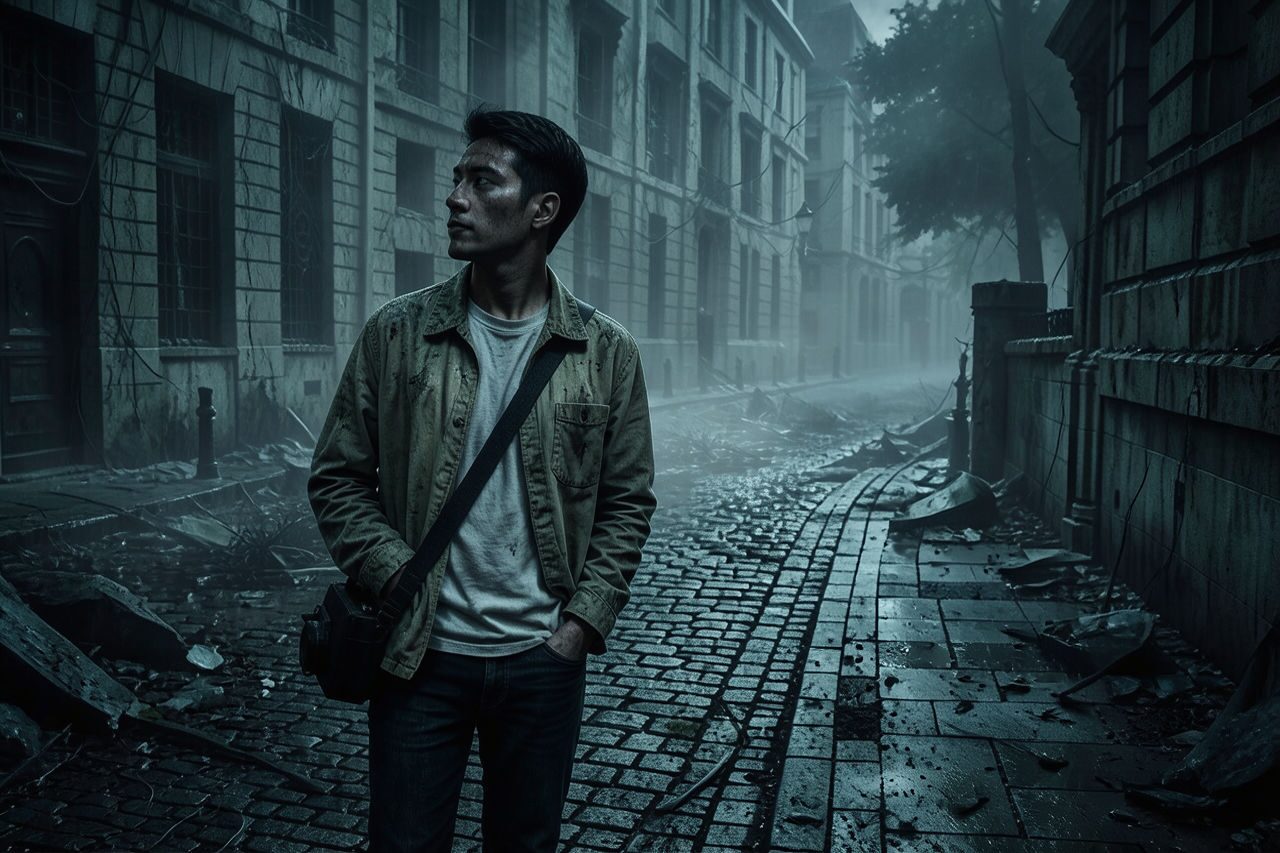
Compare the original photo with the dystopian result
The example uses a generated source photo and the same filter API path as the app, so users can judge the visual treatment before uploading their own image.
More examples
Test the dystopian filter on different photo types
Compare portrait, product, and pet examples before opening the filter. Each result uses the same filter API path as the Magic Eraser app.

Portrait
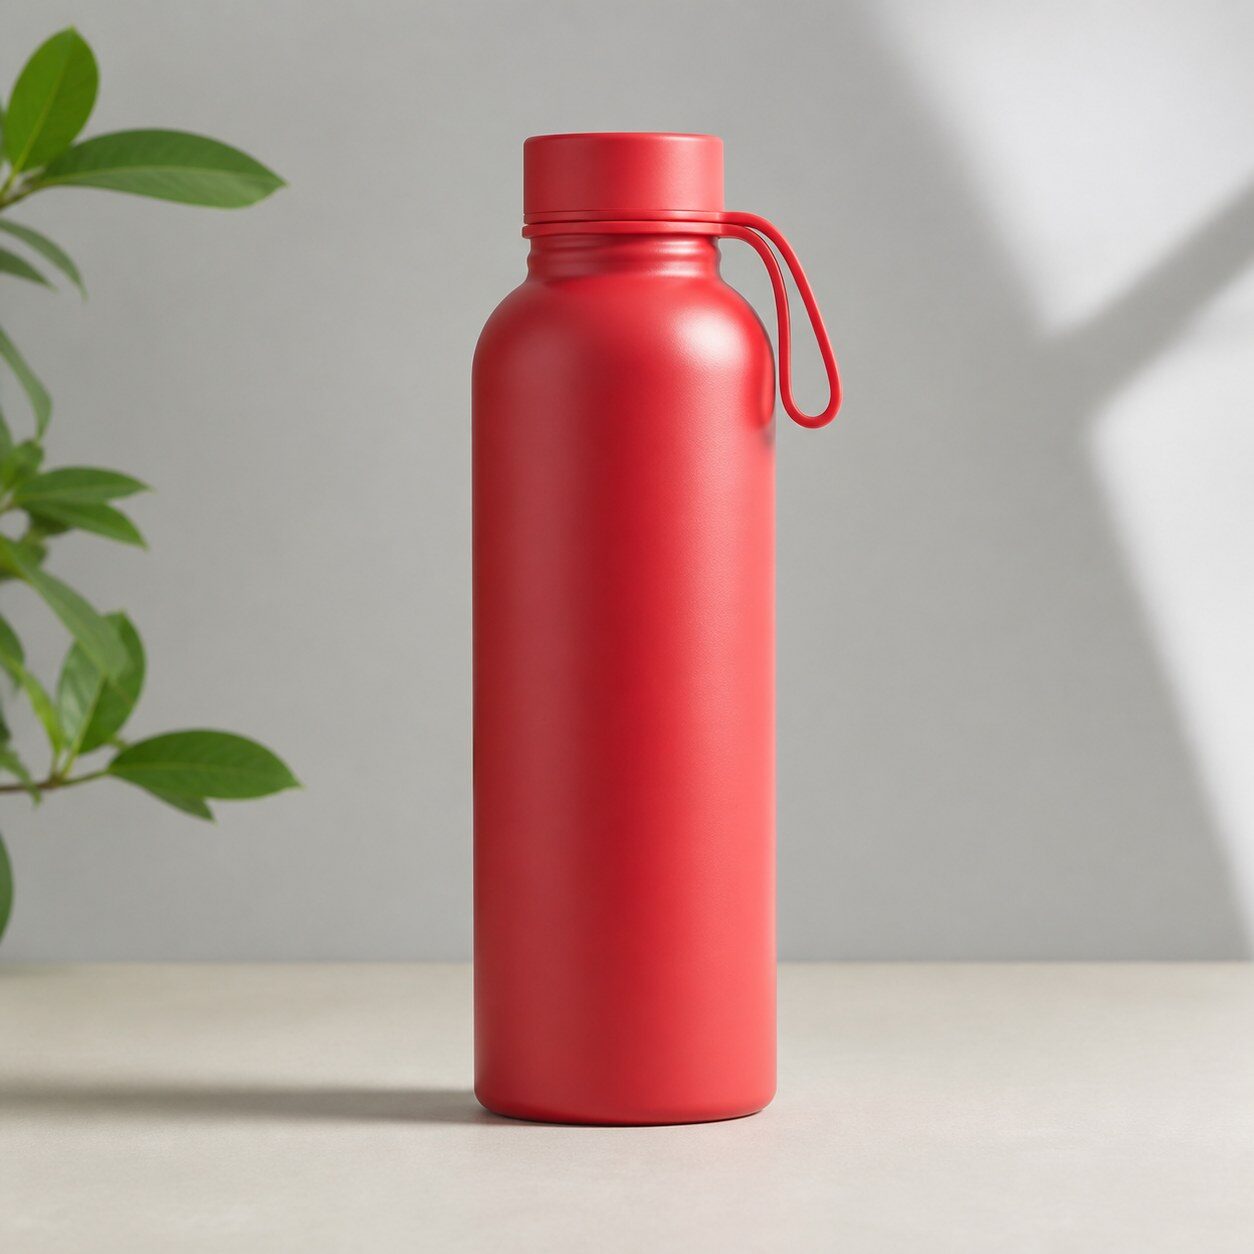
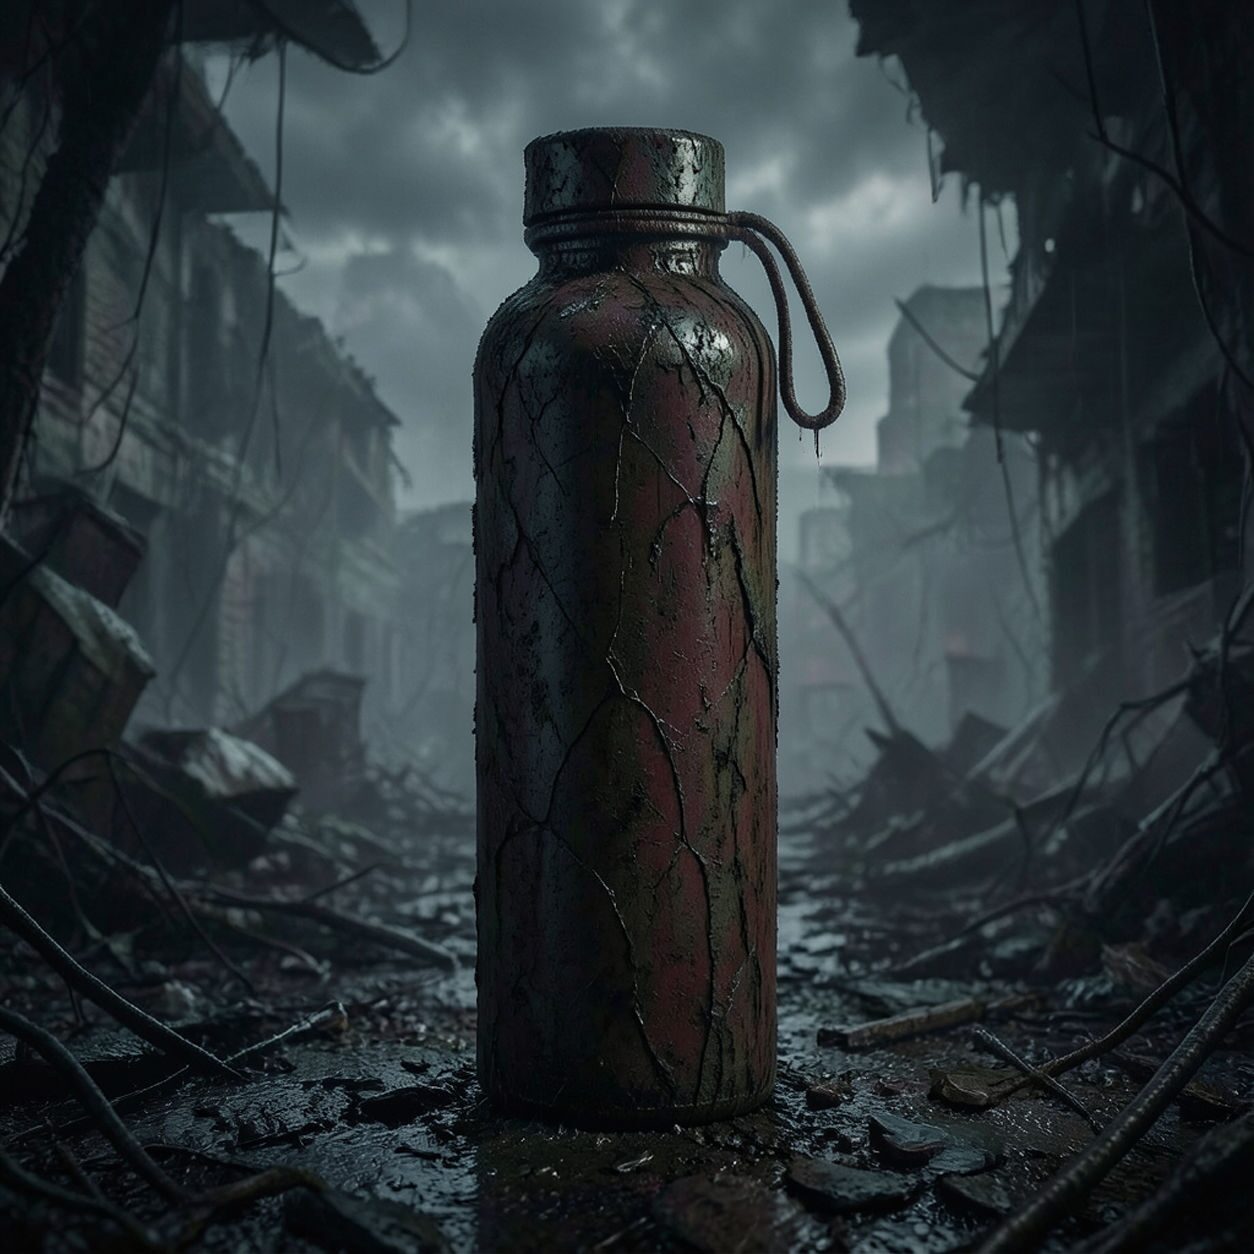
Product

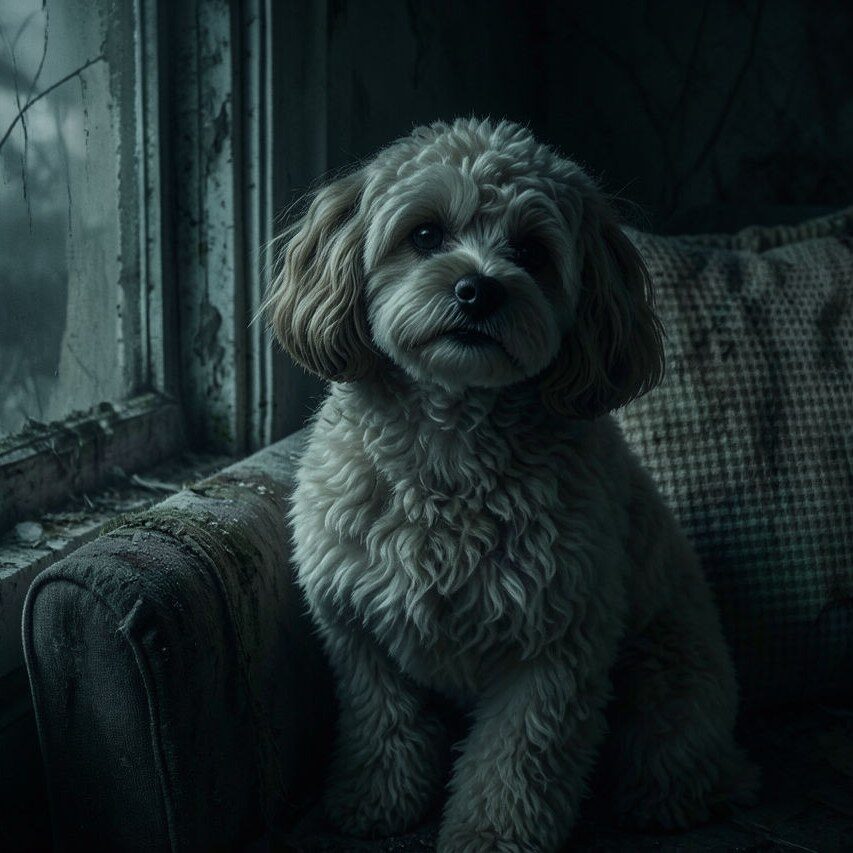
Pet
Photo workflow
How to get a cleaner dystopian filter result
เลือกภาพคมชัดที่มีตัวแบบหลักหนึ่งตัวและแสงมีทิศทาง
เปิดฟิลเตอร์ดิสโทเปีย อัปโหลดภาพ แล้วตรวจสอบใบหน้า มือ ขอบ และข้อความ
ครอปและลบรายละเอียดพื้นหลังที่รบกวนก่อนส่งออก
Best source photos
- ภาพบุคคลและเต็มตัวที่มีเส้นรอบรูปชัด
- ถนน อาคาร ยานพาหนะ และภูมิทัศน์ที่ดูน่าตื่นตา
- ภาพสินค้าที่เรียบง่ายเมื่อความแม่นยำของสีไม่สำคัญ
Filter tips
- ฉากเมือง เมฆที่ดูน่าตื่นตา และพื้นผิวที่มีเท็กซ์เจอร์มักเข้ากันได้ดี
- หลีกเลี่ยงใบหน้าที่เล็กมากและฉากหลังที่แออัด
- อย่าใช้เมื่อจำเป็นต้องได้ข้อความ สีสินค้า หรือรายละเอียดเชิงเอกสารที่แม่นยำ
Before upload checklist
- Use the largest clean version of the photo, not a compressed screenshot or reposted image.
- Crop loosely before filtering so the AI has enough room around the subject.
- Remove obvious distractions first if they sit directly on the face, product, or main subject.
- Check the result at the size where it will be used: profile image, feed post, story, thumbnail, or banner.
When this filter is a good fit
Choose the dystopian filter when the original photo already has a clear subject and the goal is a recognizable stylized version, not a fully new generated scene. It is strongest for social, creator, profile, event, and campaign images where mood matters more than documentary accuracy.
Use a different workflow when the image needs exact product color, legal documentation, medical accuracy, or unmodified identity details. In those cases, use cleanup, crop, enhancement, or background tools instead of a heavy creative filter.
Free browser tools after filtering
FAQ
What should I upload?
Use a clear photo with one main subject. Strong lighting and simple backgrounds usually make the AI filter easier to control.
Can I keep editing after the filter?
Yes. After applying the filter, use Magic Eraser to crop, clean distractions, refine backgrounds, and export the final image.
Is this filter selected automatically?
The CTA opens AI Filter with the dystopian style parameter, and the app falls back safely if the filter changes.