
AI Filter style
Filtro de longa exposição com IA
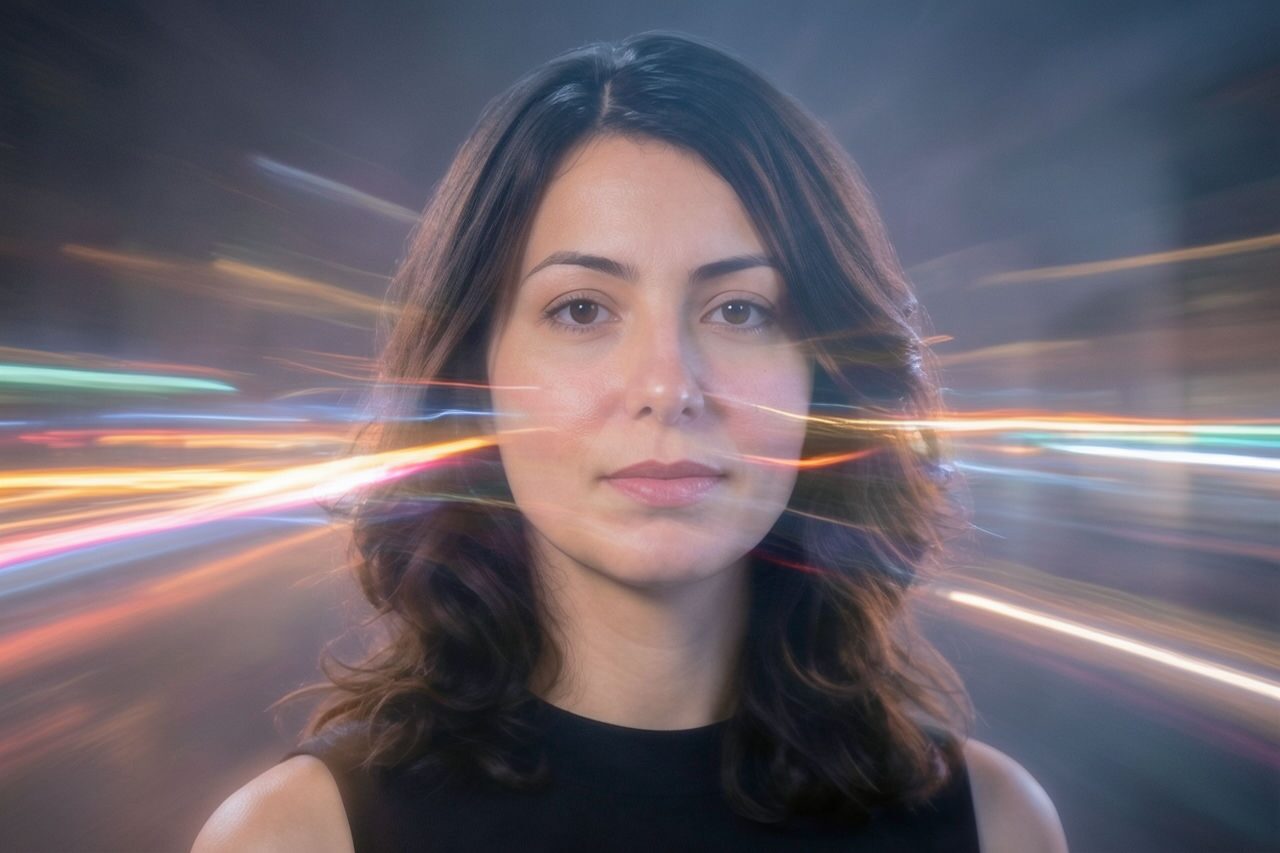
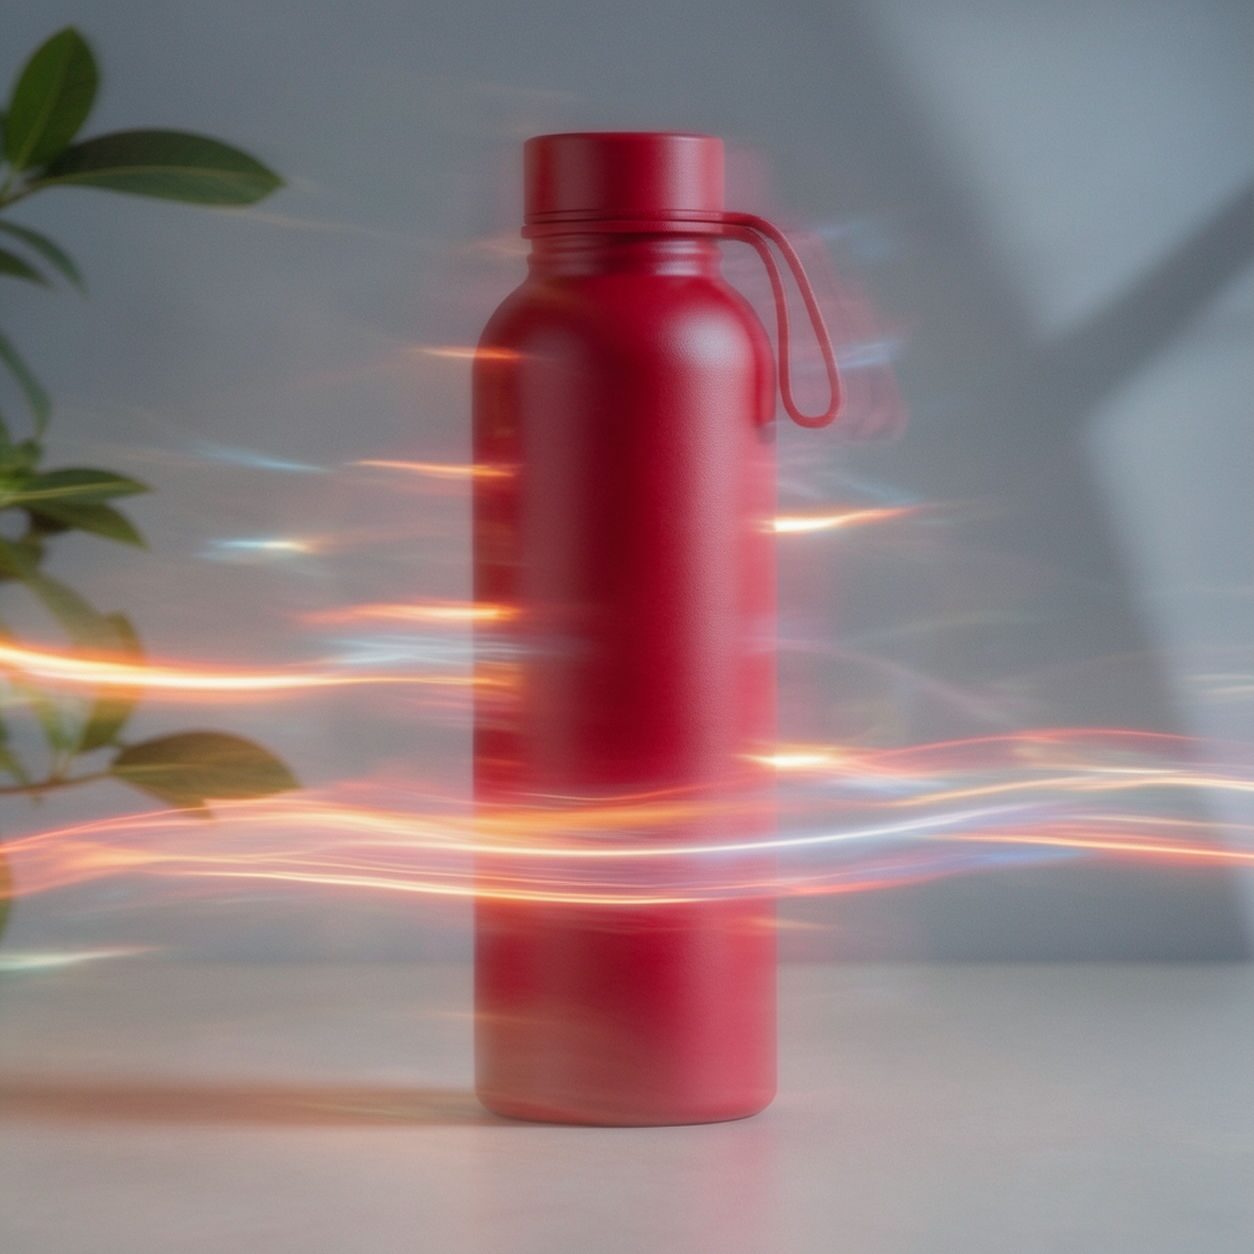
Crie em uma única foto um efeito de longa exposição com água sedosa, rastros de luz e movimento prolongado. É uma interpretação criativa, não uma exposição real de vários segundos; confira rostos, contornos, textos e logotipos.

Use case
Cachoeiras, rios e litoral com movimento suave.
Use case
Ruas noturnas e trânsito com rastros de luz marcantes.
Use case
Paisagens e fotos de viagem que pedem sensação de movimento.
Filter preview
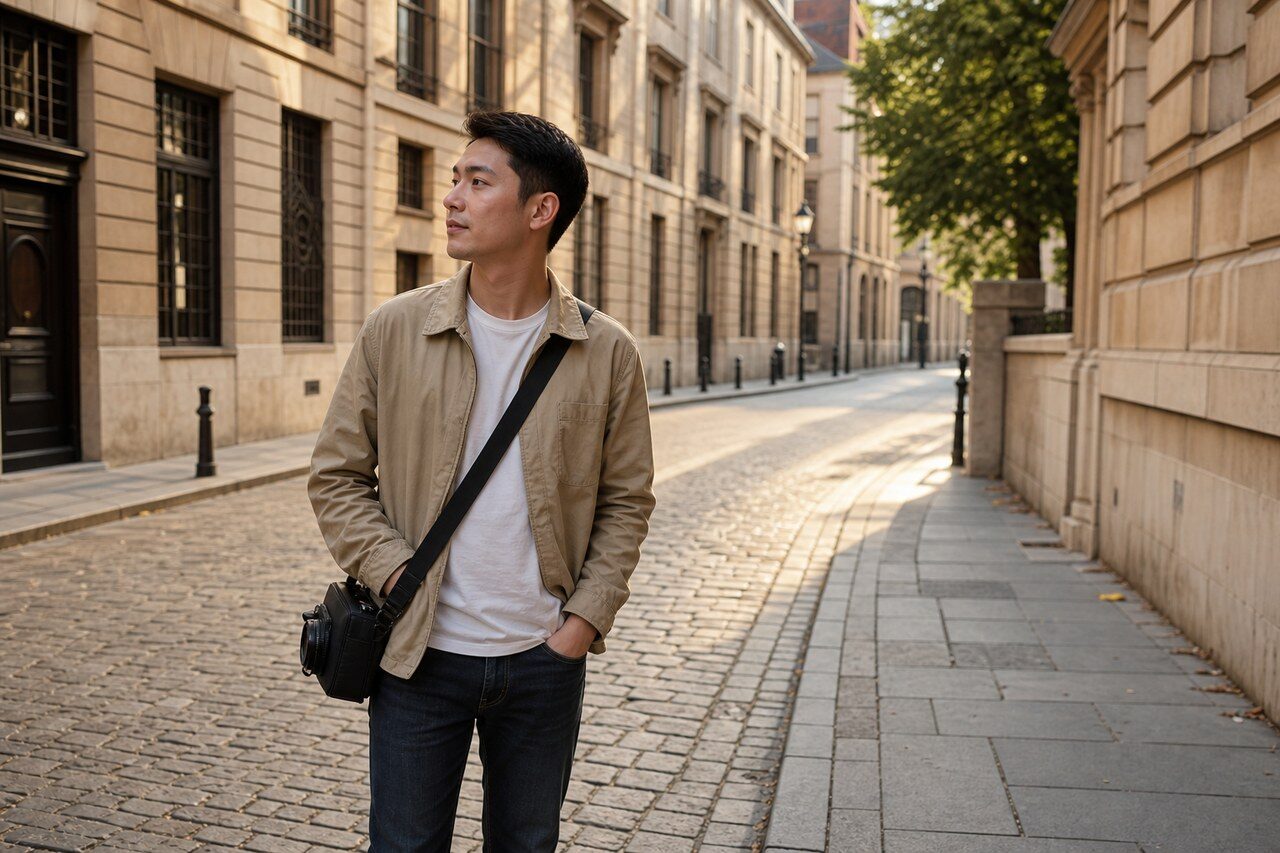
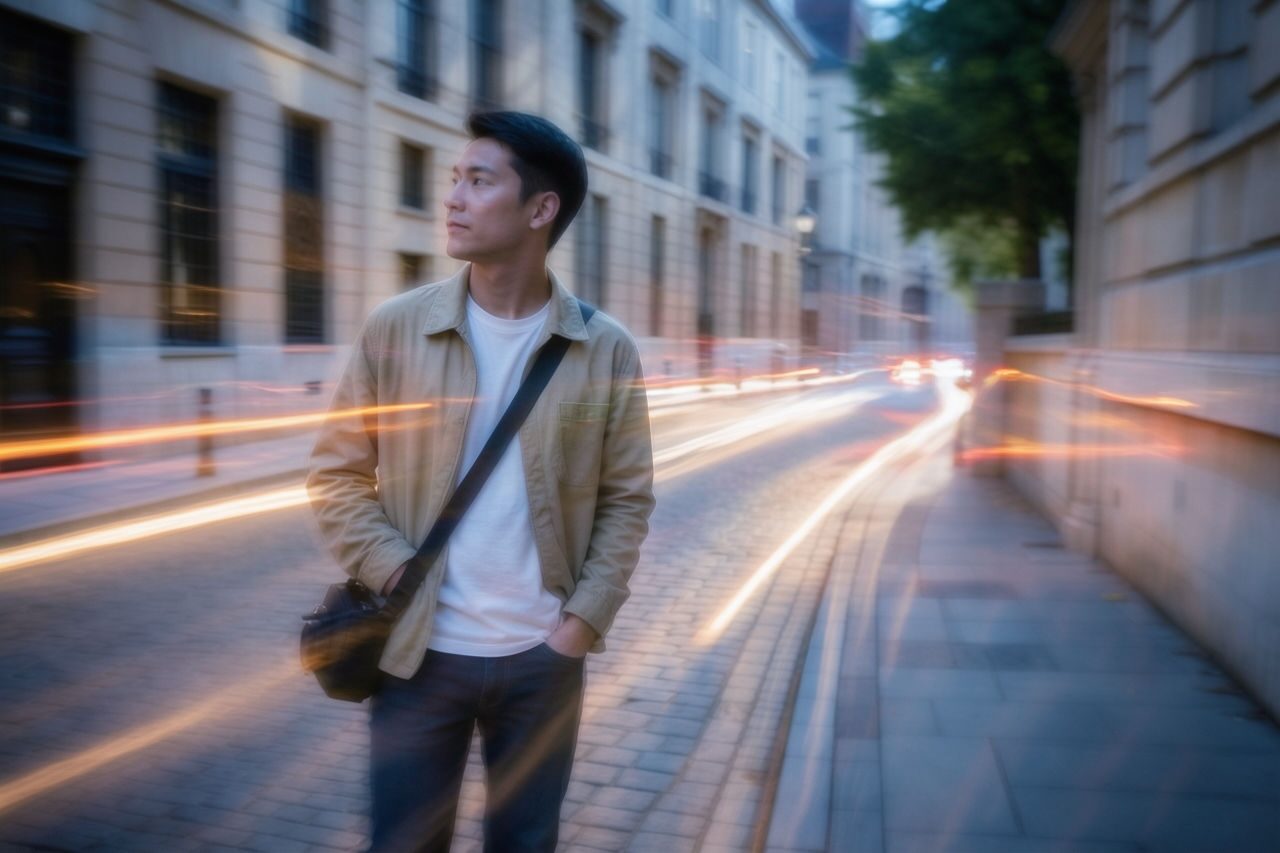
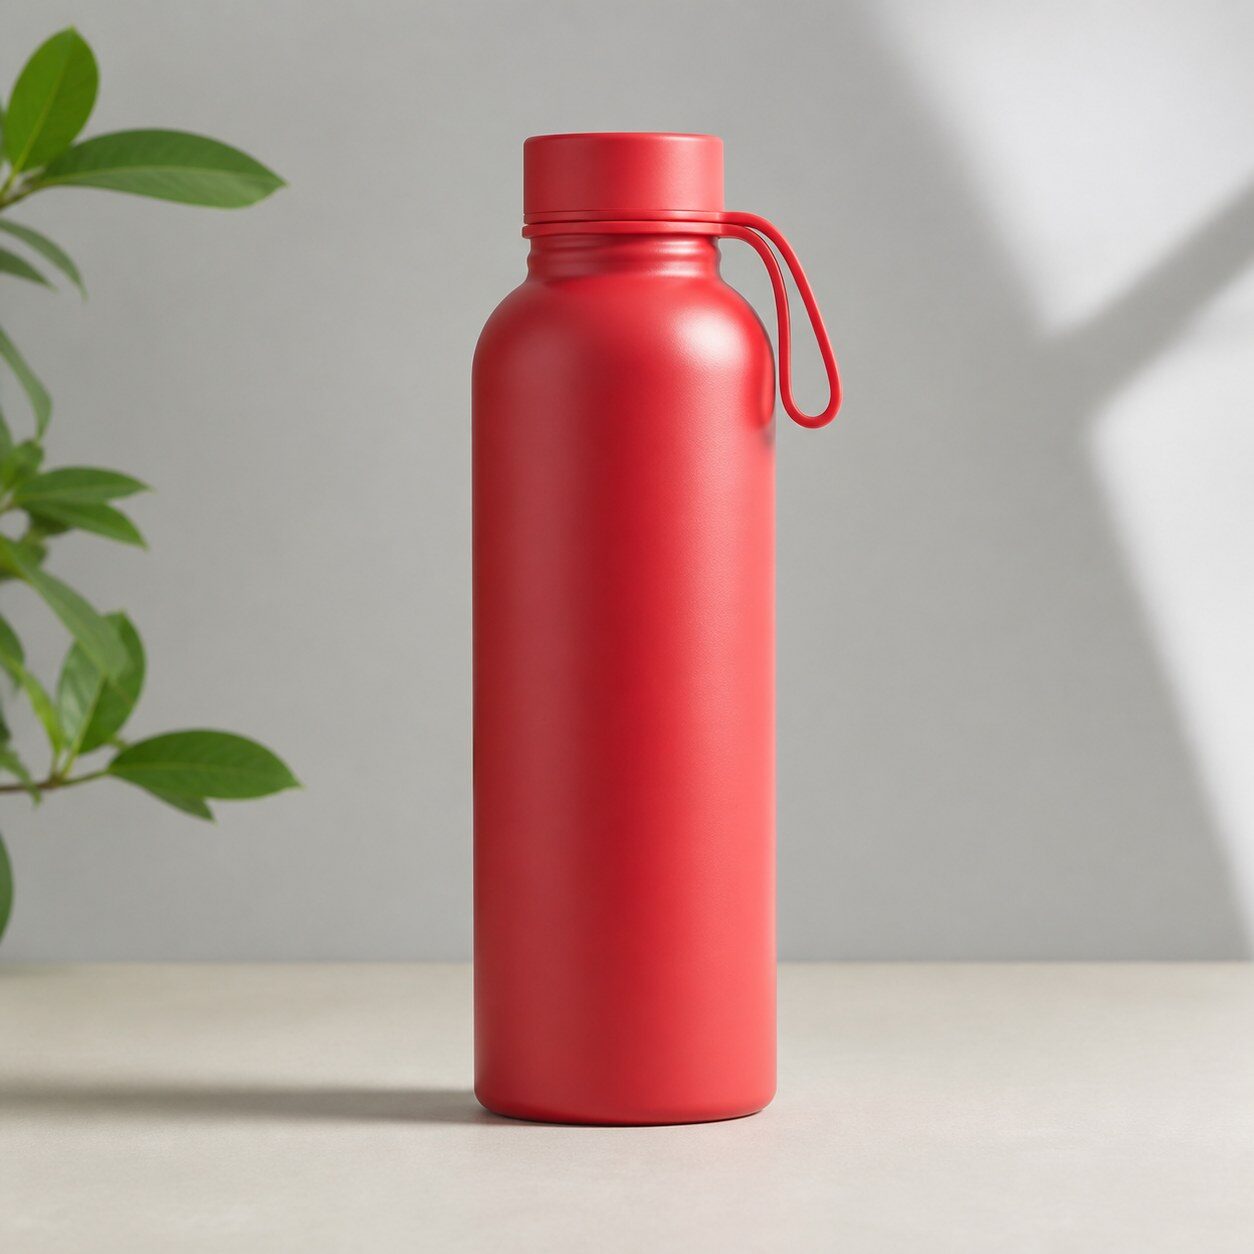
Compare the original photo with the long exposure result
The example uses a generated source photo and the same filter API path as the app, so users can judge the visual treatment before uploading their own image.
More examples
Test the long exposure filter on different photo types
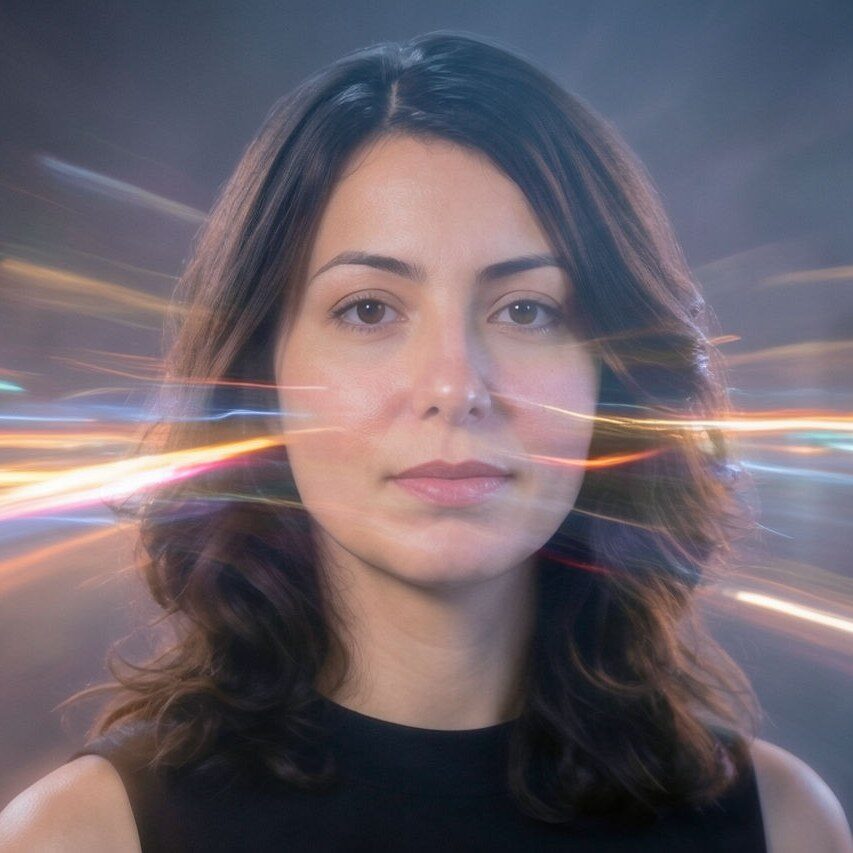
Compare portrait, product, and pet examples before opening the filter. Each result uses the same filter API path as the Magic Eraser app.

Portrait
Product


Pet
Photo workflow
How to get a cleaner long exposure filter result
Escolha uma foto nítida com movimento reconhecível e elementos estáticos bem separados.
Abra o filtro Longa exposição, envie a foto e compare contornos, luzes e tema.
Recorte, remova artefatos e adicione depois textos ou logotipos exatos.
Best source photos
- Paisagens com água corrente ou nuvens definidas.
- Estradas e cidades noturnas com fontes de luz separadas.
- Fotos de viagem com tema estático e movimento ao redor.
Filter tips
- Água, nuvens e luzes de veículos costumam produzir efeitos mais claros.
- Evite fundos lotados e detalhes importantes muito pequenos.
- Não use o resultado como prova do tempo, velocidade ou condições reais da captura.
Before upload checklist
- Use the largest clean version of the photo, not a compressed screenshot or reposted image.
- Crop loosely before filtering so the AI has enough room around the subject.
- Remove obvious distractions first if they sit directly on the face, product, or main subject.
- Check the result at the size where it will be used: profile image, feed post, story, thumbnail, or banner.
When this filter is a good fit
Choose the long exposure filter when the original photo already has a clear subject and the goal is a recognizable stylized version, not a fully new generated scene. It is strongest for social, creator, profile, event, and campaign images where mood matters more than documentary accuracy.
Use a different workflow when the image needs exact product color, legal documentation, medical accuracy, or unmodified identity details. In those cases, use cleanup, crop, enhancement, or background tools instead of a heavy creative filter.
Free browser tools after filtering
FAQ
What should I upload?
Use a clear photo with one main subject. Strong lighting and simple backgrounds usually make the AI filter easier to control.
Can I keep editing after the filter?
Yes. After applying the filter, use Magic Eraser to crop, clean distractions, refine backgrounds, and export the final image.
Is this filter selected automatically?
The CTA opens AI Filter with the long exposure style parameter, and the app falls back safely if the filter changes.